CV Axle Removal and Installation Tools: What You Need
Direct answer
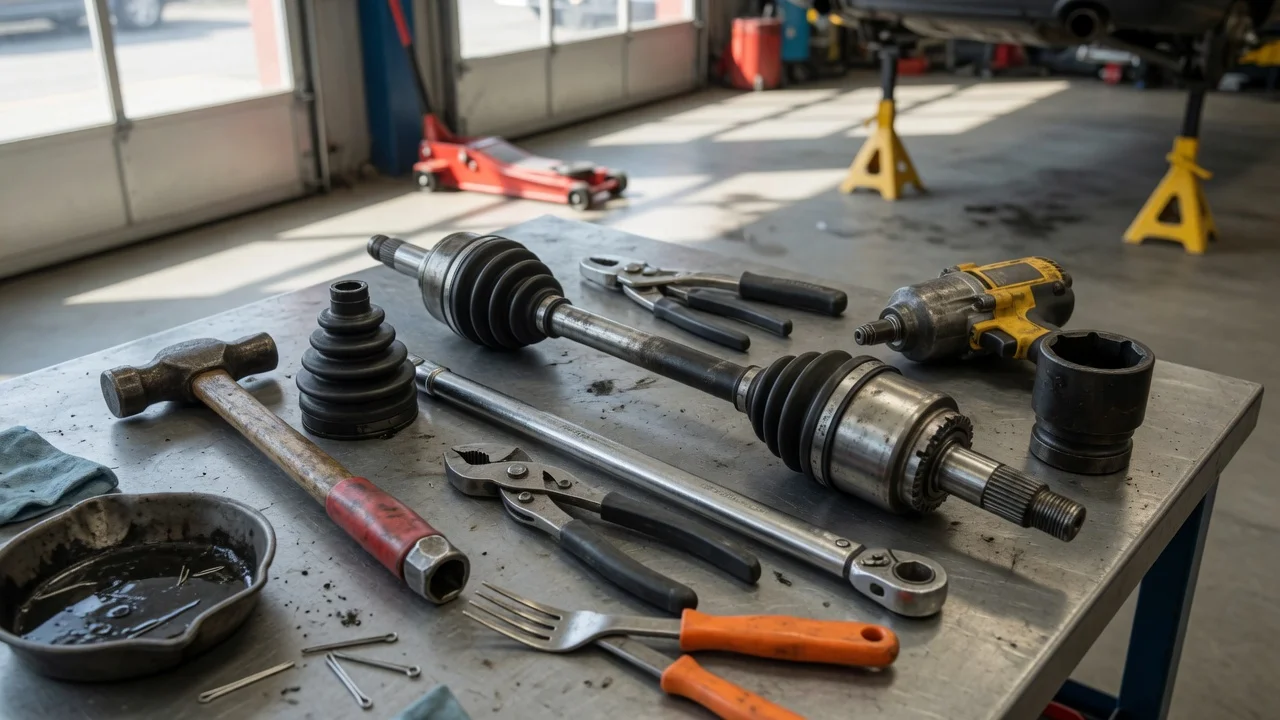
The main task-specific tools for CV axle removal are a CV axle puller or slide hammer attachment, a pry bar, and in many cases a pry-bar fork or wedge designed to fit between the inner joint housing and the transaxle case. The essential answer is that removal often does not require one special universal tool: on many vehicles the axle can be levered out once the suspension fasteners are released, while a stubborn retaining clip or corroded spline may require an axle puller or slide-hammer attachment. Installation can usually be done by hand, followed by a final seat check that confirms the retaining clip has locked into the differential or intermediate shaft.
What the tools do
CV axle removal tools convert a straight pulling force or a levering force into controlled separation of the axle splines from the transmission, transaxle, differential, or intermediate shaft. A slide hammer attachment clamps around the inner joint or threads to an adapter and delivers short, sharp pulls along the axle axis. A pry fork or wedge is positioned between the inner constant velocity joint housing and the transaxle case so that levering applies outward pressure without damaging the seal or case. The axle puller works on the same principle: it braces against a stable nearby surface and pushes or pulls the shaft outward.
The job also depends on ordinary hand tools. Suspension and steering fasteners must be loosened to create enough clearance for the axle to slide out of the hub or intermediate shaft. The relationship is straightforward: the more access and angular clearance you create, the less force a dedicated puller must apply. A retaining circlip inside the inner joint or on the shaft end is the part that most often resists removal, so a puller is really acting on that clip and spline friction rather than on a threaded fastener.
Common removal and installation tool set
Pry bar or pry-bar fork: levering the inner joint out of the transaxle or differential; CV axle puller or slide hammer attachment: controlled straight-line pulling for stuck splines; Socket set with a large axle nut socket: removing the hub nut or axle nut; Torque wrench: reinstalling the axle nut to the vehicle specification; Breaker bar: loosening high-torque suspension and hub fasteners; Ball joint separator or tie-rod separator, where needed: freeing the steering knuckle or control arm for clearance; Punch or drift and hammer: light tapping to help seat or unseat a shaft where access is limited
Choosing between a pry bar and a puller
Try prying before buying or setting up a dedicated puller when the axle has enough clearance and the retaining clip is not heavily corroded. A flat pry bar placed carefully against the inner joint housing can often pop the clip free with one firm motion. The prying method requires keeping the tool away from the transmission seal and the thin lip of the case. If the axle does not release after controlled prying, switch to an axle puller or slide hammer so the force stays in line with the shaft. Diagonal jerking with a pry bar is less controlled and can damage the joint cage, seal, or splines.
Method | Best for | Main limitation; Pry bar or wedge | Axles with moderate access and light corrosion | Force is harder to keep perfectly axial; Axle puller or slide hammer | Stuck splines or clips needing straight-line force | Needs purchase on or around the inner joint; Hand pull after releasing suspension | Axles with enough clearance to slide out | Not enough if the clip remains locked
Installation tools and seating checks
Installation typically uses the same basic tool set, but the goal changes from controlled disassembly to alignment and final seating. The splines should be clean and lightly lubricated according to the service information for the specific vehicle. Start the shaft by hand and keep it straight as the splines engage. The inner shaft or circlip should be aligned so it can compress and enter the differential or transaxle opening. A firm inward push or a careful tap on a suitable drift may seat the clip, but do not hammer directly on the outer joint or on the threaded end.
After installation, confirm that the axle cannot be pulled back out with moderate hand force on the same axis. If it moves outward easily, the retaining clip is not seated. Recheck that the inner joint is fully entered before reassembling suspension fasteners and tightening the axle nut to the correct specification.
Vehicle-dependent fitment warning
Axle puller fit, required socket sizes, torque values, and whether an intermediate shaft or bolt-in inner joint is present vary by model year, engine, drivetrain, and market configuration. Some axles use a bolt-on inner joint flange instead of a circlip; others are retained by a center support bearing. Do not treat one removal method as universal. Check the applicable service information for the exact vehicle before choosing an attachment or applying prying force.