Custom Parking Brake Cables: Specifying Length and End Fittings
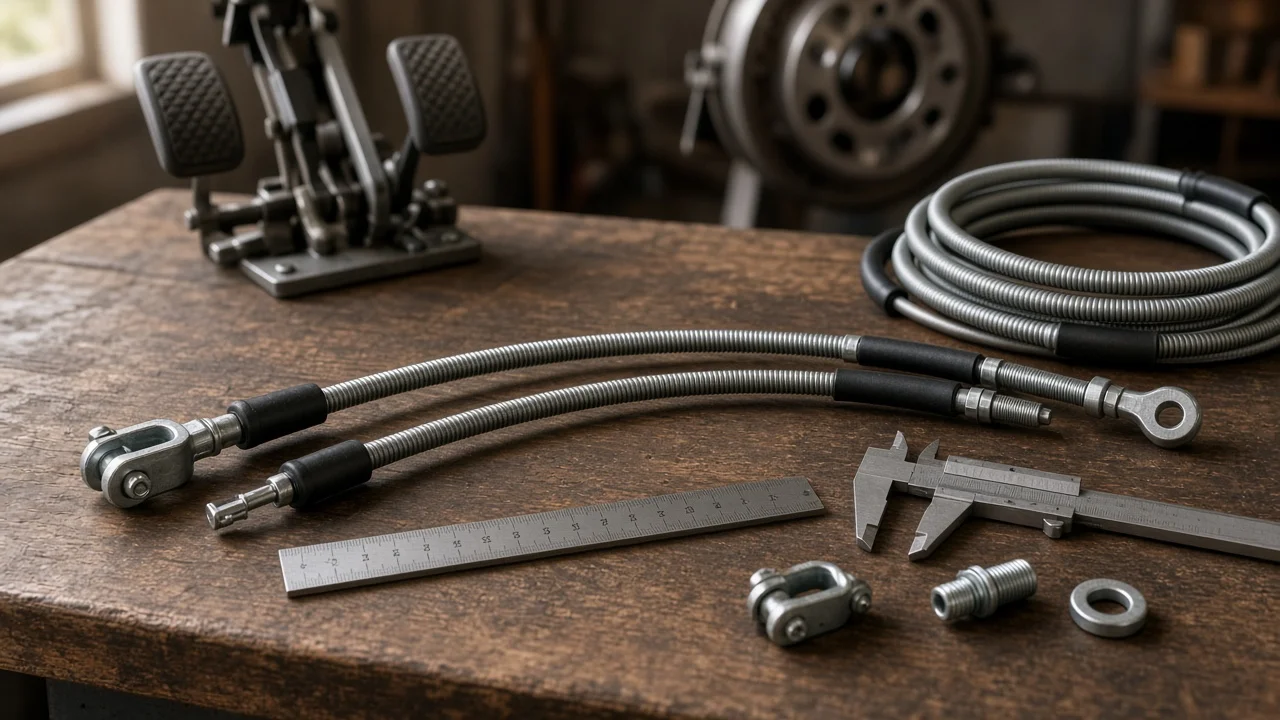
A custom parking brake cable makes sense when no off-the-shelf part fits: after an axle swap, on a lifted truck, with a relocated lever, or on an older vehicle whose original cable is no longer available. Ordering one works only if you describe it completely. Length alone is not enough. The maker also needs to know how each end attaches, how the outer housing is retained, and how much adjustment the system needs.
What a custom cable order must include
A complete specification has two parts. The first is dimensions: the outer housing length, the overall inner cable length, and the exposed inner cable length at each end. The second is attachment details: the inner cable fitting at each end, the housing retainer at each end, and an inner wire and housing size comparable to the original or to what the system was designed for. Always state where each measurement starts and stops. For example, a ball end is usually measured to its center and an eyelet to the center of its hole, but suppliers use different conventions, so confirm theirs before ordering.
Even a cable that matches every dimension on paper still has to be checked on the vehicle. Routing, clearance and adjuster range decide whether it actually works, so treat the order as a starting point and the installation check as the real test of vehicle fitment.
How a parking brake cable transmits force
A parking brake cable works only in tension. The inner wire slides inside an outer housing, and both housing ends are anchored to brackets so the housing carries the opposing compression load. Pulling the lever or pressing the pedal draws the inner wire through the housing. That pulls the parking brake lever at the wheel, which applies the drum brake shoes or, on many rear disc systems, a mechanism in the caliper that pushes the brake pads against the brake rotors. This application is mechanical and works independently of the hydraulic system and brake fluid.
Many systems run a front cable to an equalizer, a bracket that splits the pull between two rear cables. Because the housing is fixed at both ends, housing length and inner length are linked. The inner wire must be long enough to reach both attachment points with the brake released, yet short enough that the adjuster can remove slack. Tight bends in the housing add friction and take up some of the inner wire, which is why routing affects how the finished cable behaves.
End fittings and housing retainers
Inner cable ends commonly include a ball or barrel nipple that seats in a slotted lever or equalizer, a threaded rod end that takes an adjusting nut, and an eyelet or clevis that attaches with a pin. Some universal kits supply a plain end designed to be secured with the kit's own clamp. Housing ends are typically spring-finger retainer clips that snap through a hole in a backing plate or bracket, threaded ferrules held by lock nuts, or flanged ends secured by a bolted bracket or retaining clip.
Identify each end on the old cable or on the parts it connects to, and measure the relevant dimensions with calipers rather than estimating them: nipple diameter and length, thread size, eyelet hole size, and the diameter of the bracket hole the retainer passes through. A fitting that is slightly too small can pull through its seat under load. For load-bearing ends, use fittings the supplier attaches permanently, unless the kit specifically provides another method.
What changes the length and fitting choice
Brake configuration changes the wheel-end connection. Rear drums use a lever on the brake shoe, rear disc brakes with an integrated parking mechanism use a lever on the caliper, and drum-in-hat designs use a small drum inside the rotor hat. Hand levers and foot pedals pull differently, and a system with an equalizer needs different cables from one with separate runs. Suspension changes matter as well: on lifted or lowered vehicles and after axle swaps, the distance between body-mounted and axle-mounted brackets changes as the suspension moves. The cable must allow full droop and compression without applying the brake or straining its fittings.
Electronic parking brakes with motors on the calipers have no cable to customize. Systems that use a central motor to pull cables are vehicle-specific and should be serviced according to the manufacturer's procedures. The environment also affects material choice. Routes near the exhaust, on off-road vehicles, or exposed to road salt call for heat-tolerant routing, a corrosion-resistant inner wire and lined, sealed housing ends.
Measuring and specifying step by step
If the old cable is available, remove it and lay it straight without stretching it. Measure the housing from end to end, then pull the inner wire taut in its released position and measure the exposed length at each end to your stated reference points. Photograph both ends next to a ruler and record fitting dimensions. If there is no old cable, install the brackets first, set the suspension at ride height, and run string or a spare length of housing along the intended path. Then check the path at full suspension travel. Aim for a length that places the adjuster near the beginning of its range, leaving room to take up slack later.
Before you measure, make sure the rear brakes are in proper working order. Shoes or pads should be within the manufacturer's wear limits with adequate friction material, self-adjusters should work, and drum shoes should be adjusted according to the service procedure. A cable sized against worn or misadjusted brakes will be the wrong length once the brakes are serviced.
Installing and checking the new cable
Route the cable without kinks or tight bends, and secure it with clips away from exhaust components, drive shafts and suspension parts that could rub it. Seat each housing retainer fully; spring-finger clips should lock in place rather than rest loosely in the hole. Adjust the system by following the vehicle's service procedure, which normally specifies lever or pedal travel and requires the wheels to turn freely when the brake is released.
After adjustment, release the parking brake and confirm the rear wheels spin without drag. Then confirm the brake holds the vehicle on a gentle incline while you stay ready to use the service brake. A dragging parking brake can overheat the brake pads, shoes and brake rotors, so check for unusual heat or smell after a short drive. Recheck the adjustment after some use, because a new cable and its fittings can settle.
Limitations and when to get professional help
This guide covers how to specify a custom cable, not the details of your particular vehicle. Adjustment specifications, lever travel, torque values and release checks vary by model and are in the vehicle's service information. Custom cable suppliers also have their own measurement conventions and fitting options, so confirm the drawing or specification with them before they build the cable. If you cannot determine a dimension, fitting type or suitable routing with confidence, ask a brake specialist to measure and specify it.
If the parking brake will not hold, drags after release, or a parking brake warning light stays on, do not rely on it to secure the vehicle. Use wheel chocks and have the system inspected and repaired by a qualified technician. Problems with the service brakes, such as a soft pedal or pulling to one side, also call for professional diagnosis before further driving.