CPP Electric Brake Booster: Product Selection and Compatibility
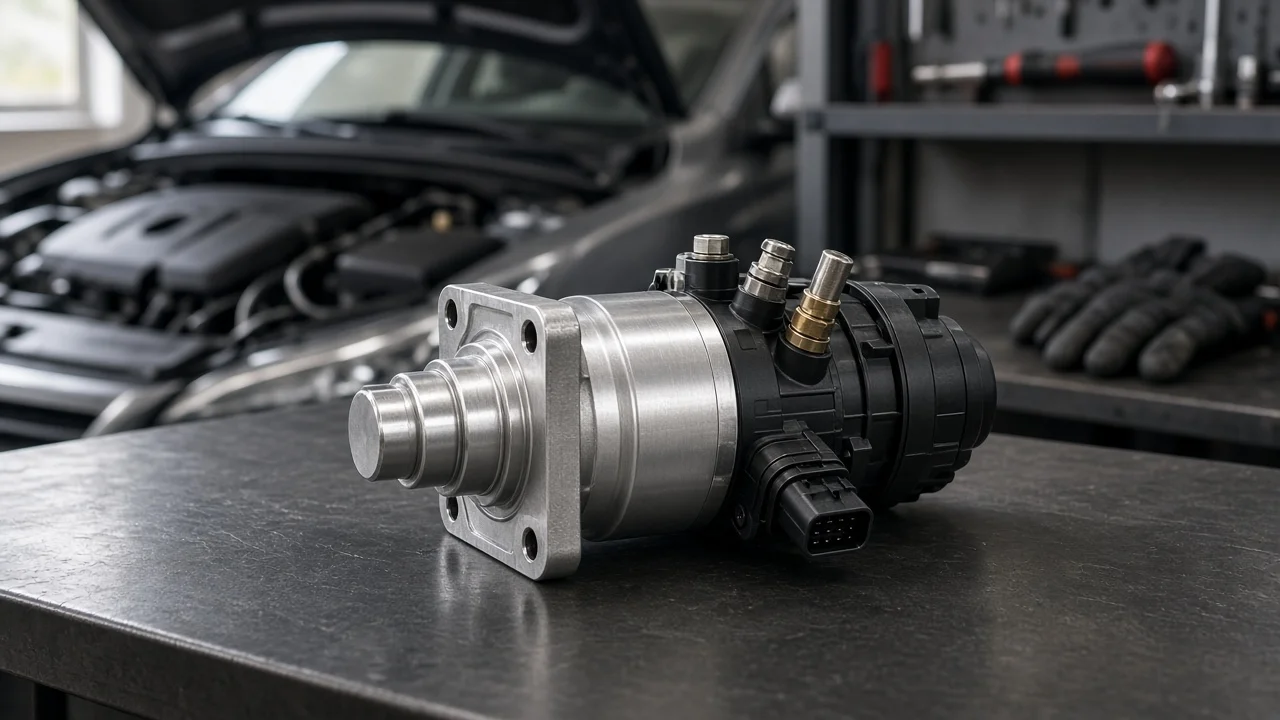
An electric brake booster provides pedal assist with electric power instead of relying only on engine manifold vacuum. That makes it attractive for classic cars and trucks that no longer produce dependable vacuum. A good choice depends less on the brand name than on how well the unit matches your pedal, master cylinder, brake hardware and electrical system. This guide covers how to define the job, confirm fitment and weigh the trade-offs before you buy a CPP unit.
Define the job the booster must do
Start with why the vehicle needs electric assist. Common reasons include a performance camshaft that produces weak vacuum at idle, a diesel or electric drivetrain with no usable manifold vacuum, a crowded engine bay with no room for a large vacuum canister and hose, or a wish to remove vacuum lines altogether. If the engine makes healthy, steady vacuum and the existing booster works, an electric unit may add cost and complexity without solving a real problem.
Next, describe how the vehicle is used. A light cruiser, a daily driver, a truck that tows and a build with oversized wheels and tires place very different demands on the brake system. Note the brake layout as well: four-wheel disc, front disc with rear drums, or all drums. Also check your practical constraints, such as budget, wiring skill, battery and alternator condition, and whether a stock-looking engine bay matters to you. Finally, confirm the complaint actually involves assist. A hard pedal with poor response can point to low assist. A soft or sinking pedal usually means air in the lines, a fluid leak or a failing master cylinder, and a new booster will not cure those faults.
Check vehicle fitment and interfaces
Mechanical fitment comes first. Compare the booster's mounting pattern and stud spacing with your firewall. Then confirm how the pushrod engages the brake pedal and whether the pedal ratio suits power assist, because manual and power pedals often use different ratios. Measure clearance to the valve cover, steering column, inner fender, exhaust headers and hood before you order. A listing marked for your year and model is a starting point, but engine swaps and aftermarket parts often change what actually fits.
Hydraulic fitment decides how the brakes feel. Check whether the kit includes a master cylinder. If it does, confirm that its bore size suits your caliper and wheel cylinder piston areas, and that its outlet port sizes and thread types match your lines or available adapters. Disc and drum combinations may need a proportioning valve, and drum circuits may need residual pressure valves. Follow the vehicle-specific service information and the kit instructions rather than guessing. Confirm which brake fluid specification the master cylinder seals are designed for, and do not mix fluid types.
Electrical fitment is the part most often overlooked. Read the stated power requirements, then plan a properly fused supply, a relay if the instructions call for one, the correct wire gauge and a clean ground. Check whether the unit needs an ignition-switched feed. Make sure the charging system can support the added load, and check whether the brake light switch must be relocated or adjusted to suit the new pedal geometry.
Features that affect the choice
Electric assist designs differ. Some pair an electric vacuum pump with a conventional vacuum booster, while others are self-contained electric units. Confirm which design the part you are considering uses, because that affects mounting size, noise, wiring and service parts. Other useful features include an adjustable pushrod, a mounting bracket made for your chassis, a pre-assembled master cylinder and a complete wiring harness. Each of these reduces fabrication and the chance of installation errors.
Separate evidence from marketing labels. Terms such as direct fit, bolt-in, universal or improved stopping power do not prove that a part suits your vehicle. A booster only reduces the pedal effort needed to build hydraulic pressure. Actual stopping capacity still depends on tire grip, the friction material in the brake pads, rotor size and condition, and caliper design. More useful evidence includes a specific application list, published installation instructions, a stated master cylinder bore, documented electrical requirements, a clear description of behavior if power is lost, and written warranty terms.
Practical details also matter over time. Consider audible operation in a quiet cabin, protection from heat and water in the engine bay, and whether replacement parts such as pumps, sensors or seals are available separately. A unit you can service is often a better long-term choice than one that must be replaced whole when a single part fails.
Limitations and ownership costs
Electric assist depends on electrical supply. If the fuse blows, a connection fails or the battery runs flat, assist drops and the pedal becomes much harder to push. Find out from the product documentation how the specific unit behaves without power, and keep the battery, alternator, terminals and grounds in good condition. Anyone who drives the vehicle should know what reduced assist feels like.
A booster cannot fix worn or failing foundation brakes. Before installation, inspect the brake pads and shoes against their wear limits, and measure the rotors and drums against the minimum dimensions in the vehicle's service information. Check calipers and wheel cylinders for sticking pistons or leaks, inspect hoses and lines, and replace old or contaminated brake fluid. Adding assist to a system with these faults only hides the symptoms.
Budget for more than the kit itself. Common extra costs include brake lines, fittings and adapters, valves, wiring parts, fresh fluid, and possibly pedal or bracket changes. Factor in professional labor if you are not confident with hydraulic work. A new master cylinder needs bench bleeding and the whole system needs a full bleed. After installation, test the brakes at low speed in a safe area before driving normally. Afterward, flush the fluid at the interval in the service information and check electrical connections during routine maintenance. If the pedal sinks or goes low, a warning light comes on, the vehicle pulls under braking, or assist cuts out, stop using the vehicle and have the system checked by a qualified brake technician.
Build a practical shortlist
Compare each candidate against the same checklist. Confirm that it lists your year, model, body style and drivetrain, or that you have measured the firewall pattern and clearances yourself. Check that it suits your front and rear brake configuration. Make sure the master cylinder bore and port threads work with your calipers, wheel cylinders and lines. Compare the electrical requirements with your charging system and planned wiring. Note what is included and what you must buy separately, and confirm that clear installation instructions and written warranty terms are available.
Rank the options by confirmed fitment first, then by how complete the kit is, and only then by price. A cheaper unit that needs custom brackets, adapters and valves can end up costing more than a complete kit. Do not choose on claims of extra stopping power or on a universal label alone. If any part of the fitment or hydraulic match is uncertain, have a brake specialist review the setup before purchase. That is far cheaper than correcting an incompatible installation afterward.