Coolant Temperature Sensor Location and Replacement Guide
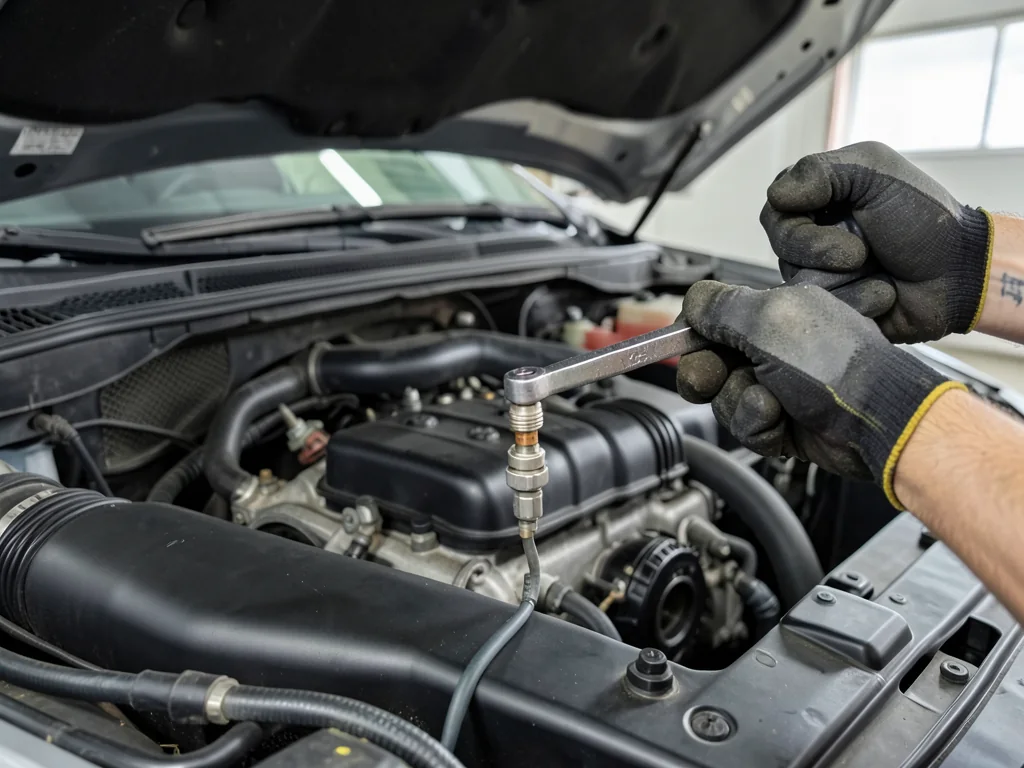
A coolant temperature sensor is a small part with an outsized influence on how an engine starts, runs and protects itself. Changing one is often a manageable job, but only after you have found the right sensor, confirmed it is actually at fault, and prepared for coolant loss. This guide explains what the sensor does, where it usually lives, and how to approach replacement safely.
What the ECT sensor does and how it differs from the thermostat
The engine coolant temperature sensor, usually called the ECT sensor, is a small threaded probe containing a thermistor, an element whose electrical resistance changes as temperature changes. The engine control module reads that signal and uses it to enrich the fuel mixture during cold starts, set idle speed, decide when to switch on the cooling fans and, on many vehicles, drive the dashboard temperature gauge.
Some engines carry more than one temperature sender, such as one feeding the control module and a separate unit for the gauge, so confirm which one your symptom points to before buying anything. It also helps to separate the sensor from the thermostat. The thermostat is a mechanical valve that opens and closes to regulate coolant flow, while the sensor only measures temperature. They are often mounted close together near the thermostat housing, which explains why the two get confused.
Where the coolant temperature sensor is typically located on an engine
The sensor always sits where its tip can touch circulating coolant. Common mounting points include the thermostat housing, the cylinder head near where the upper radiator hose attaches, a coolant passage in the intake manifold, or the engine block itself. To find it, follow the upper radiator hose to the engine, look for a small two- or three-wire connector plugged into a sensor threaded into a metal housing, and trace its wiring back to the harness.
Exact placement varies by make, engine and model year, so check the service information for your specific vehicle rather than assuming. That matters because oil pressure senders, knock sensors, camshaft position sensors and radiator fan switches can look similar and often sit nearby. Confirming the part's shape, connector style and the passage it threads into helps avoid removing the wrong component. Before touching anything, photograph the connector, the wire routing and any clips, so reassembly matches the original layout.
Symptoms and safe observations before deciding to replace the sensor
A failing sensor or circuit can cause hard cold starts, rich or lean running, reduced fuel economy, cooling fans that run constantly or never switch on, a temperature gauge that reads wrong or jumps around, and a check engine light. Stored trouble codes help narrow the search, but ECT-related codes have manufacturer-dependent definitions and setting conditions. Look up what the code means for your exact vehicle, and treat it as evidence to interpret rather than proof the sensor has failed.
Safe checks come first. Inspect the connector for corrosion, chafed wires or coolant inside the plug. On an engine that sat overnight, a scan tool's live coolant reading should be reasonably close to ambient air temperature; a wildly different value is a useful clue. A bad reading can also come from wiring, the connector, low coolant or a genuine cooling problem. If circuit resistance testing is needed, or the fault survives a new sensor, professional diagnosis is the better path.
Preparing to change the coolant temp sensor: safety, tools and parts
Start only with a fully cool engine. The cooling system runs under pressure, and hot coolant can cause serious burns, so never open the radiator or reservoir cap or loosen a sensor while the engine is warm. Gather the correct replacement sensor, a deep socket or dedicated sensor socket in the right size, a drain pan, gloves, eye protection, fresh coolant of the type specified for your vehicle, and any sealing washer or thread sealant the manufacturer calls for.
Choose the part using your engine code and model year, and confirm fitment for your specific vehicle rather than assuming a sensor from a similar model will match, since thread size, probe length and electrical characteristics can differ. If the service information recommends disconnecting the battery negative terminal, do that first. Then cover the alternator, nearby connectors and other electrical components with a rag or plastic sheet, because coolant can run down the engine the moment the old sensor comes out.
Step-by-step engine coolant temperature sensor replacement
To limit coolant loss, you can partially drain the radiator into a pan until the level drops below the sensor, or keep the new sensor ready and swap it quickly; either way, some spillage is normal. Release the connector's locking tab gently rather than prying, since aged clips break easily. Unthread the old sensor, wipe the seat clean of old sealant and debris, and install the new one using the torque value and sealing method the manufacturer specifies.
Push the connector on until the lock clicks, refill with the correct coolant, and bleed air following your vehicle's procedure, since trapped air around the sensor tip can cause false readings and overheating. At operating temperature, check for leaks, confirm the gauge settles normally and the fans cycle, then clear stored codes with a scan tool and recheck after a drive cycle. Used coolant is toxic to pets and wildlife, so collect it carefully and dispose of it properly.
What affects coolant temperature sensor replacement cost
The sensor itself is usually one of the less expensive parts in the cooling system, so most of the variation in cost comes from labor. An easily reached sensor on a thermostat housing may take little time, while one that requires draining and refilling coolant adds both fluid and time. Engines that tuck the sensor beneath the intake manifold or other components can require considerably more disassembly, and that labor usually outweighs the part price.
A shop may also charge a diagnostic fee to confirm the fault before replacing anything, which is worthwhile if the symptoms could point elsewhere. Some repairs bundle a coolant flush or thermostat replacement when those are due according to the vehicle's maintenance schedule, which raises the total but may save a separate visit. Ask for a written estimate that separates parts, labor, coolant and diagnosis, so you can compare quotes fairly for your specific vehicle.
When to stop and have a professional handle the coolant sensor job
Some situations call for a professional. A seized sensor or damaged threads can turn a simple swap into a housing or cylinder head repair, and brittle plastic housings may crack under wrench pressure. If reaching the sensor requires removing major components, or the vehicle has a complex bleed procedure, the risk of trapped air and overheating rises. If symptoms or codes return after a correct replacement, the problem likely lies in wiring, the control module or the cooling system, which calls for proper electrical testing.
Never keep driving with an engine that is overheating or a gauge reading hot, even if you suspect the sensor. A faulty reading can hide a real overheating problem just as easily as it can create a false alarm, and continued driving risks serious engine damage. Pull over safely, shut the engine off and arrange help. Finally, confirm any code interpretation for your exact vehicle before buying parts; an accurate diagnosis costs less than a sensor that was never the problem.