Chrysler Transmission Limp Mode: Initial Diagnostic Checks
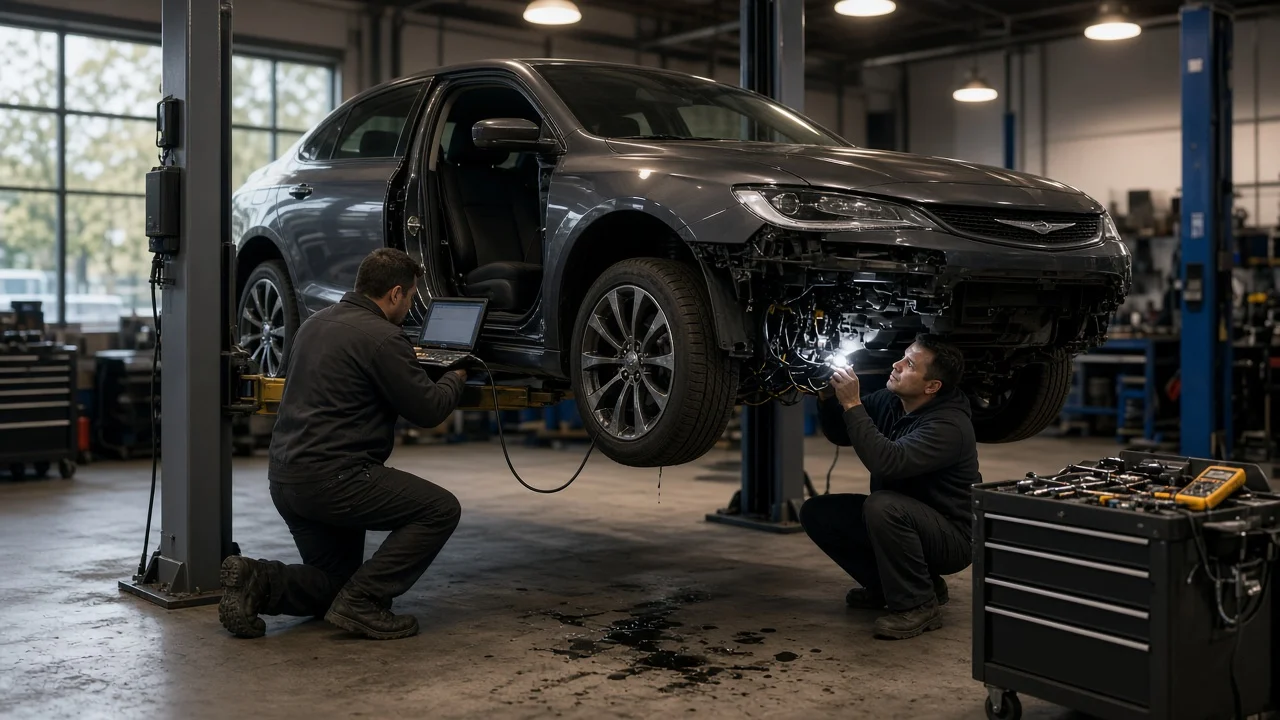
When a Chrysler automatic suddenly stops upshifting, holds one gear and shows a warning light, the transmission control module has usually put the vehicle into limp mode to protect the transmission. Limp mode is a protective response, not a diagnosis. Low voltage, a sensor or wiring fault, overheated or incorrect fluid and internal wear can all trigger it. These initial checks help you document what is happening, identify your transmission and gather the evidence a technician needs before any part is replaced.
Establish the symptoms
Start by noting exactly what the vehicle does. In limp mode most Chrysler automatics hold a single fixed gear, so acceleration feels sluggish, engine speed runs high on the highway and the transmission will not shift up or down. You may also see a check engine light, a transmission warning message or a flashing gear indicator. Write down whether the problem appeared at startup, after warm-up, during hard acceleration, in hot weather or after a long highway run. Note whether switching the engine off and restarting restored normal shifting, and for how long. A temporary reset after a key cycle is common because the module rechecks the condition, but it does not mean the fault is gone.
Then record the context. Identify the model, model year, engine and drive layout, and confirm the transmission type from the window sticker, vehicle documents, a dealer VIN lookup or the unit's identification label. Depending on the vehicle, Chrysler has used older four-speed and six-speed front-drive automatics such as the 41TE and 62TE, as well as ZF-designed nine-speed and eight-speed units in later models. These designs differ in fluid, check procedures and fault logic. Also list recent events: battery replacement or jump starts, low-voltage warnings, fluid service, towing, water exposure, collision repair, added electrical accessories and any harsh or delayed shift behavior before the episode. Service history matters, because a recent fluid change of uncertain type is a very different lead from a battery that keeps going flat.
Distinguish plausible causes
Electrical supply problems are a frequent and often overlooked trigger. A weak battery, poor ground, corroded terminals or a failing charging system can drop voltage below what the transmission control module accepts, and the module may respond by defaulting to limp mode. Low-voltage codes, dim lights, slow cranking, several warning lights at once or episodes clustered around cold starts support this cause; a tested, healthy charging system with clean connections weakens it. Sensor and wiring faults form a second group. The module compares input and output shaft speeds with the selected gear, and if a speed signal drops out or a connector is loose or corroded, the calculated ratio stops making sense. Intermittent episodes that change with bumps, moisture or temperature lean in this direction.
Fluid and hydraulic causes come next. Low, overheated, contaminated or incorrect fluid can cause slipping, which the module sees as a wrong gear ratio. A visible leak, a burnt smell, dark fluid with debris, limp mode that appears only when the transmission is hot, or a recent service with an unknown fluid all support this line. Solenoid and pressure-control faults sit between electrical and mechanical problems; on many Chrysler front-drive units the shift solenoids and pressure switches share an assembly that can fail electrically or stick. Internal wear such as worn clutches is possible, but it should be a conclusion of testing rather than a starting assumption. A slip felt consistently in one gear, with ratio codes and good electrical readings, makes it more likely. Software issues or an incomplete adaptive learn after battery or module work can also explain erratic shifting on some models.
Checks in a useful order
Begin with observations that need no tools. Park on level ground, note every warning light and the exact cluster message, and look under the vehicle for fresh drips. Inspect the battery terminals and visible ground straps for corrosion or looseness. If your vehicle has a transmission dipstick, check the level using the method and temperature in the owner's manual. Many newer Chrysler transmissions have no dipstick and use a fill-plug procedure that requires a lift, a scan tool to read fluid temperature and the correct fluid, so leave that to a shop unless you are equipped. Never top up with fluid that is not specified for your transmission: older units commonly use ATF+4, while the eight- and nine-speed designs call for different specified fluids.
The next step requires a scan tool. A basic code reader often shows only a general code such as P0700, which simply means the transmission module stored a fault. A tool that reads the transmission control module directly will show the specific diagnostic codes, freeze frame data and, on capable tools, live data such as shaft speeds, fluid temperature, pressure switch status and system voltage. Record every code and its status before anything is cleared, because clearing erases evidence. If voltage is in question, a battery and charging test follows. Harness and connector testing at the transmission, solenoid circuit checks, pressure testing, level verification at specified temperature, relearn procedures and software updates belong to a qualified technician with service information for your exact transmission.
Interpret the findings
A low-voltage code backed by a failed battery or charging test establishes a supply problem, but not that it was the only fault, so the transmission codes should be rechecked after the repair. A speed sensor code means the module lost or distrusted that signal, not that the sensor itself has failed; wiring, connector and mounting come first. Solenoid circuit codes likewise identify a circuit that includes the harness, connector and solenoid assembly. Ratio or slip codes show that the expected gear ratio was not achieved, which can follow from low fluid or pressure problems as readily as from worn clutches.
Fluid findings narrow the picture without closing it. A low level confirms a leak or service error that must be corrected and rechecked, while burnt fluid or heavy debris suggests internal damage may already exist. Clean fluid at the correct level shifts attention back to electrical and control causes. If limp mode cannot be reproduced and no codes are stored, your log of conditions becomes the most useful evidence for a test drive with live data. Before a major part is replaced, the technician should be able to explain which code, measurement and test result points to it, and why cheaper causes in the same circuit were ruled out.
Urgency and next action
Limp mode is meant to get you to a safe place or a repair shop at reduced performance, not to serve as a normal driving mode. Stop driving and arrange a tow if the vehicle will not engage drive or reverse, if you see smoke or smell burning fluid, if fluid is leaking steadily, if a transmission temperature warning appears, if there are grinding or banging noises, or if you cannot maintain a safe speed in traffic. Continued driving in those conditions can turn a repairable fault into major damage, and no particular distance can be considered safe.
When you contact a shop, bring the model, model year, engine and transmission type, the full list of stored codes with freeze frame data if available, your notes on when limp mode occurs and the service history, including battery work, fluid services and the fluid used. Ask whether service bulletins or software updates apply to your vehicle, and request a diagnostic plan before parts are ordered. Repair options range from a battery, ground or connector repair, through sensor or solenoid assembly replacement with a relearn, to a rebuilt or replacement transmission. Confirm correct fitment for your exact transmission before any part or unit is installed.