Choosing an Electric Brake Booster and Master Cylinder Combination
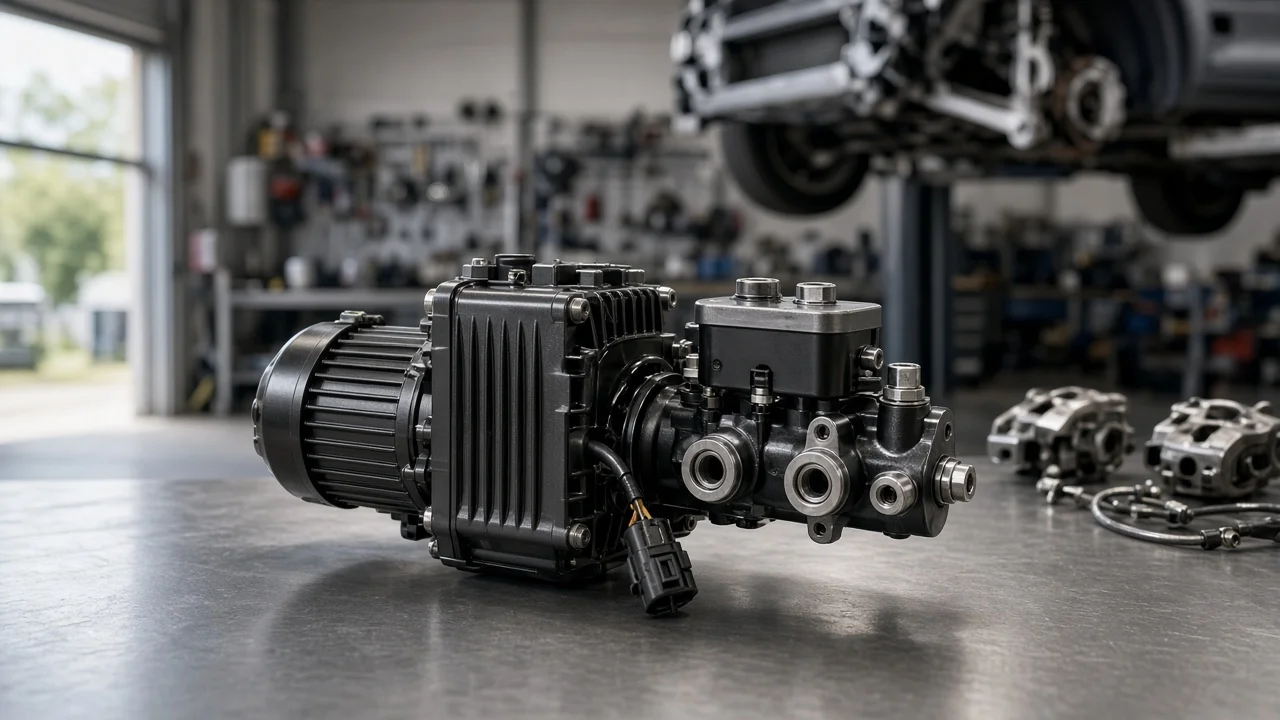
An electric brake booster and master cylinder combo replaces vacuum-dependent power assist with a self-contained unit that runs on the vehicle's 12-volt system. It is a common answer when an engine makes little usable vacuum, when a swap leaves no vacuum source at all, or when firewall space is tight. Choosing well means matching the unit to your brakes, pedal and electrical system rather than to a catalog label. Here is how a brake specialist approaches the decision.
Define the job the product must do
Start with the reason the vehicle needs a change. An electric booster and master cylinder combination is most often chosen when the engine no longer supplies enough vacuum for a conventional booster: a long-duration camshaft that drops idle vacuum, a diesel or forced-induction engine without a convenient vacuum source, or an electric conversion with no engine at all. Others choose one because a large vacuum booster will not clear headers, a steering shaft or a relocated component. Write down the vehicle, engine, brake layout at each axle, wheel and tire size, and how the vehicle is used, whether that is daily driving, towing or occasional track days. Those details decide which units are realistic before price enters the discussion.
Be honest about what problem you are solving. A hard pedal with poor assist can come from a failed vacuum booster or a cracked hose, and a new combo will address that. A soft, spongy or slowly sinking pedal points instead to air in the system, a fluid leak or a master cylinder bypassing internally, and a sinking pedal is a reason to stop driving until it is repaired. Weak stopping with a normal pedal usually means worn brake pads, glazed friction material or contaminated rotors, none of which more assist will cure. Diagnose first so the purchase targets the real fault.
Check compatibility
Hydraulic matching comes first. The master cylinder bore must suit the total piston area of the calipers and any wheel cylinders: a bore that is too large produces a firm, short pedal that needs more force, while one that is too small gives long pedal travel. Confirm whether your system is disc/disc or disc/drum, because drum circuits typically need a residual pressure valve and the right proportioning to keep rear lockup in check. Count the outlet ports, note whether the system is split front-to-rear or diagonally, and identify the fitting threads and flare type, since inverted flare and bubble flare fittings are not interchangeable. Adapters work, but every extra joint is another potential leak point.
Mechanical and electrical fitment are just as decisive. Compare the firewall mounting pattern, the pushrod length and its adjustment range, and the pedal ratio the unit expects; manual and power-assisted pedals often use different ratios. Measure clearance to the steering shaft, inner fender, exhaust and brake light switch. On the electrical side, the unit needs a fused 12-volt supply, usually switched through ignition and a relay, a solid ground and a charging system with headroom for its draw. If the vehicle has ABS or stability control, confirm the combo is documented to work with that module and its warning circuits. A vehicle fitment listing that names your platform is more useful than one marked universal, which usually means you will fabricate brackets and lines.
Features that affect the choice
Units differ in how they create assist. Some use an electric motor acting on the master cylinder pushrod, while electro-hydraulic designs run a pump that charges an accumulator and cycles as pressure drops. Ask how each design behaves if power is lost. A sound design keeps a mechanical path from the pedal to the master cylinder, so the brakes still apply, but pedal effort rises sharply; you should know that before it happens on the road. A fault output or dash warning lamp is worth having, and pump-based units can make audible cycling noise that matters in a quiet cabin or an electric vehicle.
Separate verifiable specifications from marketing language. Useful evidence includes the stated bore size, port threads, mounting dimensions, current draw and recommended fuse rating, approved brake fluid types and seal materials, a complete installation manual, warranty terms and the availability of rebuild or replacement parts. Labels such as bolt-on, OEM-grade or race-proven describe nothing you can measure, and claims about shorter stopping distances deserve caution. Stopping distance depends on tire grip, pad and rotor condition and caliper function as much as on the assist unit, so a booster cannot honestly promise a figure on its own.
Limitations and ownership costs
Budget for more than the unit itself. Expect to bench bleed the master cylinder, bleed the complete system, set pushrod free play so the master cylinder fully returns and the brakes do not drag, and confirm the brake lights still work. Many installations also need new hard lines or adapters, a proportioning or residual pressure valve, mounting brackets, a wiring harness, relay and fuse holder. Use only the brake fluid type the unit maker approves, never mix silicone DOT 5 with glycol-based DOT 3, 4 or 5.1 fluids, and replace fluid at the interval given in your vehicle's service information, since moisture-laden fluid corrodes seals and internal bores.
Know what the combo cannot do. It reduces pedal effort; it does not add friction or grip. Brake pads, brake rotors and calipers still need regular inspection against the wear limits in the vehicle-specific service information, and a sticking caliper or worn rotor will cause pulling or vibration regardless of the booster. If a warning light appears, the pedal sinks or feels inconsistent, the vehicle pulls under braking or the unit makes new noises after installation, stop using the vehicle and have the system checked by a qualified brake technician. Brakes are safety-critical, so if any step of the installation is beyond your tools or experience, professional service is the correct choice.
Build a practical shortlist
Narrow the field with a short checklist rather than a ranking. Confirm the reason for the change and that any existing fault has been diagnosed. Record the brake layout, caliper and wheel cylinder piston sizes, line split, fitting threads and pedal ratio. Then keep only units whose documented bore size, port configuration, mounting pattern and pushrod adjustment match those numbers, and whose physical dimensions clear the engine bay.
For each remaining candidate, verify the electrical requirements against your charging system, ABS compatibility where applicable, approved brake fluid, behavior on power loss and the presence of a fault warning. Weigh documentation, warranty coverage and parts availability above finish or styling. Finally, add up the full installed cost, including valves, lines, wiring, fluid and professional labor or a post-installation inspection. The right electric brake booster and master cylinder is the one that fits your vehicle and brakes with the fewest adaptations, not the one with the boldest claims.