Choosing a CSF Intercooler: Fitment, Features and Ownership Costs
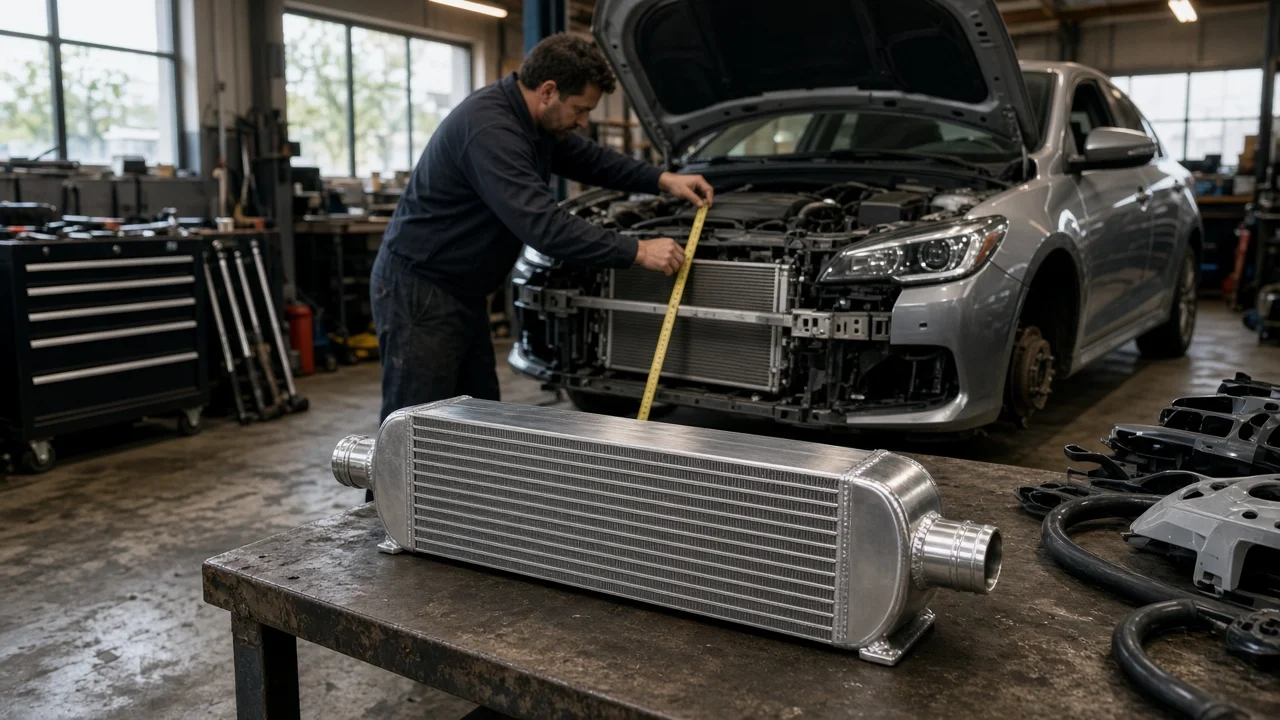
A CSF intercooler is usually bought for one of two reasons. Either the stock unit has failed or can no longer keep up, or a tuned turbocharged engine is producing more intake heat than the factory core was sized for. In both cases the right choice depends on your exact vehicle, engine variant and goals, not on a catalog headline. This guide covers how to define the job, confirm fitment, weigh features honestly and narrow the options to a practical shortlist.
Define the job the product must do
Start by deciding whether you are replacing a part that has actually failed or upgrading one that still works. Those are different jobs. Sluggish boost, a hissing noise under load or an underboost code points to the intake tract, but none of these proves the intercooler is at fault. Split couplers, loose clamps, a leaking diverter or bypass valve and cracked charge pipes produce the same complaints. Before buying, record the symptom conditions: ambient temperature, engine load, whether the problem appears only after repeated pulls, and any stored diagnostic codes with their freeze-frame data. A boost leak or smoke test on the pressurized side turns a suspicion into a verified failure. Treat oil in the intercooler with the same caution. A light film is common from crankcase ventilation, while heavy pooling suggests turbocharger seal or PCV problems that a new core will not cure.
If the goal is an upgrade, be specific about how the vehicle is used. A stock engine driven in mild weather may see little benefit. A tuned engine, repeated track sessions, summer towing or a hot climate can push intake temperatures high enough that the factory core heat-soaks and engine management pulls timing. Also note your budget, whether you will install the part yourself, and whether your current or planned tune expects a particular core. These constraints matter more than product photos.
Check compatibility
Fitment begins with the exact model year, engine variant and body style, confirmed against your VIN. Vehicles sold under the same name can use different engine configurations, turbo layouts and charge-pipe routing. A mid-cycle refresh can change the bumper, crash bar or sensor mounts even when the engine stays the same. Compare the listed applications with your vehicle's manufacturer specifications rather than relying on the model name alone. Also confirm the cooling type. Some engines use an air-to-air front-mount cooler, while others use an air-to-water charge air cooler with its own coolant circuit. The replacement must suit your system unless you plan a full conversion.
Then check the interfaces. Inlet and outlet diameters and their orientation determine whether you can reuse the factory couplers and charge pipes or must replace them. Look for provisions for the intake air temperature or boost pressure sensor and for mounting tabs that match the original brackets. Check clearance to the radiator, air-conditioning condenser, active grille shutters and any driver-assistance radar or camera hardware in the front fascia. A thicker core may require bumper trimming or relocated components. Read the product's list of included parts so you know whether clamps, couplers, hardware and brackets come in the box or must be sourced separately.
Features that affect the choice
Core construction is the main engineering trade-off. Bar-and-plate cores are generally dense and tolerant of physical damage but heavier. Tube-and-fin cores tend to be lighter and may flow more easily for a given size. Neither is automatically better; what matters is how the core is sized for your airflow and power target. More frontal area and depth add cooling capacity, but they also add charge volume. They can increase pressure drop if the internal design is restrictive, and they can reduce airflow to the radiator behind the core, which matters on an engine that already runs warm. End tank shape affects how evenly air spreads across the core, which is why manufacturers emphasize tank design.
Treat performance claims as evidence only when the test conditions are stated. A temperature drop or power gain means something only if you know the test vehicle, its tune, the ambient temperature, the number of consecutive runs and how intake temperature and boost were measured. Pressure-drop figures and intake air temperature logged across repeated pulls are more useful than a single peak dyno number. Labels such as race-proven or maximum cooling describe intent, not results. Finish options such as coated or raw aluminum mainly affect appearance and surface protection, so rank them below fitment and core design.
Limitations and ownership costs
Budget for more than the part. On many front-mount layouts, installation means removing the bumper cover and sometimes the crash bar or undertray, so shop labor can be significant. Couplers and clamps may need replacing, especially if the originals are old or the new ports differ. Air-to-water systems add a coolant drain, refill and bleed procedure that must follow the vehicle's service instructions. If the core departs significantly from stock, a tune adjustment may be advisable so that fueling and timing match the new intake temperatures and boost behavior.
Know what an intercooler cannot do. It will not fix a worn turbocharger, a faulty wastegate or boost control solenoid, a leak elsewhere in the charge path, or oil consumption caused by crankcase ventilation. On a stock calibration it does not create power by itself. Its job is to keep charge temperature lower and more consistent, which mainly helps under sustained or repeated load. After installation, pressure-test the system, check for diagnostic codes, re-check clamp torque after the first drives, and log intake air temperature and boost to confirm the result. Periodic inspection for bent fins, road debris and oil residue keeps the core effective. Keep receipts and notes in the service history, since they help with warranty questions and with diagnosing future symptoms.
Build a practical shortlist
Narrow the options with a short checklist rather than a ranking. First, confirm by VIN that the listed fitment matches your model year, engine variant, drivetrain and body style. Second, confirm the cooling type and that the inlet, outlet and sensor provisions match your charge pipes and sensors, or note which extra parts you need. Third, compare core construction, frontal area and depth against your power level and use, including the effect on radiator airflow. Fourth, look for performance data with stated test conditions and set aside claims that lack them.
Finally, total the realistic cost: the part, couplers and clamps, labor, any coolant or tune work, and the time the vehicle will be off the road. Check the warranty terms, including whether professional installation is required to keep coverage. If two candidates remain close, choose the one with clearer fitment documentation and a complete hardware kit, because installation surprises cost more than small differences in rated cooling. If the original problem was a symptom rather than a verified failure, finish the diagnosis first. A new intercooler helps only when the intercooler is genuinely the limiting part.