Choosing a Brake Vacuum Pump Seal or Gasket
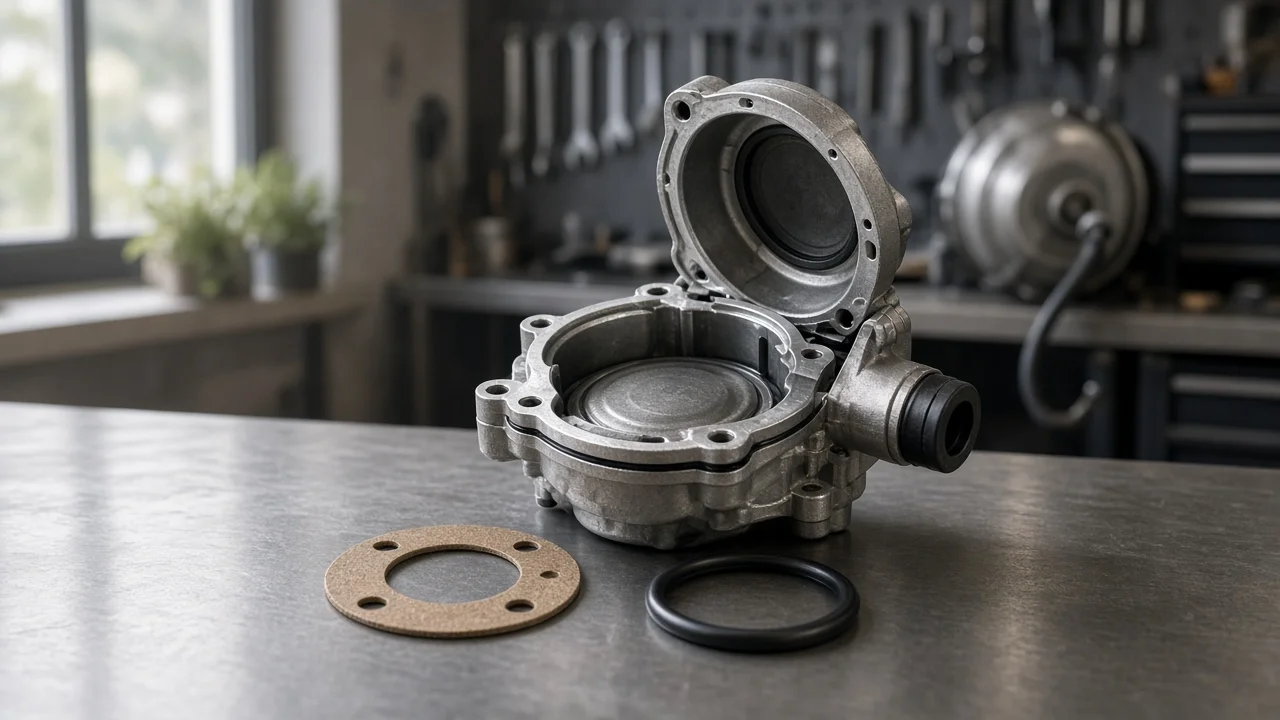
A failing brake vacuum pump seal usually shows up as an oil weep around the pump body. Less often, it shows up as a firm brake pedal when vacuum assist drops. On many engines, replacing the seal or gasket is an inexpensive repair, but it only works if the part matches your pump and the pump itself is still healthy. This guide covers how to choose the correct part, which details matter, and when the problem needs more than a new gasket.
Define the job the product must do
Start by identifying exactly what the seal has to seal. Many diesel engines, and some turbocharged or direct-injection gasoline engines, use a mechanical vacuum pump. It is driven by the camshaft and lubricated by engine oil. On these pumps, the seal or gasket where the pump mounts to the cylinder head or timing cover keeps engine oil inside. Some designs also have a separate seal around an oil feed passage or the drive coupling. Electric vacuum pumps work differently. Their seals are mostly at hose and port connections, and those seals hold vacuum rather than oil.
Next, confirm that your symptom actually points to a seal. Fresh oil around the pump flange suggests the mounting seal. A hard brake pedal, a hissing sound or a brake assist warning points to vacuum loss instead. Vacuum loss can come from a cracked hose, a faulty check valve, a leaking brake booster or worn internal parts in the pump, not just the external seal. If the pedal feels hard or stopping distance has increased, stop driving the vehicle and have the braking system inspected professionally. Buying a replacement part is not a diagnosis.
Check compatibility
Vehicle fitment for a vacuum pump gasket depends on more than year, make and model. The engine code matters most, and a production date range or pump supplier can also change the part. Two vehicles that look identical may use pumps from different manufacturers with different flange designs. The most reliable match is the original equipment part number, taken from the vehicle's service information or from the parts catalog entry for your exact engine. If the pump is accessible, check its housing for a part number.
Compare the seal type before ordering. Possible types include a flat gasket, a round O-ring, a square-section ring or a molded profile gasket shaped to the flange. Inner diameter and cross-section thickness both have to match. A ring that is too thin will weep, and one that is too thick can stop the pump from seating flat. Find out how many seals the procedure calls for. Also check whether the manufacturer sells the seal separately at all. Some pumps are serviced only as complete assemblies that already include a new seal, so a separate seal is unnecessary if you are replacing the pump. Service information may also specify single-use mounting bolts. In that case, new bolts belong on the same order.
Features that affect the choice
Material is the main specification that varies between seals. Fluoroelastomer seals, often listed as FKM, tolerate hot engine oil and heat cycling well, which is why they are common on cylinder head mounted pumps. Nitrile and hydrogenated nitrile seals are also used where the temperature range allows. The safest choice is the material the original part used. If a listing does not state the material, treat that as missing information rather than assuming it matches. Molded gaskets with a metal or plastic carrier are harder to install incorrectly than a loose O-ring. However, they only fit flanges designed for them.
Tell useful evidence apart from marketing labels. A clear original equipment cross-reference, a stated material, listed dimensions and an exact description of kit contents are all evidence you can check. Words such as heavy duty, upgraded or premium are not measurements. Universal O-ring assortments rarely match the exact cross-section an engine maker specifies. A seal kit that includes every seal named in the repair procedure can save a second order and another teardown, but only if each piece actually fits your pump.
Limitations and ownership costs
A new seal stops external leaks. It cannot restore vacuum output from a pump with worn vanes, a scored housing or a failed internal valve, and those faults call for pump replacement. Oil found inside the vacuum hose or brake booster suggests an internal pump failure, and the booster may need inspection as well. Keep the vacuum system separate from the hydraulic side of the brakes. Replacing brake pads or brake rotors, flushing brake fluid or servicing a caliper will not fix weak vacuum assist. A new pump seal does nothing for friction material either, so pads and rotors still need their own checks against the vehicle's wear limits.
The seal itself usually costs little. Labor and access make up most of the real cost. Depending on the engine, reaching the pump may mean removing covers, intake components or other parts. The mating surfaces must be cleaned without scratching the aluminum. Sealant should only be used where the service procedure calls for it, and bolts must be tightened to the specified torque. Engine oil lost during the job should be topped up. Afterward, check for leaks and confirm that brake assist works before returning the vehicle to normal use. If the pump has high mileage and is labor-intensive to reach, replacing the whole pump in the same visit can make sense. This applies especially if the pump's vacuum output is already marginal.
Build a practical shortlist
Compare candidate parts on facts you can verify, not on ratings. First, confirm whether the problem is an oil leak or a loss of vacuum. Identify the pump type and engine code, and find the original part number. Then confirm the seal type, dimensions and material. Check what the kit includes, whether new bolts are required and whether the seller accepts returns if the part does not match. A listing that fails any of these checks should come off the list, however attractive its price or description.
Before ordering, decide honestly whether you will do the work yourself. A do-it-yourself repair is reasonable if you have the service information, a torque wrench and a confirmed external leak with normal pedal feel. If the pedal is hard, warning lights are on, oil has reached the booster or you are unsure of the diagnosis, a brake specialist is the better choice. When the old seal comes out, keep it and compare it side by side with the new one before installation.