Chevy Volt Check Engine Light: Causes and Diagnostic Next Steps
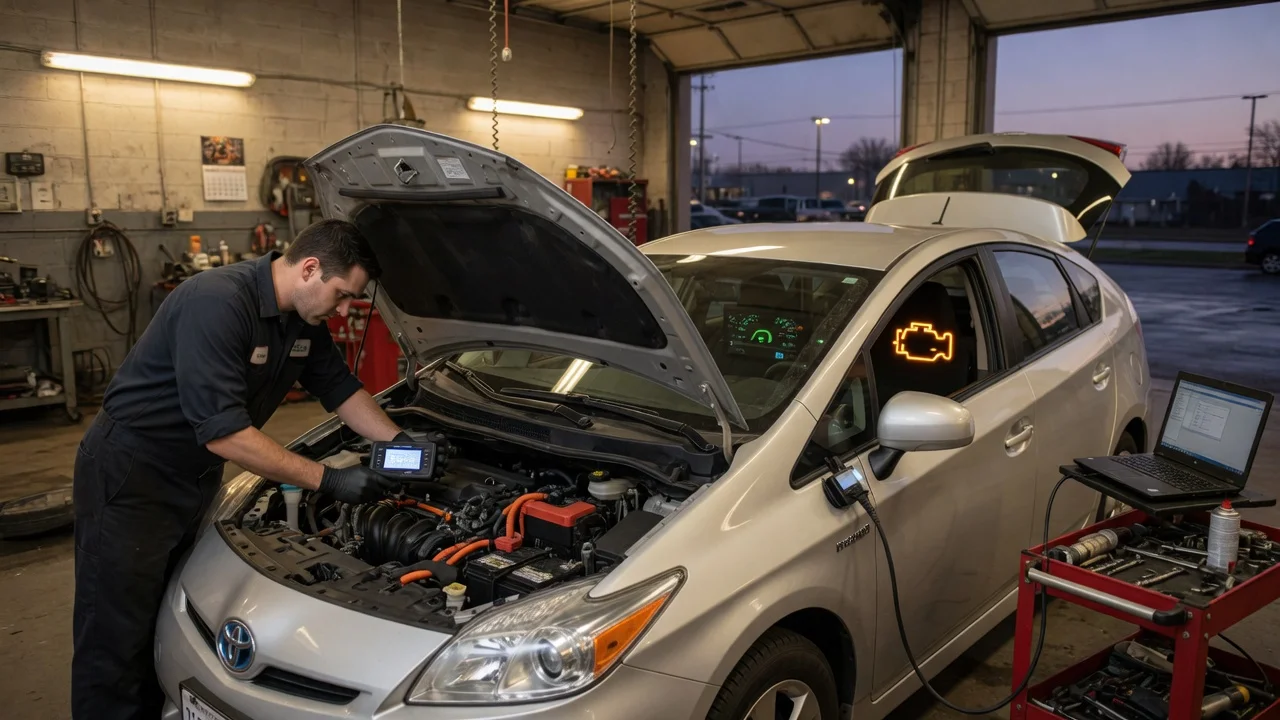
What a Chevy Volt Check Engine Light Means
A glowing check engine light on a Chevy Volt means the onboard diagnostics system has detected a fault that affects emissions, engine operation, or a monitored component. The light is a request for investigation, not automatic proof of a failed engine part. The Volt combines a gasoline engine with an electric drive system, so the warning can originate from the engine controller, emissions equipment, hybrid control modules, or related sensors. A steady light usually signals a non-emergency issue, while a flashing light indicates a more urgent misfire condition that can damage the catalytic converter if driving continues.
Common Causes of a Chevy Volt Check Engine Light
The specific cause depends on the model year, powertrain configuration, and stored diagnostic trouble code. The same symptom can have different explanations across first- and second-generation Volts, so a fault code should be read as evidence to investigate rather than proof that one component has failed.
Loose or damaged fuel cap: This can allow fuel vapor to escape and is one of the simplest causes to check before deeper diagnosis. Evaporative emissions system leak: Small leaks in hoses, the purge valve, or the vent system can trigger codes without affecting how the car drives. Oxygen sensor fault: A worn or contaminated oxygen sensor can send incorrect fuel-trim data and illuminate the warning. Spark plug or ignition coil wear: The range-extending gasoline engine relies on these parts, and aging components can cause misfire codes. Catalytic converter efficiency concern: This is often discovered through a code rather than through a distinct driving symptom. Battery or charging system warning: Because the Volt is a plug-in hybrid, issues in the high-voltage system may produce warnings that appear alongside the check engine light. 12-volt battery weakness: A failing conventional battery can create voltage irregularities that confuse multiple control modules and trigger warnings.
How to Check the Code Safely
A basic OBD-II scan is the most direct way to move from a warning light to a supported diagnosis. This applies to the Volt's gasoline engine and monitored emissions systems. Owners should verify that any scanner is compatible with the model year and that the vehicle is in a safe, stationary condition before connecting equipment.
Step-by-Step Diagnostic Approach
1) Park the Volt on a level surface, turn off the ignition, and allow the vehicle to settle. 2) Inspect the fuel cap first if the light appeared shortly after refueling; remove and reseat it until it clicks securely. 3) Connect a compatible OBD-II scanner to the diagnostic port and record every stored code. 4) Write down the exact code and any freeze-frame data showing engine temperature, speed, and conditions when the fault occurred. 5) Clear codes only if necessary for diagnosis, but understand that clearing the light without repairing the underlying cause may temporarily hide a problem that will return. 6) If the same code returns after a short drive, treat the repeating code as meaningful evidence that the condition still exists.
What Different Code Groups Suggest
A code beginning with P0 is a generic powertrain code used across many vehicles. A P1 code is manufacturer-specific and may require Volt-specific service information for accurate interpretation. Emissions-related codes often point to the evaporative system, oxygen sensors, or catalytic converter. Misfire codes identify a specific cylinder and direct attention to ignition components, fuel delivery, or mechanical condition. A fault code narrows the search; it does not by itself prove that a sensor, coil, or converter is defective.
When to Stop Driving or Seek Professional Diagnosis
Stop use and arrange professional diagnosis if the check engine light is flashing, if the vehicle enters reduced-power mode, if there are unusual noises or smells, or if the Volt becomes undrivable. High-voltage components should not be handled without appropriate training and equipment; these systems require service procedures beyond a consumer-level code scan. A qualified technician can compare the stored code with live data, wiring checks, and model-specific service information to determine whether the fault is in a part, a connection, or another monitored system.
Completing the Repair and Confirming the Fix
After a repair, the diagnostic code should be cleared and the vehicle driven through the conditions that originally set the fault. A successful repair is confirmed when the warning stays off and the readiness monitors complete their self-tests. If a monitor remains incomplete, some states may not pass an emissions inspection because the system has not yet proven the repair. Rechecking the same code after repair is a normal part of verification, not an immediate sign that the original diagnosis was wrong.
Limits of a Self-Diagnosis
A consumer scanner can identify a code and help the owner decide how urgent the condition may be, but it cannot measure every signal or isolate every hybrid-system fault. Model-year differences, software updates, and service bulletins can all affect how a code should be interpreted. Where the supplied evidence is incomplete, the safest next step is professional diagnosis rather than guessing at a replacement part.