Chevy Silverado Spare Tire Removal: Tool Location and Missing-Tool Options
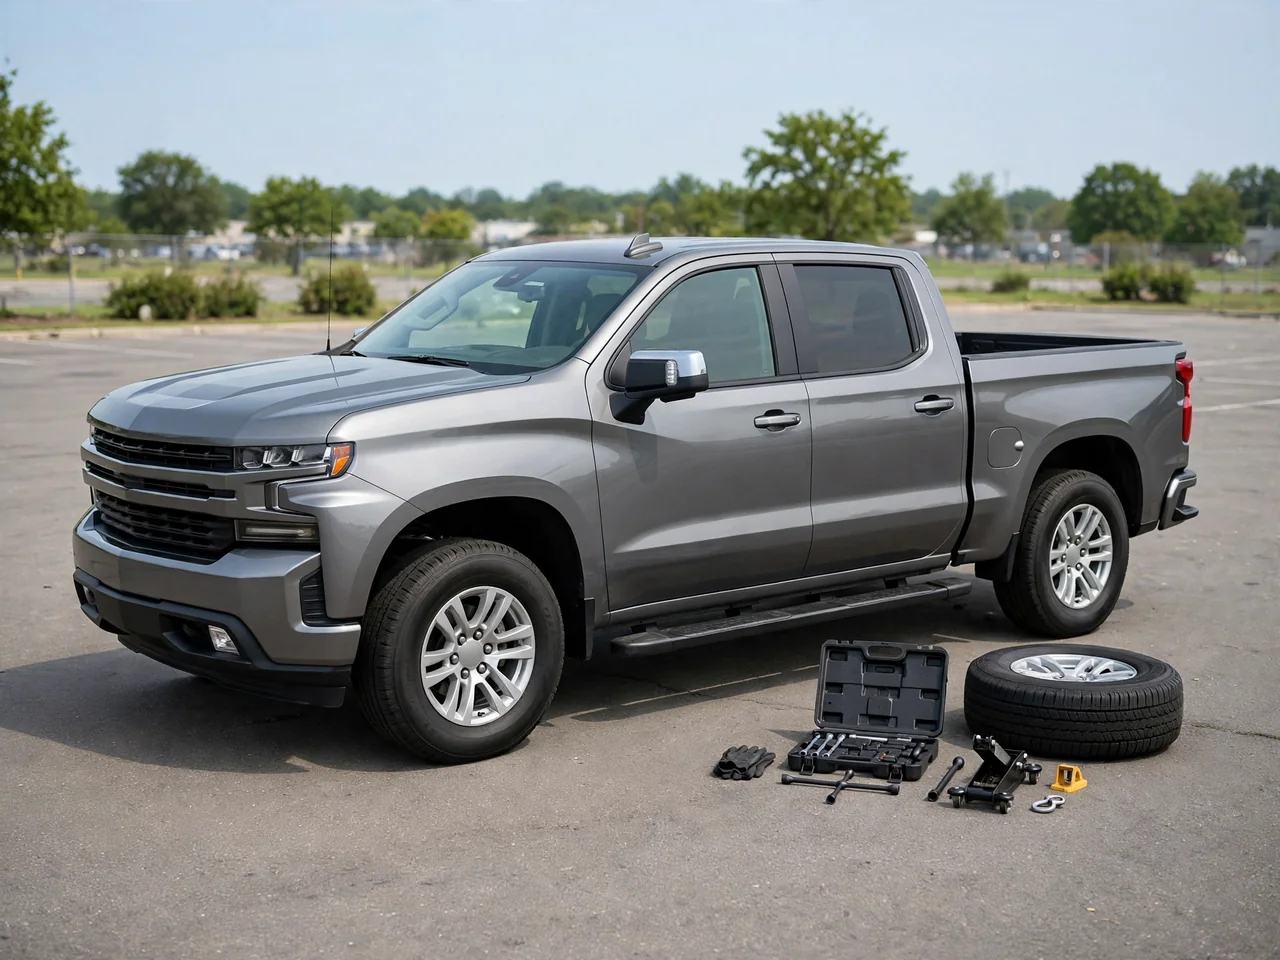
When a Chevy Silverado spare tire hangs under the bed, start by matching the truck's year, cab, and equipment to the owner's manual, then find the specified spare tire tool kit. Storage, hoist hardware, and spare tire lock features are not identical across trucks. Tool location, hoist engagement, controlled lowering, and Chevy spare tire removal without tool all depend on using the hardware that truck actually has.
Identify Your Silverado’s Spare Tire Setup
A Chevy Silverado spare tire that rides under the bed hangs on a spare tire hoist, but crew, double, and regular cabs, plus different model years and packages, change both tool storage and how you reach that hoist. The matching owner's manual is the source for that truck's illustration, access opening, and any spare tire lock. Do not assume a neighbor's kit, a prior generation, or a similar-looking pickup uses the same engagement end or the same storage compartment. Confirm the year, cab configuration, and equipment before you move seats or start lowering hardware.
You can often confirm a Chevy Silverado spare tire is present without crawling under the truck. From outside the vehicle's footprint, look for the tire hanging beneath the bed, the hoist cable or carrier outline, and whether a lock or cover sits at the hoist access opening. No visible spare means stop and use the manual rather than assuming hardware you cannot see. Lowering the spare is separate from changing a road wheel. Jacking, lug sequence, and wheel-off safety follow their own vehicle-specific procedure and are not finished by simply dropping the spare.
Locate the Spare Tire Tool Kit in the Cab
Chevy Silverado spare tire tool location belongs in the owner's manual illustration for that cab and year, not in a general guess. Read that page before sliding seats, lifting rear cushions, or opening a tool storage compartment cover. Behind-seat and under-seat bins are common on some configurations, yet a crew cab, a folding seat, or a storage package can put the kit elsewhere. Moving a seat first can hide the very cover the illustration shows. Match the printed storage view to the truck in front of you, then open only the compartment it identifies.
After locating the compartment, recognize the kit as a secured jack and a nested tool bundle rather than scattered hardware. Clips, straps, or foam pockets should hold the wheel wrench and extensions. If a strap is empty or a pocket is vacant, treat that piece as missing before you go to the hoist. When the kit is out, latch seats and storage covers closed. An unsecured rear seat or an open compartment lid can move while you are at the back of the truck.
Check the Kit for the Correct Hoist Tools
A Chevy Silverado spare tire removal tool is not one bar. The matching kit is meant to provide a wheel wrench for lug nuts, jack handle extensions that add reach, and a hoist engagement end shaped to drive the spare tire hoist through the access opening. Those pieces assemble in the order the matching manual shows. Finding a jack only confirms you can support the truck later if a wheel change is required. It does not complete spare tire removal. Without the hoist end and enough extension length, you cannot engage the winch from a safe standing position.
Replacement tools must match the truck, not a nearby Silverado of a different year. Confirm fit using the model year and the vehicle information the dealer or parts source requires before you buy or borrow a kit. An equipped spare tire lock is a separate device. If the hoist access is locked, the kit may still be complete while the lock key is missing. That key is its own item, often kept with the vehicle keys rather than in the tool bundle. A missing-key situation needs an authorized service solution, not improvised unlocking at the roadside.
Lower the Spare Using the Vehicle’s Specified Procedure
Park on firm, level ground away from traffic, apply the parking brake, and secure the transmission as the matching owner's manual directs before any hoist work. Locate the hoist access opening from that same illustration; depending on equipment, it may be reached from the rear or bumper area and may sit behind a plug or a spare tire lock. Assemble the specified Chevy Silverado spare tire removal tool in the documented order so the hoist engagement end seats fully. Stand outside the truck's footprint. Do not lie under the bed to start the winch.
Turn the assembly only in the direction the manual specifies and lower the spare in a controlled motion, keeping hands and feet clear of the descending tire. Stay outside the truck's footprint the entire time. The tire must rest fully on the ground before you follow the specified tire retainer release. Never reach beneath a spare that is still hanging. If the handle slips, the engagement end walks out, the tire moves sideways, or resistance feels sudden, stop. Extra force is not a substitute for correct engagement and can damage the hoist or drop the tire unexpectedly.
What to Do When the Spare Tire Tool Is Missing
Chevy spare tire removal without tool leaves you without a safe universal method that replaces the correct hoist tool on a Silverado. The underbody winch is designed around a specific engagement end and extension length. Substitutes that look close enough can slip, round the drive, or drop the tire. Practical options are to borrow a verified matching kit, obtain a confirmed replacement using the truck's year and vehicle information, or request roadside assistance. Those paths keep you out from under the bed and off improvised hardware.
A missing handle or jack handle extension is a parts problem: you still need the specified Chevy Silverado spare tire tool kit, not the lock key. A missing spare tire lock key is a security problem that authorized service must solve, even if every hoist bar is in the cab. Do not use improvised sockets, power tools, lock bypassing, cable cutting, or work beneath the truck to free the spare. On a narrow shoulder, a curve, or any place traffic makes standing at the rear unsafe, professional roadside assistance is the next step, not a workaround.
Recognize a Stuck Hoist and Check the Released Spare
A handle that turns without the tire moving, a spare that drops only partway, or a tire that stays on the retainer after the cable looks slack are observations, not a diagnosis. Corrosion, a jammed hoist, a twisted cable, or incomplete engagement can look similar from outside. Use a secondary latch only if the matching owner's manual confirms one on that truck and only with its specified release. If lowering needs force, if you would have to reach under a suspended tire, or if you suspect hoist damage, stop and get professional service.
Once the spare is fully on the ground and the retainer is released as specified, inspect the tire from a standing position for cuts, cracking, a bent wheel, or obvious underinflation. Verify inflation and any use restrictions against the vehicle's documentation before you put that spare in service. Stow the road wheel and return tools to their retained positions as the manual shows so the hoist holds the tire and the kit cannot come loose in the cab. If the hoist will not raise and hold the tire securely, leave it down and have the system inspected.