Chevy Impala Serpentine Belt Diagram: 2009–2011 V6
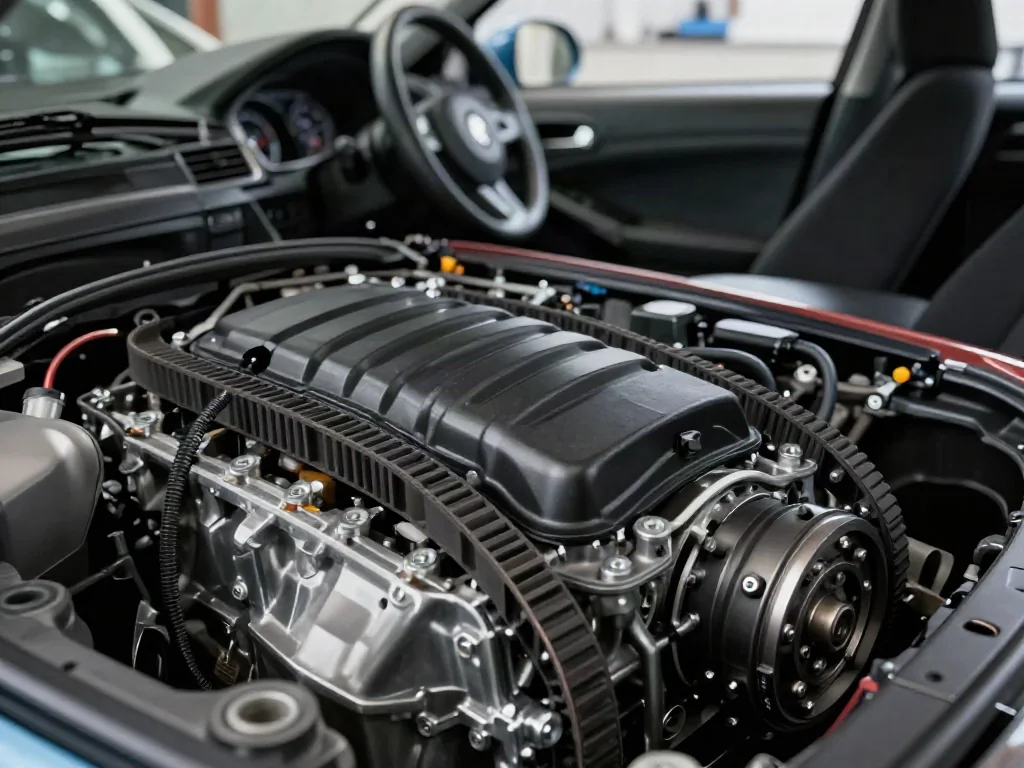
A squealing or misrouted serpentine belt can quickly disable the alternator, power steering, and cooling fan on a 2009–2011 Chevy Impala V6. The correct belt routing differs by engine configuration, so a matching 2009 Chevy Impala serpentine belt diagram or 2011 Chevy Impala serpentine belt diagram must be confirmed before work begins. This guide explains how to verify application data, interpret the accessory drive belt path, inspect for visible rib damage, and safely address replacement or persistent symptoms.
Find the correct diagram for your Impala’s year and V6 engine
Start by confirming the model year and exact engine RPO code from the underhood emissions label, build sheet, or service parts identification sticker. The 3.5L and 3.9L V6 engines used different accessory layouts, and a 2010 Impala may match either 2009 or 2011 routing depending on production changes. Never select a belt based on model year alone; third-party catalogs often group years incorrectly.
Look for the factory belt routing label on the radiator support, hood underside, or strut tower before consulting any diagram. For a 2009 Chevy Impala serpentine belt diagram, compare the label against the selected engine; for a 2011 Chevy Impala serpentine belt diagram, verify whether the alternator is mounted high or low. A damaged or missing label requires vehicle-specific service information, not a generic V6 drawing.
Read the belt path and identify each pulley
With the engine off and ignition key removed, trace the continuous belt loop from the crankshaft pulley around each driven accessory. The grooved side of the belt contacts ribbed pulleys—crankshaft, water pump, alternator, power steering, A/C compressor—while the smooth backside wraps the tensioner and any smooth idler pulley. Matching each contact point to the verified diagram prevents installing the belt one groove out.
The routing illustration deliberately simplifies spacing and may hide a small idler behind the alternator bracket. Identify the automatic belt tensioner: its pulley is smooth and mounted on a spring-loaded arm that moves against belt tension. Do not infer pulley position from appearance; on some 2009–2011 Impala V6s the tensioner sits near the top, while on others it is low and nearly out of sight.
Inspect visible belt wear without running the engine
Inspect the accessory drive belt only with the engine off and completely cool. Disable the ignition or remove the key, and keep hands clear of the tensioner arm—stored spring force can move it suddenly. Look along the full ribbed surface for missing chunks, frayed edges, oil contamination, or a belt that has climbed out of a grooved pulley. Any of these conditions means the belt is no longer transmitting torque reliably.
A chirp or squeal on startup or during turning often points to belt slip, but sound alone cannot identify whether the belt is glazed, the tensioner is weak, or an accessory bearing is dragging. Record when the noise occurs and whether it changes with steering load or A/C engagement, then inspect visually before spending money on parts. If the belt is displaced from its normal path or broken, do not attempt to drive; arrange assessment first.
Confirm replacement requirements before removing the belt
Before removing anything, confirm the replacement belt length, rib count, and routing for the exact engine and model year—do not rely on a part number remembered from another vehicle. Sketch or photograph the current path for reinstallation reference, but cross-check it against the verified diagram because a previously misrouted belt can look correct. The belt must match every grooved and smooth pulley in sequence.
Replacement typically involves rotating the tensioner to release tension, slipping the belt off, checking all pulleys for roughness or wobble, then laying the new belt over the crank and accessories in the diagram order. A spring-loaded tensioner can pinch fingers if the tool slips, and access is tight near the inner fender. If the tensioner requires a specific tool angle or the belt refuses to seat, stop and consult verified service instructions or a qualified technician.
Verify belt seating and address unresolved symptoms
After installation and before starting the engine, hand-turn the crank with a socket on the crank bolt and verify the complete belt path matches the diagram. Confirm every rib sits fully inside its grooved pulley and the smooth backside rests on the tensioner and idlers. A belt that appears loose, sits high on a pulley, or fights the routing indicates a wrong application, missed wrap, or a damaged pulley.
An unexplained fit problem calls for rechecking the year and engine code rather than forcing the belt. If the belt seats but noise persists or the new belt quickly shows frayed edges, the tensioner damping may be shot, a pulley may be misaligned, or a fluid leak may be degrading the rubber. Have a technician evaluate tensioner travel, pulley alignment, bearing play, and leak sources before another belt is installed.