Chevy and GM Front Axle Actuator Fitment Guide
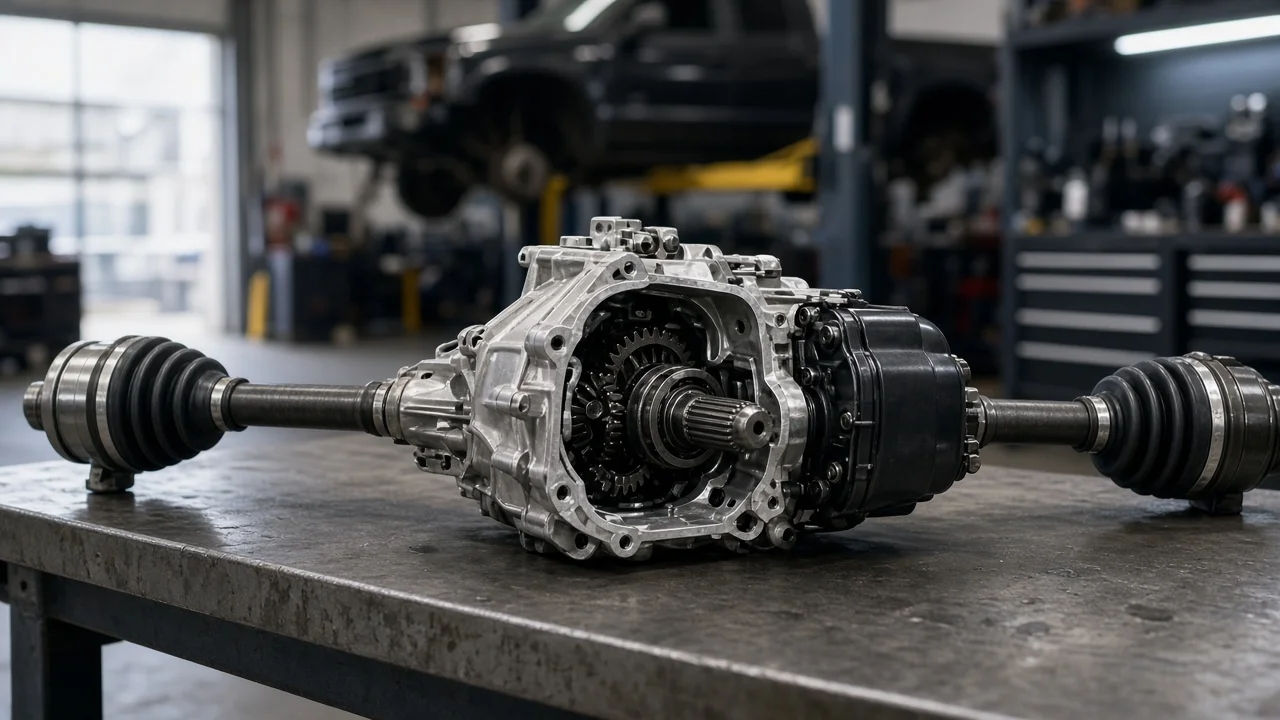
Finding the right Chevy 4WD actuator depends on matching the part to your truck's exact build, not just its model name. GM has used several front axle actuator designs across its trucks and SUVs, and two vehicles from the same model year can need different parts. This guide explains how to confirm fitment, what makes one actuator differ from another, and how to avoid buying a part that bolts on but does not work.
The Short Answer on Fitment
A Chevy front axle actuator fits correctly only when it matches the vehicle configuration it was designed for. That includes the model, generation, drivetrain, transfer case and front axle setup. Model year and nameplate are a starting point, but they are not enough on their own. The most reliable confirmation is a lookup by the full vehicle identification number, combined with the part number on the original actuator if it is still readable. Chevrolet and GMC versions of the same truck or SUV platform usually share driveline components, so a GM front axle actuator listed for a Sierra may also be correct for the matching Silverado. Verify this rather than assume it, because options within one platform can still change the part.
How the Front Axle Actuator Works
On many GM four-wheel-drive trucks and SUVs with independent front suspension, the front wheels stay connected to the axle shafts, but one axle shaft is split near the front differential. The actuator moves a sliding collar or shift fork. When four-wheel drive is selected, the collar locks the two halves together, and in two-wheel drive it releases them. This arrangement is often called a central axle disconnect. When it disengages, the front differential and much of the front driveline are not turned by the wheels, which reduces wear and drag during normal driving.
The actuator is controlled electrically. When the driver selects 4WD, the transfer case control system powers the actuator, and the dash indicator confirms engagement once the system recognizes it. If the actuator does not extend fully, the collar cannot lock the shaft halves. The front wheels then receive no drive even though the transfer case has shifted. This is why a failed or mismatched actuator often shows up as a 4WD indicator that flashes or never comes on, or as a truck that behaves as if it is still in two-wheel drive.
What Changes Which Actuator You Need
GM has used more than one actuator design over the years. Some earlier systems used a thermal-electric unit, where current heats an element that gradually pushes a plunger out, so engagement can take a noticeable moment. Later systems moved to motor-driven actuators that respond faster and may interact differently with the control module. These designs are not interchangeable just because they mount in the same general location. The electrical connector, mounting flange, plunger reach and internal circuitry can all differ.
Within a single model year, the correct part can also depend on several factors: the transfer case type, whether the truck has a manual-shift or automatic four-wheel-drive system, the front axle used, and mid-year production changes. Heavy-duty and light-duty versions of the same nameplate may not share parts, and SUVs built on a truck platform can differ from the pickups. Previous repairs matter too. If the service history shows that the actuator, wiring connector or front axle was replaced before, the parts now on the vehicle may not match the original build. Check what is physically installed as well as what the catalog says.
How to Confirm Fit Before You Buy
Start with the vehicle identification number and the Service Parts Identification label. On many GM trucks and SUVs, this label is inside the glove box and lists the factory option codes. A dealer parts counter or a reputable parts catalog can use this information to narrow the part to your exact build. Next, unplug the old actuator and compare its connector with the replacement. The connector shape, number of pins and locking tab should match. Also compare the mounting bolt pattern and the overall housing and plunger shape, and record any part number stamped or printed on the old unit.
Before buying anything, make sure the actuator is actually the problem. Check the relevant fuse. Look for corroded or broken wiring at the connector, which sits low near the front differential and is exposed to water and road salt. Confirm whether the actuator receives power when 4WD is selected. A worn shift fork, damaged collar or transfer case fault can produce similar symptoms. If the front differential fluid is low, contaminated or overdue under the maintenance schedule, deal with it during the same inspection.
When installing the new actuator, follow the service procedure for your specific vehicle. Some designs need the actuator positioned correctly relative to the shift fork. Some systems may also need the vehicle cycled between drive modes before the control module recognizes the new part. After installation, test engagement at low speed in a safe place and confirm that the indicator behaves normally.
Limitations and When to Get Help
This guide explains how GM front axle actuators differ and how fitment is confirmed. It cannot identify the correct part for a particular truck without that truck's VIN, option codes and the part currently installed. Catalog listings sometimes contain errors, and aftermarket parts may be listed for a wider range of vehicles than they actually fit, so compare the physical part before installation.
Have a qualified technician diagnose the system if the replacement actuator works when powered but 4WD still does not engage, or if diagnostic trouble codes point to the transfer case or control module. A technician can use a scan tool and the manufacturer specifications for your vehicle. Get the same help if you notice grinding, clunking or binding in four-wheel drive, since these can signal internal damage that a new actuator will not fix. Operating conditions such as frequent water crossings, mud or winter road salt can shorten the life of the connector and wiring, so a technician may recommend repairing them at the same time.