Chevy Colorado PCV Valve Location and Replacement
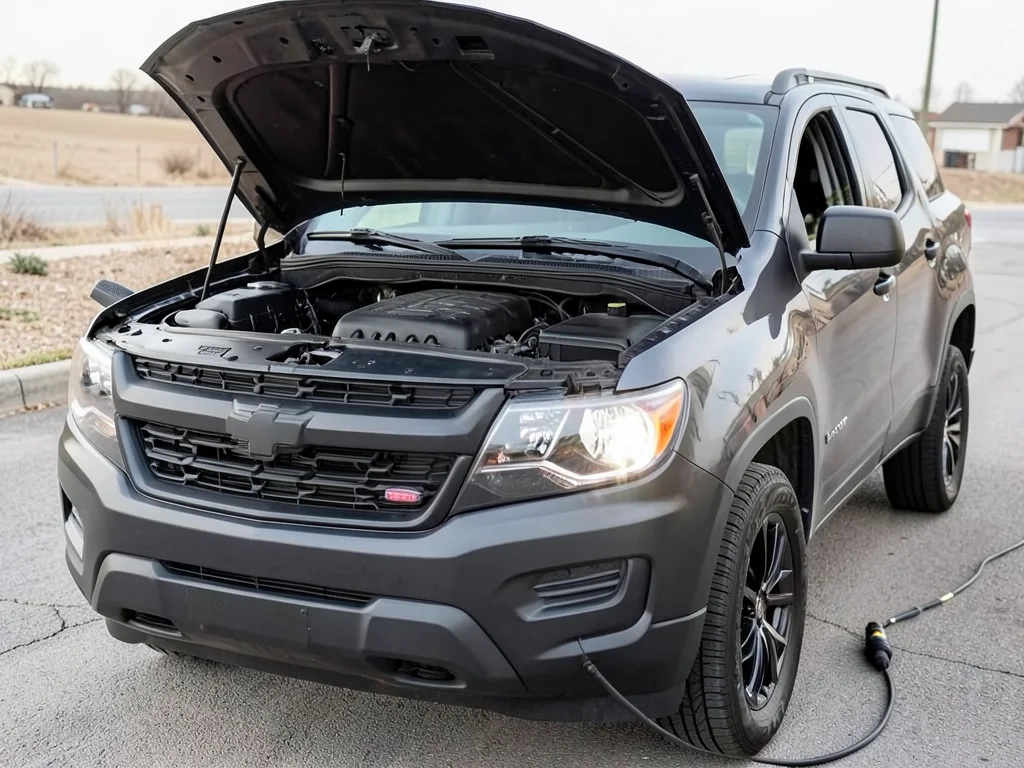
Addressing a Chevy Colorado PCV valve replacement starts with proper engine identification, because crankcase ventilation designs vary by year, fuel type, and emissions package. A failed or clogged positive crankcase ventilation component can cause oil leaks, rough idle, and excessive crankcase pressure, but the repair scope depends on whether your Colorado uses a serviceable valve, an integrated oil separator, or a hose-and-orifice setup. This guide clarifies valve location, replacement planning, and symptom interpretation for supported Colorado applications.
Identify Your Colorado’s Engine Before Looking for the PCV Valve
Confirming which engine your Colorado has is the first step before searching for a PCV valve. Gasoline four-cylinder, V6, and diesel options were offered in different model years, and each can route crankcase ventilation differently. The eighth character of the VIN often identifies the engine, while the underhood emissions label provides displacement and family information. Without this confirmation, online parts diagrams may show a part that does not exist on your truck, such as a threaded valve where the factory design uses a fixed orifice inside a hose or valve cover.
A common mistake is assuming every engine has a separately replaceable PCV valve simply because a parts catalog lists one. Many later Colorado engines integrate the metering function into the valve cover, an oil separator module, or a heated breather assembly that is sold only as a complete unit. Checking the factory service manual for your exact model year and engine code reveals whether the ventilation component is threaded into a grommet, clipped into a hose, or permanently housed in a plastic housing. This prevents buying a universal valve that cannot be installed without unsafe modification.
Locate the Crankcase Ventilation Components on Your Engine
On engines with a traditional threaded PCV valve, the most consistent landmarks are the valve cover and the intake manifold. The valve usually threads into a rubber grommet on the passenger or driver side of the valve cover, with a vacuum hose running from the valve body to an intake connection. Some Colorado V6 engines place the valve near the oil fill cap, while four-cylinder designs may route the hose from the rear of the valve cover toward the throttle body. A look at the emissions routing diagram under the hood can identify the correct hose before any disassembly.
Not every visible hose connection is the valve itself. Many modern Colorado engines use a crankcase ventilation hose that pushes into a plastic oil separator or an integrated valve cover fitting, with the actual metering orifice hidden inside the assembly. The hose may be removable, but the serviceable part could be the entire separator or cover assembly. Owners should inspect only from the outside with the engine off and cool, noting obvious cracks, loose clamps, or oil residue at the hose ends without pulling fittings apart to search for a valve that is not separately replaceable.
Determine What Can Be Replaced Separately
Service information for your specific truck will state whether the PCV system uses a screw-in valve, a push-in valve, or no replaceable valve at all. Some early Colorado models with certain four-cylinder engines list a standard PCV valve that can be replaced in minutes, while later direct-injection V6 designs integrate the metering function into the valve cover or a crankcase oil separator. If the parts diagram shows only a ventilation hose and valve cover as separate pieces, the valve is likely internal and requires replacing the entire cover or separator assembly.
Using the vehicle’s year, engine code, and VIN when ordering components ensures the supplied part matches the calibration and emissions certification. Even if a generic online listing says “PCV valve” for your Colorado, the actual repair may require specific seals, a new grommet, or a preformed hose that is sold separately. Inspect nearby rubber grommets and plastic hose ends for hardening or cracks before installation, but do not replace them out of habit. A parts listing name is not confirmation of fit, especially when emissions packages differ between California and federal configurations.
Check Symptoms Before Attributing Them to the PCV System
Oil seepage around the valve cover, a faint whistling at idle, rough running, or slightly increased oil consumption can all point to crankcase ventilation trouble, but each symptom has overlapping causes. A torn intake boot, aged valve cover gasket, or failing oil separator can produce similar observations. A loud whistle may be a vacuum leak from an unrelated hose, while oil consumption can stem from worn piston rings or valve guides. Therefore, visual and auditory clues should be used to narrow down possibilities rather than to confirm a bad PCV valve outright.
With the engine off and cool, you can safely inspect the accessible ventilation hoses for cracks, collapsed sections, or fresh oily residue near connections. A loose clamp or disconnected hose at the intake manifold may be obvious. However, shaking a removed valve to hear a rattle only works on certain metal valve designs and does not verify flow or sealing. Watching oil-cap behavior at idle can suggest excessive crankcase pressure, but a formal diagnosis often requires a crankcase pressure transducer or smoke test to find leaks in the ventilation path.
Plan the Correct PCV Replacement for Your Colorado
Once a failed PCV component is confirmed for your exact engine, gather the correct replacement part, any required grommets or seals, and the applicable service procedure. Access can vary from an easy reach on top of the valve cover to a buried location requiring removal of the intake plenum or engine cover. Torque specifications and hose routing instructions are engine-specific, and skipping them can cause new oil leaks or a pinched vacuum line. If the repair involves an integrated valve cover, the job becomes more involved and may require injector seal replacement or high-pressure fuel line handling.
Brittle plastic fittings and heat-aged hoses are common on older Colorado trucks, and a simple valve swap can break an adjacent connector. Some integrated oil separators require special tools to release the quick-connect fittings without damage. If the replacement part is a complete valve cover with an internal PCV function, the labor may include removing coils, wiring harnesses, and possibly the high-pressure fuel pump. In these cases, professional replacement can be more cost-effective than risking broken plastic or an improper seal. Never bypass the ventilation system or install a universal valve unless the service information explicitly supports that substitution.
Verify the Repair and Address Persistent Symptoms
After installing the correct part, follow the service procedure to confirm that all hoses are fully seated, clamps are tight, and no electrical connectors were disturbed. Start the engine and listen for new whistles or hissing, which could indicate a fitting not fully locked. Check for fresh oil weeping at the valve or separator joints during the first few heat cycles. A properly operating PCV system should produce no additional noise and should not cause smoke from the oil filler opening when the cap is removed briefly.
If the same idle concern, oil seepage, or oil consumption returns after replacement, the original diagnosis may have been incomplete. Rather than replacing the PCV part again, a professional should measure crankcase pressure under load and perform a smoke test on the ventilation circuit. A persistent oil leak could be a failing rear main seal due to excessive crankcase pressure from a clogged separator or a blocked hose not replaced earlier. Severe symptoms such as oil-pressure warning lights, heavy smoke, or sudden rough running require stopping the vehicle safely and having it towed for diagnosis.