Chevy Colorado Cabin Air Filter Replacement
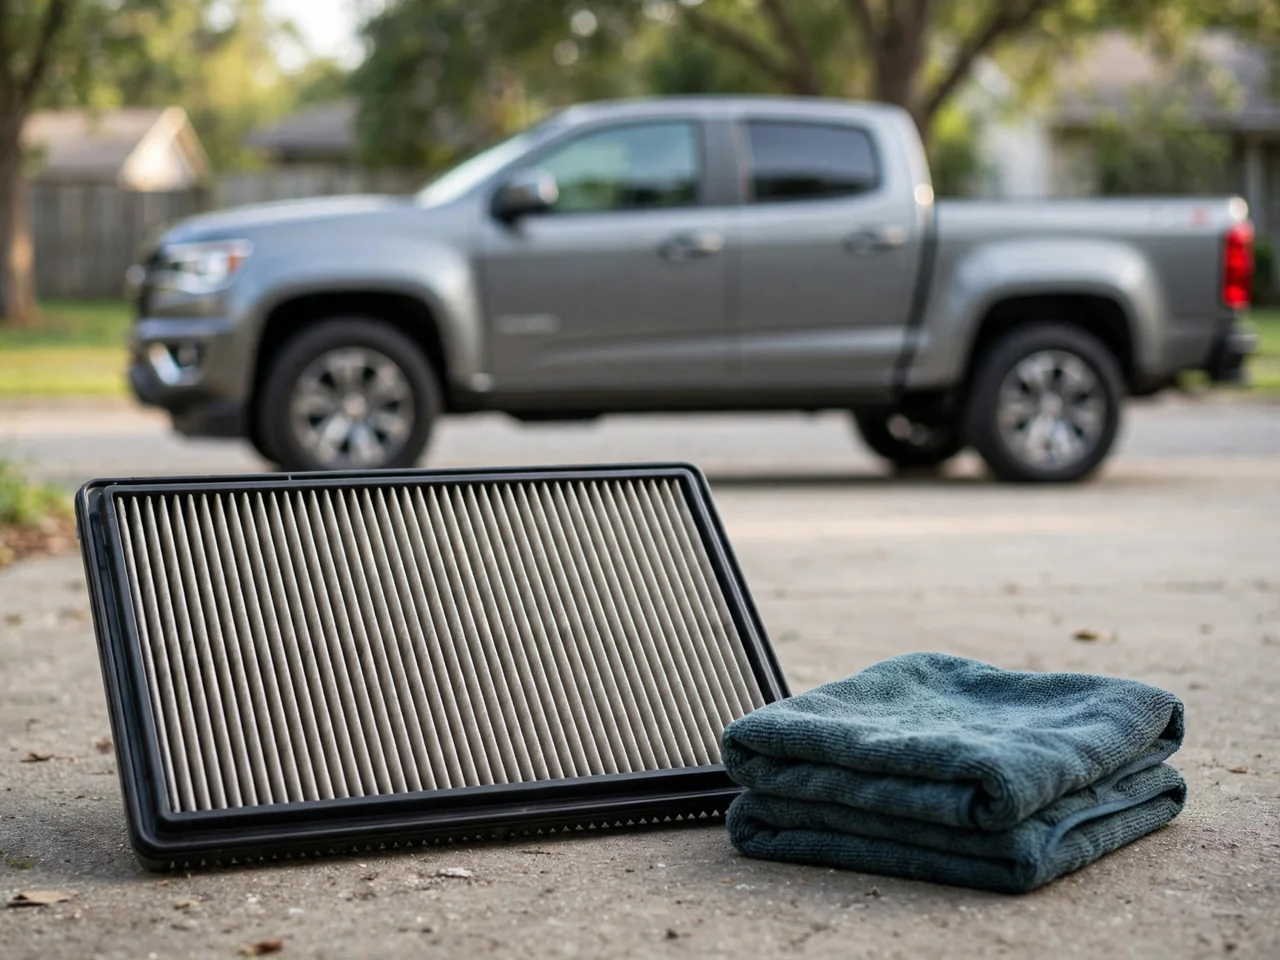
A Chevy Colorado cabin air filter is the passenger compartment air filter in the HVAC path, catching dust and pollen before they reach the vents. Chevrolet Colorado cabin air filter location, fitment, and interval vary by model year and equipment, so confirm configuration before ordering a replacement. This guide covers verifying equipment, locating the filter housing, swapping the filter without forcing interior parts, and following the owner’s manual maintenance schedule.
Confirm Your Colorado’s Filter Equipment and Fitment
Not every Chevrolet Colorado is equipped the same way, and a cabin air filter Chevy Colorado owners expect may be optional, relocated, or absent on some model years and trim packages. Before assuming a passenger compartment air filter is fitted or ordering a replacement, establish the model year, cab configuration, and climate-control equipment. An engine air filter protects the intake tract and does not serve this ventilation task; replacing it will not restore HVAC airflow through the cabin filter housing or address dust and pollen entering the passenger compartment.
Use the owner’s manual first to confirm whether a cabin filter is specified and how Chevrolet describes the passenger ventilation service. A vehicle-specific parts listing matched to the Colorado’s model year and options is the next check, because aftermarket catalogs can list more than one housing size. When the manual and parts data still conflict, the VIN lets a dealer or parts specialist identify the exact filter. Do not rely on a neighboring truck’s layout; crew-cab and extended-cab interiors, and different HVAC packages, can change whether a filter is present and which part number seats in the housing.
Locate the Cabin Filter and Identify the Access Route
Cabin filter access on a Chevy Colorado is not one universal route. Some model years and HVAC layouts place the passenger compartment air filter behind glove-box components; others use a housing cover reached after releasing interior trim or a dedicated door. Treat any online photo of a single location as incomplete. Open the owner’s manual to the cabin-filter or HVAC service pages for that model year and follow the illustrated access path. If the manual is missing, a vehicle-specific procedure for that VIN is the substitute, not a procedure copied from a different generation.
Park the truck on level ground, set the parking brake, and turn the ignition and climate control off so blower motors and blend doors are not moving while you work. Provide adequate lighting and a clear passenger-side workspace so glove-box stops, dampers, or trim retainers are visible before they are released. Remove only the covers and retainers named in the applicable procedure. If access is unclear, a retainer is already broken, or unexpected wiring sits across the housing, stop and seek professional assistance rather than prying on interior parts.
Remove the Existing Filter Without Forcing Interior Parts
Follow the verified removal sequence for that Chevrolet Colorado model year rather than forcing a glove box past its stops. If the procedure calls for lowering or releasing the glove box, support it so the hinges and dampers are not overloaded; if it specifies a housing cover, open only the latches or screws identified. Before withdrawing the old cabin air filter, note its orientation and look for housing markings. The previous filter may have been installed incorrectly, so treat its position as a clue, not as proof of the correct airflow direction.
Slide the filter out gently so dust and pollen collected in the pleats do not dump into the ventilation opening. Contain loose debris with a shop towel at the housing mouth as the element leaves. Limit cleaning to accessible dry debris at the opening; do not spray solvents or water into the filter housing and do not reach into concealed HVAC components. Those areas are easy to damage and sit outside a cabin-filter swap. If packed debris will not come out at the opening, stop and have the HVAC path inspected.
Install the Replacement and Check Ventilation Operation
Confirm the replacement is specified for that Chevy Colorado cabin air filter application so the element seats fully in the housing without crushing the pleats. A filter that is too thick or too wide will force the cover and can leak unfiltered air around the frame. Airflow-direction arrows show intended HVAC airflow through the media; markings labeled “UP” show which edge faces the top of the housing. Those two cues are not interchangeable. Use the housing markings or the vehicle instructions for that model year to set orientation, not a guess based on the old filter.
Seat the filter fully, then secure the housing cover without forcing it closed over a misaligned frame. Restore any glove-box stops, dampers, or trim that were released, and confirm the glove box opens, latches, and stays aligned if it was part of the access route. After reassembly, run the blower on several speeds with recirculation and outside-air selected in turn, listening for new rattles and noting whether HVAC airflow feels obstructed. Seek assistance if a cover will not latch, if new noises appear, or if weak airflow persists after a correctly seated replacement.
Set the Replacement Interval Using Colorado Maintenance Guidance
Do not apply one mileage or time interval to every Colorado. The applicable model-year maintenance schedule in the owner’s manual is the source for when Chevrolet expects a passenger compartment air filter inspection or replacement. Dusty roads, unpaved job sites, and heavy pollen seasons load the media faster, and visible contamination on a removed filter can justify earlier service when the schedule allows inspection. Follow that guidance rather than a generic once-a-year rule. If the schedule lists inspection rather than automatic replacement, look at the element before deciding it must be changed.
Reduced HVAC airflow and unpleasant odors are reasons to inspect the Chevy Colorado cabin air filter, but they do not establish that the filter is the cause. A restricted evaporator, a failing blower, a door that is not opening, or debris downstream of the housing can produce the same complaints. Record the replacement date and odometer reading so the next interval is tracked against the maintenance schedule. If ventilation problems persist after a correctly oriented, fully seated filter, obtain professional diagnosis instead of repeating filter changes.