Chevy Brake Booster Check Valve: Identifying the Correct Part by Model
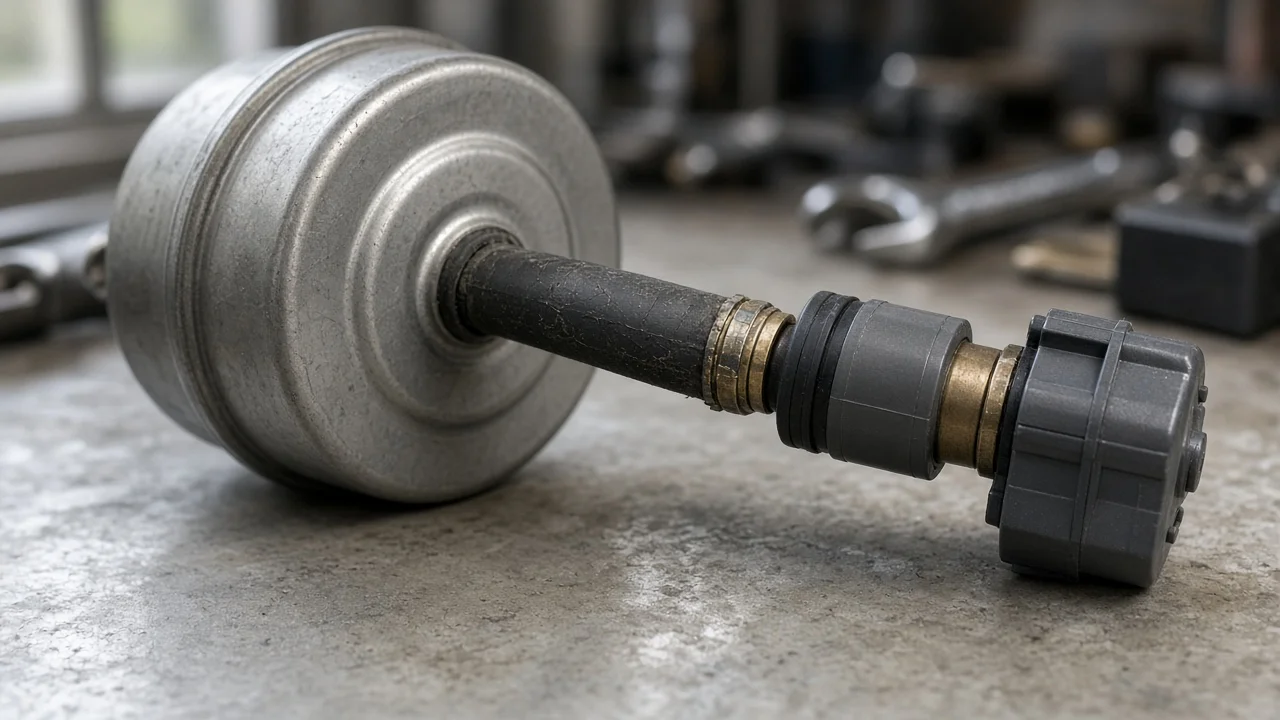
A brake booster check valve is a small one-way valve that traps vacuum inside the booster, so the pedal stays power-assisted when engine vacuum drops or the engine shuts off. On many gasoline Chevy cars and trucks, it sits in a rubber grommet on the booster shell or inline in the vacuum hose. Before ordering one, confirm that the valve is actually at fault and match the part to your exact vehicle, because the design varies by model, engine and year.
Establish the symptoms
The complaint most often linked to a failing check valve is a hard brake pedal on the first stop after the vehicle has been parked. The pedal then feels normal once the engine has run for a moment. Other signs include pedal effort that rises during hard acceleration, climbing or towing, when engine vacuum is low. You may also hear a hiss near the booster or find a vacuum hose that is collapsed, cracked or loose at the grommet. Note exactly when the problem appears: on a cold start, after the vehicle sits overnight, after a short shutdown, or only under load.
Also record related signs and recent changes. These include a rough or unstable idle, a check engine light, the engine stumbling when you press the brakes, and any recent work on the intake, vacuum hoses, brake pads, brake fluid, booster or master cylinder. At the same time, write down the details that determine fitment: model year, model, engine, drivetrain and VIN. Note whether the vehicle is gasoline, diesel, hybrid or electric. Some Chevy models do not use an engine-vacuum check valve at all.
Distinguish plausible causes
A valve that leaks backward or sticks open lets booster vacuum bleed into the intake after shutdown, which produces the hard first pedal. Two observations support this cause: power assist disappears quickly after the engine is switched off, and the removed valve passes air in both directions. The opposite case points elsewhere. A pedal that stays hard while the engine idles steadily suggests a valve that is blocked or stuck closed, or a vacuum supply that is not reaching the booster at all.
Several other faults mimic a bad valve. A cracked grommet or leaking hose often hisses, and the idle may change when the hose is moved. A torn booster diaphragm tends to hiss while the pedal is held down, can make the idle dip when you brake, and loses vacuum reserve even with a good valve. Low engine vacuum, or a weak vacuum pump on engines that use one, starves the booster no matter which valve is fitted. Many Chevy diesel trucks use hydraulic brake assist driven by the power steering system rather than engine vacuum, so those faults lie in a different system.
Hydraulic and friction problems behave differently. A soft, spongy or sinking pedal points to the brake fluid, air in the lines, the master cylinder or a caliper leak, not to the check valve. Grinding, pulsation or pulling relate to brake pads, brake rotors, caliper condition and wear limits. The check valve mainly affects how hard you must push the pedal, not how far the pedal travels.
Checks in a useful order
Start with safe observations. With the engine off, pump the pedal several times until it firms up, which uses up the stored vacuum. Hold moderate pressure on the pedal and start the engine. The pedal should move down slightly as power assist builds. If it does not move, vacuum may not be reaching the booster. Next, let the engine run, switch it off, wait a short time, and press the pedal. You should get some assisted applications before it turns hard. With the engine idling, look and listen at the valve and hose while keeping hands clear of moving parts and hot surfaces.
The next tests need tools and the procedure for your vehicle. With the valve or hose removed, a hand vacuum pump confirms one-way flow. Vacuum applied to the booster side should hold, and vacuum applied to the engine side should pull through. A vacuum gauge at the booster supply can be compared with the manufacturer's specification. Booster leak-down checks follow the service procedure. Ease the valve out rather than prying, because the grommet and booster shell can be damaged. Replacing the booster or master cylinder, or any work that opens the hydraulic system, belongs with a qualified technician who will follow the correct bleeding procedure.
Interpret the findings
If the valve passes air in both directions, the valve fault is confirmed. Still inspect the grommet and hose, since they age alongside it. If the valve seals properly in one direction but vacuum reserve is still lost, focus on the booster diaphragm, the grommet and the hose connections. If supply vacuum is low and the valve tests good, the problem lies with the engine or the vacuum source, and a new valve will not fix it. Results from pedal feel alone suggest a direction but do not prove which component has failed.
Once the valve is confirmed faulty, verify the replacement against your vehicle. Chevy booster check valves differ in several ways. Some mount in a grommet while others are built into a hose assembly. They can be straight or angled, and their hose connections differ in size. Some setups include a port for a vacuum sensor or connect to an auxiliary vacuum pump. The same model can use different parts depending on engine and generation. Compare the removed part side by side with the new one. On many GM vehicles, a Service Parts Identification label lists the RPO option codes, though its location varies, and the eighth VIN character usually identifies the engine. A universal valve that physically fits does not prove it matches the original design or that it is installed in the right direction.
Urgency and next action
Stop driving and arrange professional service or a tow if any of these occur: the pedal sinks toward the floor, the brake warning light comes on, fluid is leaking, you hear metal-on-metal grinding, the vehicle pulls hard, or the pedal is very hard and stopping power is weak. Even a fault limited to the check valve can leave little power assist on the first stop, so treat it as a repair to make now. Nobody can promise how far the vehicle can safely be driven in this condition.
Take the following to the parts counter or technician: VIN, model year, model, engine, RPO codes, test results and recent work history. Add photos showing the valve, grommet, hose routing and any electrical connector. With that information, they can confirm fitment and decide whether the repair needs a valve, a hose assembly, a grommet or the booster itself. After the repair, confirm normal pedal feel and vacuum reserve before returning to regular driving.