Chevy 4WD Actuator Replacement
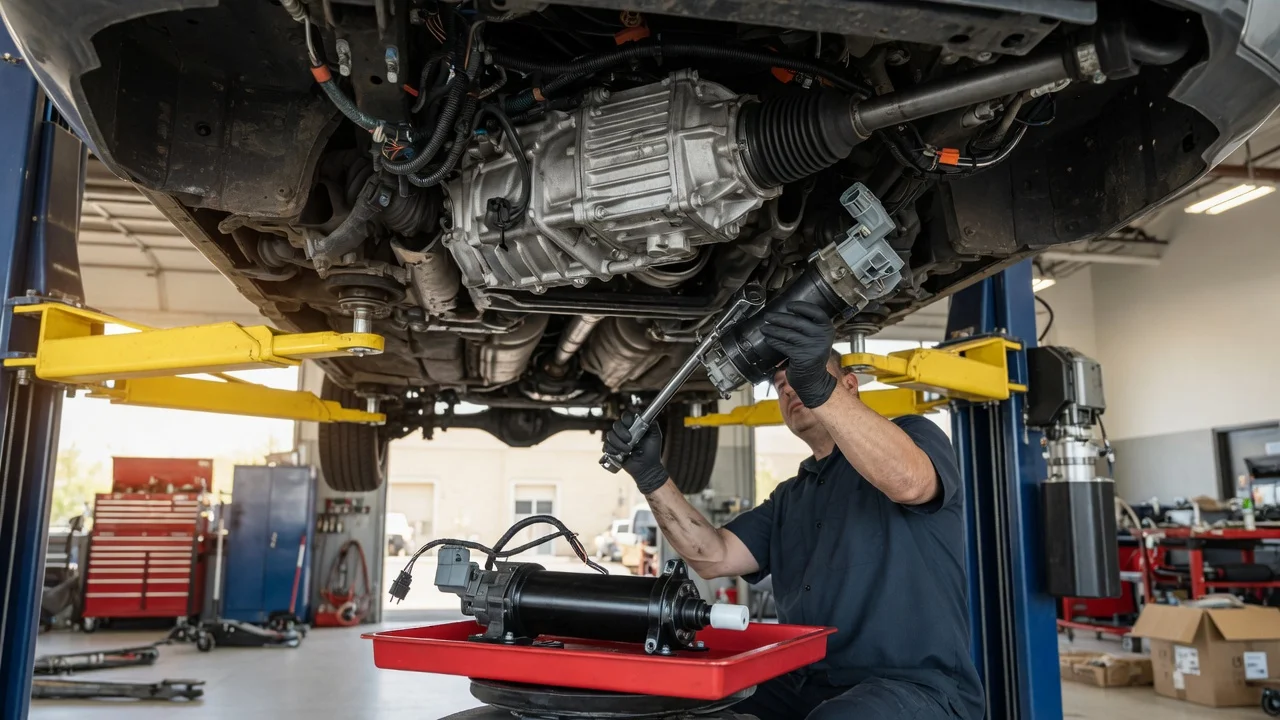
Confirm the part and repair scope
A 4WD actuator replacement should begin with the exact vehicle configuration. The intended fitment matters because Chevy trucks and SUVs can use different actuator locations, electrical connectors, or axle engagement designs depending on model, year, drivetrain, and transfer case. Verify that the replacement part matches the original actuator for your application before disassembling anything.
Review the service history and current symptoms before buying a part. If the front axle does not engage but the transfer case shifts normally, the actuator may be faulty. However, wiring damage, a blown fuse, a failed control module, low system voltage, or an internal axle engagement problem can produce similar behavior. A basic inspection can help confirm the actuator is the actual fault rather than the visible symptom of another failure.
Replacement does not compensate for the wrong diagnosis. If the old actuator is removed and tests fine electrically, the problem may be elsewhere. Confirm that the replacement addresses the actual problem, not just the first related component that is easy to access.
Prepare tools and safe access
Use the manufacturer specifications and service information for your exact truck or SUV. Required tools vary by actuator design, but common needs include hand wrenches, a torque wrench, a terminal cleaning brush, corrosion protection, and a safe way to support the vehicle. Working underneath requires proper support, not only a jack.
Locate the actuator before raising the vehicle. The exact position depends on the vehicle configuration. The component may be attached to the front axle housing or nearby area, so identifying it from the wheel arch or underbody first helps avoid disconnecting the wrong electrical or mechanical part.
Disconnect the battery ground cable when the procedure calls for it, especially if the actuator has an electrical connector. If the job requires significant disassembly, exposure to road debris, or work next to the front axle, use appropriate eye protection and gloves. If you are not comfortable safely supporting the vehicle or cannot clearly identify the actuator and its connector, the repair is better handled by a qualified mechanic.
Remove without avoidable damage
Before unplugging the actuator, inspect the connector for moisture, corrosion, bent terminals, or damaged wire insulation. If the connector shows corrosion, clean the terminals carefully and check the wiring while the old part is still accessible. Replacing an actuator without correcting a damaged connector can immediately compromise the new part.
Remove fasteners in the sequence shown in the applicable service information. Some actuators are removed as a unit after the electrical connector is released; others require the related engagement assembly or harness to be moved first. Do not use the connector body or wiring as a handle. If the component is stuck, use controlled movement instead of prying against the axle housing, seal surfaces, or sensor terminals.
Keep the mating surface clean and protect the opening once the old part is removed. Dirt or debris entering the axle or engagement mechanism can cause premature wear or failure. If contamination is present, note it during inspection and clean only the area described in the service procedure.
Install and restore the system
Position the new actuator according to its orientation marks or the original installed position. Do not force it into place. The replacement should seat cleanly against the mounting surface before fasteners are installed. Tighten fasteners evenly and use the torque value listed in the manufacturer specifications for the specific application.
Reconnect the electrical connector fully and confirm the latch engages. If the connector seal is damaged, replace or repair it according to the service information. Where applicable, protect the connection with the proper corrosion inhibitor, but do not apply grease or sealant where the vehicle manufacturer does not call for it.
Reconnect the battery and check that wiring is routed away from hot, sharp, or moving parts. The maintenance schedule is not a substitute for following the installation instructions after this repair; any relearn, initialization, or system function check specified in the service procedure should be performed before driving.
Check the completed work
After installation, verify that the connector is secure, fasteners are tight, and no tools or loose hardware remain near the axle. Then test the system in a safe location according to the vehicle operating instructions. The check should confirm whether the actuator engages and disengages without unusual noise, warning lights, or delayed response.
If operation is still incorrect, stop and perform further diagnosis instead of replacing additional parts by guesswork. A repeated failure can indicate a wiring, control, transfer case, or internal axle engagement issue. Operating conditions can also affect symptoms, so note whether the problem appears only in cold weather, after driving through water, or when shifting at a particular speed.
Check the actuator area after a short test for leaks, loose fasteners, or harness contact. If the vehicle behaves normally and the engagement check matches the expected operation for that drivetrain, the replacement is complete. If any warning indicator remains or the front axle still does not respond, return to diagnosis rather than assuming the new part was defective.