Catalytic Converter Shields and Cages: Choosing Theft Protection
Before you start
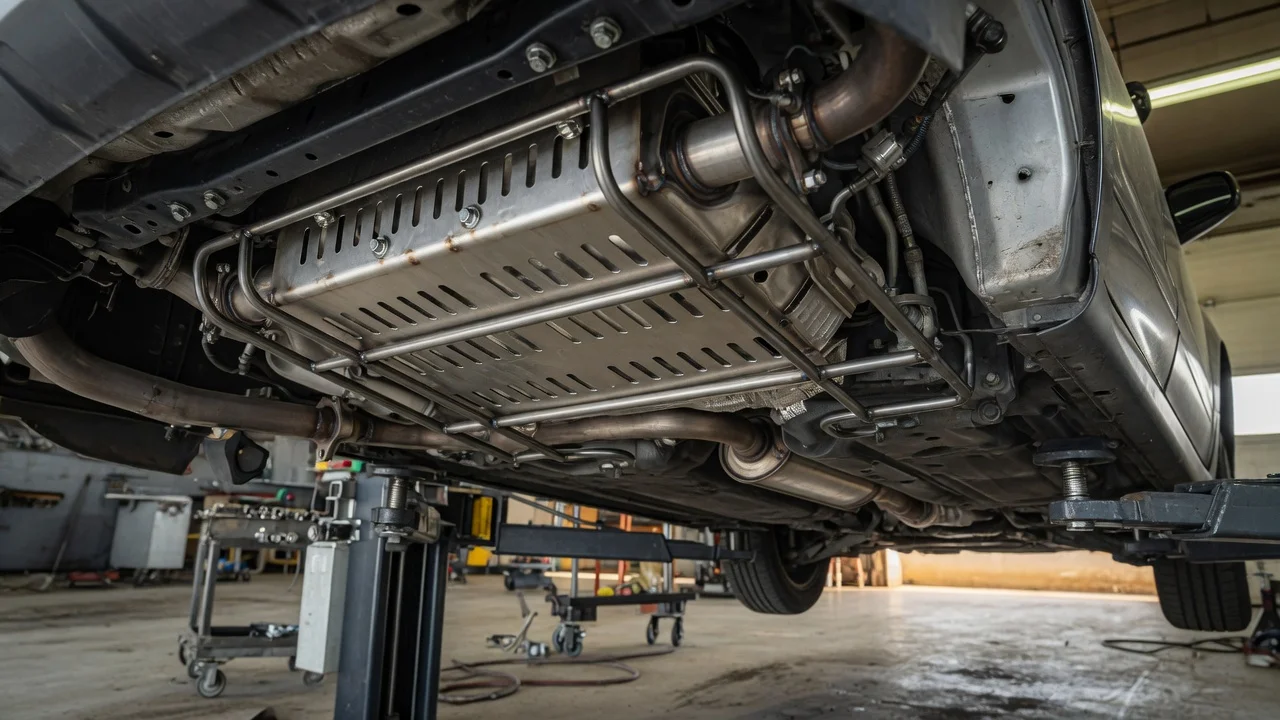
A catalytic converter shield is a physical barrier installed between the converter and the underside of the vehicle. A catalytic converter cage provides fuller coverage around the converter, often enclosing more than one side. Both work locally on the vehicle using mechanical hardware; they do not require an app, camera, microphone, or online service.
Check three prerequisites before choosing a product. First, confirm the exact model, model year, engine, drivetrain, and emissions package for the vehicle. Second, verify that the shield or cage is listed for that configuration. Third, check whether installation requires drilling, existing factory holes, rivets, security fasteners, or additional brackets.
If you plan to install the part yourself, use a stable lifting setup and secure the vehicle before working underneath. If the part requires welding or access beyond standard hand tools, confirm that requirement before ordering. Keep the original hardware and packaging until the fit is checked.
Step-by-step instructions
Select a shield or cage by fitment, not only by vehicle brand. Some converters are positioned close to the exhaust manifold, while others are mounted under the floor. A shield made for one engine or wheelbase may not match a similar trim.
Choose the coverage style
Compare the covered area: a shield may block access from below, while a cage may cover additional angled approaches. Check material and thickness to understand how much force the part is designed to resist. Review the required mounting points and whether any pre-existing holes or captive nuts are used. Confirm that the design leaves required clearance for exhaust movement, heat, and suspension travel.
Prepare the part and hardware
Clean the mounting area so the part can be test-fitted without debris interfering. Lay out all brackets, bolts, rivets, and security fasteners from the kit. Check the instructions for torque values, thread-locking compound, and drilling positions. Identify whether any heat shield or plastic undertray must be temporarily moved.
Install reversibly
Use jack stands or a vehicle lift rather than relying on a jack alone. Trial-fit the shield or cage before tightening anything fully. Start fasteners loosely, align the part, and then tighten gradually in a crossing pattern where applicable. Reinstall any original cover or trim that was removed. Check for contact, rattling, or reduced clearance after the wheels are back on the ground.
Version differences matter with hybrid vehicles. Some hybrids place a converter close to the engine and may have a high-voltage cable or coolant line nearby. For those vehicles, follow the model-specific mounting instructions and avoid routing or clamping hardware near electrical wiring.
Check the output
Verify that the installed part covers the converter and does not touch the exhaust pipe, heat shield, driveshaft, axle, suspension arm, or brake line. Look for even gaps, especially where the exhaust moves as the engine rocks.
Road-test at low speed over a bumpy surface and listen for rattles while the exhaust is cold and again after it warms up. Check the underside after the test for shifted fasteners, missing hardware, or wear marks.
Quality and format limitations come from fitment, not from software output. A well-installed shield or cage can slow theft, but it does not eliminate it. The result depends on mounting strength, coverage, fastener type, and whether accessible corners or secondary converters remain exposed.
Common problems and next steps
If the shield does not line up, do not force it. Compare the part number and vehicle configuration against the fitment listing, then check whether an engine cover, skid plate, or aftermarket exhaust is interfering.
A rattling noise after installation usually means the part is touching a moving component or a fastener is loose. Inspect for fresh contact marks and adjust the position. Use only the hardware specified by the kit unless the manufacturer instructs otherwise.
If the cage still leaves part of the converter accessible, check whether a different coverage style or a model-specific plate is available. For vehicles with multiple converters, protect the most exposed unit first. Keep a record of the part number and fastener type so damaged hardware can be replaced later.