Car Tire Maintenance Checklist: A Step-by-Step Owner's Guide
The Essential Answer
Tire maintenance is the regular inspection and care of a vehicle's tires to keep them safe, efficient, and long-lasting. The core tasks are checking and adjusting air pressure, measuring tread depth, rotating tires, monitoring alignment and balancing, inspecting for damage, and preparing tires for seasonal or load changes. Maintenance intervals vary by driving conditions and vehicle type, but most owners can cover the basics with a monthly pressure check and a more detailed inspection at every oil change or seasonal transition. The checklist below groups tasks by what to check, what normal and problem conditions look like, and when a professional inspection is the safer next step.
Start With the Tire Information Placard
Before adjusting anything, find the manufacturer's recommended cold inflation pressure for your specific vehicle. The correct figure is normally printed on a placard on the driver's door jamb, door edge, or glovebox, and it may also appear in the owner's manual. Do not use the maximum pressure molded on the tire sidewall; that number is the tire's maximum load rating, not the vehicle's recommended operating pressure.
Front and rear tires may have different recommended pressures, and the figure can change with load or speed. Because the correct value is vehicle-specific, always use your own placard rather than copying a number from another car.
Check and Adjust Air Pressure
A monthly pressure check is a practical baseline. Check pressure when the tires are cold, meaning the car has been parked for at least three hours or driven less than about a mile. Driving heats the air inside the tire and raises the measured pressure, which can hide an underinflated tire.
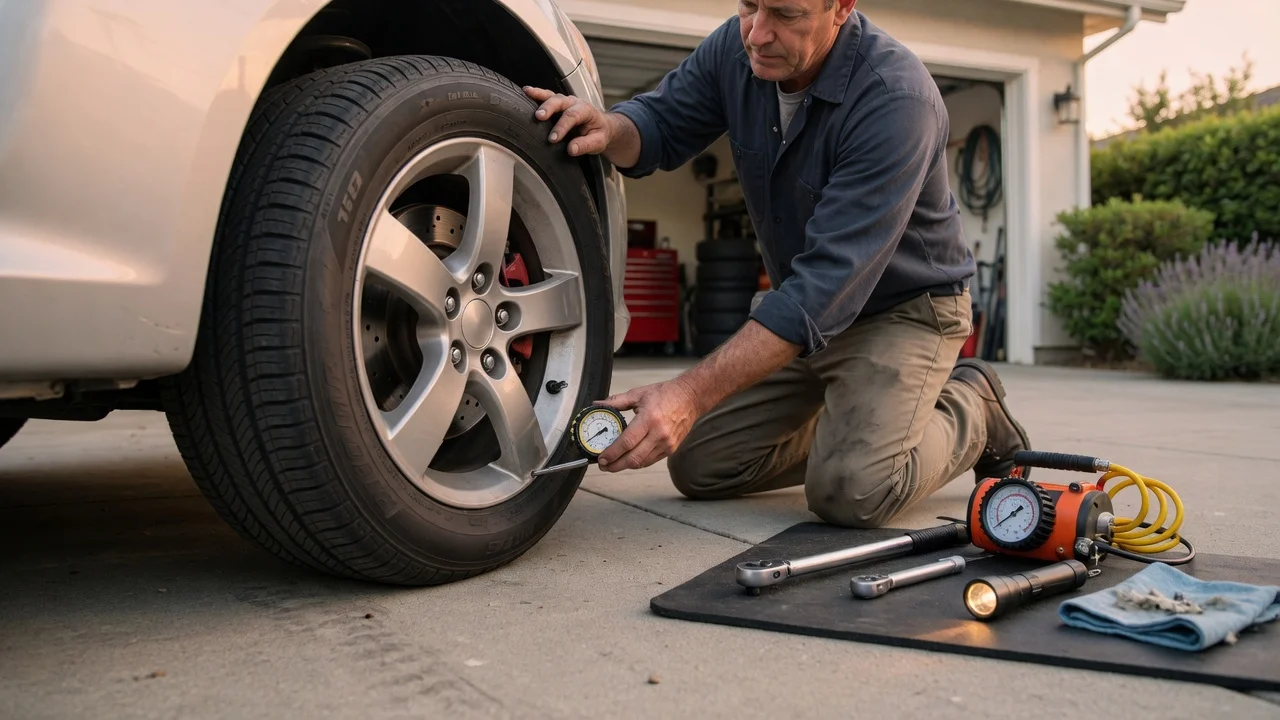
Use a reliable tire gauge rather than relying on appearance. A tire can be significantly underinflated and still look normal. Remove the valve cap, press the gauge firmly onto the valve stem, and compare the reading with the placard value. Add air in small increments if the reading is low, or release air briefly if it is high. Recheck after each adjustment and replace the valve cap to keep dirt and moisture out.
Check the spare tire at the same time if the vehicle carries one. A spare that has never been used can lose pressure gradually and may be flat when it is needed. Include the spare in the monthly routine and verify its pressure against the separate value shown on the placard or spare tire label.
Measure Tread Depth
Tread depth determines how well a tire evacuates water and maintains grip on wet roads. The minimum widely used legal and safety reference in many regions is 1.6 mm across the central three-quarters of the tread, although wet-weather performance often declines before that point. A simple test uses a coin or a dedicated tread depth gauge inserted into the main grooves at several positions around the tire.
Check at the outer, center, and inner areas of the tread. Even wear is expected. If one edge is noticeably shallower than the other, or if the center is worn while the shoulders are deeper, the wear pattern may point to inflation, alignment, or suspension issues. Tread wear indicators are raised bars molded across the main grooves; when the surrounding tread is almost level with these bars, replacement is due.
Inspect for Damage and Irregular Wear
Walk around the vehicle and look closely at each tire. Check the sidewalls and tread for cuts, cracks, bulges, embedded objects, or exposed cords. A bulge or bubble in the sidewall means internal damage and requires immediate professional inspection and likely replacement. Cracking on the sidewall can be a sign of aging, especially on tires that have been in service for many years.
Irregular wear patterns are diagnostic clues. Feathering, when tread blocks are smooth on one side and sharp on the other, can suggest toe misalignment. Cupping or scalloped dips around the tread can indicate worn suspension components or a balance problem. If a pattern appears, have the alignment, suspension, and balance checked rather than replacing a tire and expecting the new tire to wear evenly.
Rotate Tires on a Regular Schedule
Rotation moves tires between positions to equalize wear. Front and rear tires do different work, and even a properly aligned vehicle can wear its tires unevenly. A routine rotation helps the set wear more uniformly and supports more predictable handling and longer tire life.
A common rotation interval is every 5,000 to 8,000 miles, often aligned with an oil change. The correct pattern depends on whether the vehicle has directional tires, different front and rear sizes, a full-size matching spare, or an all-wheel-drive system. Because the recommended pattern varies by drivetrain and tire design, consult the owner's manual or a tire professional for the correct sequence for your vehicle.
Monitor Alignment
Wheel alignment refers to the angles at which the wheels meet the road and the vehicle. Correct alignment helps the vehicle track straight and reduces uneven tire wear. Signs that alignment may need attention include the steering wheel being off-center when driving straight, the vehicle pulling to one side on a flat road, or accelerated wear on one edge of a tire.
Alignment is not a fixed-mileage service for every vehicle. Have it checked when symptoms appear, after a significant impact with a pothole or curb, or when suspension or steering components are replaced. A professional alignment check measures the actual angles against the manufacturer's specifications and adjusts them as needed.
Balance When New Tires Are Fitted or Vibration Appears
Balancing corrects uneven weight distribution in the tire and wheel assembly. An unbalanced assembly can cause vibration, uneven wear, and extra stress on suspension parts. Balancing is normally performed when new tires are mounted and should be repeated if a vibration develops at certain speeds or if a tire is repaired or removed from the rim.
A vibration is not always caused by balance. It can also come from a bent wheel, tire damage, or a suspension fault. If balancing does not resolve the symptom, the cause should be investigated before assuming the tire is the problem.
Pay Attention to Tire Age
Tires age even when the tread is not worn out. Rubber compounds lose flexibility over time, and older tires may crack or grip less effectively. The tire's date of manufacture is part of the DOT code on the sidewall; the last four digits indicate the week and year of production. A tire marked 2523, for example, was produced in the 25th week of 2023.
There is no single universal replacement age, but many tire and vehicle organizations recommend that tires be inspected closely after a number of years and that even unused spares be evaluated for age-related degradation. If a tire is old, cracked, or has been stored in harsh conditions, a professional inspection is the appropriate next step even when the tread still looks deep.
Seasonal and Load Checks
Ambient temperature changes tire pressure. A drop in air temperature can reduce pressure noticeably, so check pressure at the start of a cold season and before long trips. Do not reduce pressure after highway driving to compensate for the temporary rise from heat; use the cold inflation value from the placard.
If the vehicle carries heavy loads, tows, or runs at sustained high speeds, check whether the manufacturer specifies a higher cold pressure for those conditions. The placard or owner's manual may list a load or high-speed inflation figure. A tire shop can also confirm the appropriate pressure for a specific load, but the vehicle manufacturer's specification remains the primary reference for normal operation.
Monthly Tire Maintenance Checklist
Locate the recommended cold inflation pressure on the tire information placard. Check all four tires and the spare when the tires are cold, comparing each reading with the placard. Add or release air as needed, rechecking after each adjustment. Inspect tread depth at the outer, center, and inner grooves, and compare wear across tires. Look for cuts, cracks, bulges, embedded objects, and exposed cords on the tread and sidewalls. Watch for steering pull, off-center steering, vibration, or new noise that may indicate alignment, balance, or damage problems. Check pressure again before long trips, heavy loads, towing, or a significant seasonal temperature change. Have rotation performed on the vehicle's recommended schedule, and have alignment or balance checked when symptoms or wear patterns suggest a problem.
When to Involve a Professional
Basic pressure and visual checks are owner-level tasks. A professional inspection is appropriate for a puncture that needs repair, a sidewall bulge, persistent vibration, steering pull, rapid or irregular wear, tread wear at the replacement indicators, or a tire that is too old or too damaged for confident evaluation. Tire mounting, balancing, rotation on some drivetrains, and alignment adjustment require appropriate equipment and are best left to a qualified shop.
A consistent routine does not eliminate the need for a professional look. It catches early signs of pressure loss, wear, and damage so that problems can be corrected before they affect handling, stopping distance, or tire life.