Car Starter Solenoid Replacement and Repair
Confirm the part and repair scope
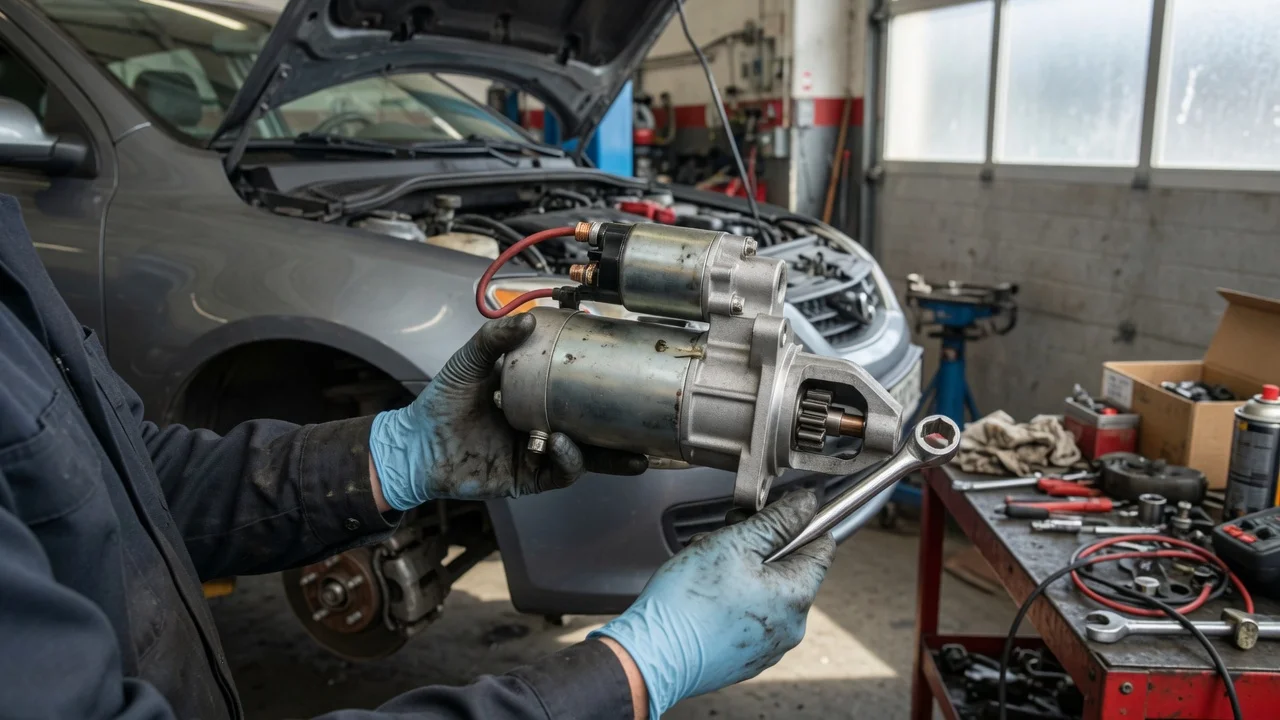
A starter solenoid is an electromagnetic switch mounted on or near the starter motor. When the ignition key is turned to start, the solenoid closes a high-current circuit between the starter battery and the starter motor, while also engaging the starter drive. If the engine does not crank and the battery terminals are clean and tight, a defective solenoid is one possible cause, but it is not the only one. Confirm that the no-crank condition is not caused by a discharged battery, corroded cables, a failed ignition switch, or a neutral safety or clutch interlock switch before replacing the solenoid.
Vehicle compatibility is important because some starters have a serviceable solenoid, while others require replacing the complete starter assembly. On many modern vehicles, the solenoid is integrated into the starter and is not listed separately. Before buying a replacement, compare the mounting orientation, terminal layout, and connector type with the original part. A part that physically fits may still have the wrong internal configuration for the vehicle's starting circuit.
Prepare tools and safe access
Disconnect the negative cable from the starter battery before beginning work. The starter circuit carries high current, and an accidental short between the positive battery terminal or the starter's main terminal and the engine block can cause sparks, burns, or damage. The starter battery is a 12-volt low-voltage system on most cars, but the procedure still requires isolation because the starter draws substantial current.
Do not confuse the 12-volt starter battery with a high-voltage traction battery on a hybrid or electric vehicle. If the vehicle has a high-voltage traction system, follow the service procedure for disabling or isolating that system only if the starter repair requires it. In many mild hybrid applications, the 12-volt starter battery is separate, but never assume that unplugging the 12-volt battery makes all nearby high-voltage components safe.
Typical hand tools include a ratchet, sockets, extensions, wrenches, and a torque wrench for installation. Access may require lifting the vehicle and removing an under-tray, heat shield, intake duct, or other components. Use properly rated jack stands and wheel chocks if the vehicle must be raised. For inaccessible starters or vehicles with complex interlock systems, this job may be unsuitable for an inexperienced owner.
Remove without avoidable damage
Label or photograph every wire before disconnecting it. The thick battery cable attaches to the solenoid's main battery terminal, and a smaller wire attaches to the ignition switch or start-control terminal. Some vehicles have an additional ground strap or bracket connection. Reversing these connections during installation can create a short or prevent cranking.
Remove the fasteners holding the solenoid or starter. If removing the complete starter, support it so the wiring and mounting bolts are not stressed. The starter is often heavy, so keep a firm grip when the last bolt is released. Inspect the mounting flange and the area where the starter seats for corrosion or broken fasteners.
On a serviceable solenoid, remove the fasteners and linkage that connect it to the starter drive. Do not pry against the solenoid body or the starter housing. If the plunger or linkage requires replacement, note the order of washers, springs, and retainers during disassembly. If the starter housing or terminals show heat damage, replace the damaged component rather than trying to reuse it.
Install and restore the system
Position the new solenoid in the same orientation as the original. On starters with a movable drive linkage, make sure the plunger engages correctly and moves freely before tightening the fasteners. Tighten solenoid and starter bolts to the specified torque. Overtightening can distort the solenoid housing or strip threads in the starter or engine block.
Reattach the wiring in the correct position. The main battery cable should be clean and seated flat against the terminal, with no adjacent wire trapped beneath it. The smaller control wire must be connected to the correct terminal according to the wiring diagram for the vehicle. A loose main terminal can create a voltage drop that reduces starter performance or causes intermittent cranking.
Reinstall any parts removed for access, then reconnect the starter battery negative cable. Make sure the battery terminals are secure. Do not use the high-voltage traction battery as a substitute for the 12-volt starter battery during testing, and do not connect test equipment across a hybrid high-voltage circuit unless rated for it.
Check the completed work
Turn the ignition to the start position and listen for a single firm click as the solenoid engages. The engine should crank steadily. If the starter clicks rapidly or the lights dim severely during cranking, check the battery state of charge, battery terminals, and ground connections before suspecting the new solenoid.
Measure the battery voltage while the engine is off and again during cranking if the starter is weak. A healthy fully charged 12-volt starter battery typically reads around 12.6 volts at rest, but acceptable values vary with temperature and battery chemistry. Confirm the expected system voltage and charging output for the vehicle rather than treating a general reading as a universal specification.
Start the engine several times to confirm reliable operation. Inspect the starter area for loose wiring or rubbing against heat shields and moving parts. If the engine still does not crank, continue with a starter circuit diagnosis rather than replacing the solenoid again. A voltage drop across the battery cables, excessive parasitic draw, or a blown fuse or relay with the incorrect fuse rating may still be the cause. Persistent no-crank or intermittent-crank conditions call for a professional electrical inspection.