Car ramps for oil change
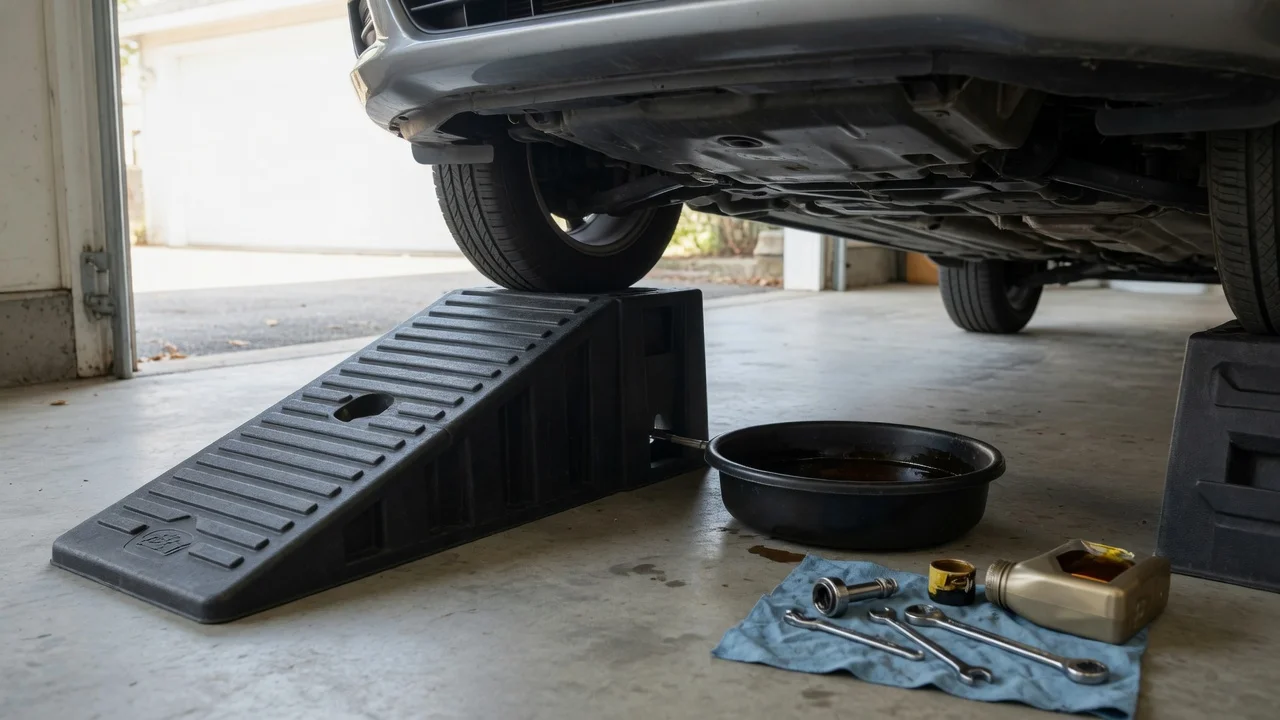
Do car ramps work for an oil change?
Yes. Drive-on car ramps are a common way to raise the front of a typical front-engine passenger car or light truck so you can reach the oil drain plug and oil filter from underneath. You drive the front wheels up a pair of inclined platforms, set the parking brake, chock the rear wheels, and work from the raised side. The ramps hold the vehicle’s weight on the tires rather than on a jack point.
That answer depends on the vehicle and the ramps. The pair must be rated above the vehicle’s actual axle weight, the tire must fit the ramp’s tread width, and the approach angle and ground clearance must let the bumper, spoiler, or air dam clear the incline. If the drain plug or filter sits toward the rear of the sump, or if the underbody is boxed in by a splash shield you cannot remove from that side, ramps may lift the car without giving useful access. Low-clearance sports cars, vehicles with long front overhangs, and some crossovers with deep front valances often need low-profile ramps or a different lift method.
What ramps are for in this job
An oil change needs enough height under the oil pan to place a drain pan, break the drain plug free, and, on most layouts, reach the filter. Ramps provide that height in a fixed increment set by the ramp design. They do not replace a service lift, and they do not let you remove a wheel. They are a supported-height tool for underbody service on a vehicle that can drive onto them and park stably.
Ramps are an alternative to a floor jack plus jack stands, not a substitute for stands if you are already using a jack. Once the vehicle is on ramps, the tires carry the load. Do not add a jack under the same end while the ramps are in use, and do not crawl under a vehicle held only by a hydraulic jack.
Matching ramps to the vehicle
Check the ramp maker’s weight rating against the vehicle’s front-axle load, not only curb weight. A pair rating is the combined capacity of both ramps; each ramp must still support its share of the axle. If the rating is given per ramp, two ramps must cover the axle you are placing on them. Ratings vary by product; use the figure printed on the ramps or in the maker’s instructions, and treat any claim without a stated rating as unverified.
Tire width and wheelbase also matter. The tire must sit fully on the ramp’s top pad, not on the shoulder or the incline. Wide tires and some aftermarket wheels can overhang a narrow ramp. Very short wheelbases change how the vehicle sits on the pair; follow the maker’s guidance for minimum wheelbase if it is stated.
Ground clearance and approach angle decide whether the vehicle can climb the incline without scraping. Standard-height ramps are often too steep for cars with low front lips. Low-profile ramps reduce that risk but also reduce working height under the pan. Exact clearance numbers are vehicle- and ramp-specific; measure the front overhang and the lowest point of the valance against the ramp’s published height and length rather than assuming a class of car will fit.
When ramps are a poor fit
Rear- or mid-engine layouts, where the oil pan is not under the raised front end. Vehicles that must be level for the dipstick or fill procedure to read correctly; ramps leave the engine nose-high, which can change the indicated oil level until the car is back on flat ground. All-wheel-drive or low-range four-wheel-drive systems that bind or resist rolling onto a steep incline; use the maker’s procedure for placing the transmission in the specified park or neutral state. Damaged, under-inflated, or mismatched tires, or ramps used on loose gravel, ice, or a slope. Plastic service ramps that are cracked, UV-brittle, or missing anti-slip features; metal ramps with bent sidewalls or oil-slick treads.
Some engines place the filter high in the engine bay, so ramps help only the drain. Some late-model vehicles use a cartridge filter in a housing that is reached from above. In those cases ramps still help the drain plug and may be unnecessary for the filter. Confirm the drain and filter locations in the owner’s manual or service information for that model year and powertrain before you buy or set up ramps for the job.
How to use them for the change
Work on a hard, level surface. Place the ramps against the front tires, aligned with the intended path, and use a spotter if the view over the hood is poor. Drive on slowly in a straight line until the tire is fully on the top pad; many ramps have a stop or a change in slope at that point. Set park, set the parking brake, and chock the wheels that remain on the ground. Confirm both tires are fully seated before you go underneath.
With the vehicle supported, drain the oil into a pan that fits under the raised pan, replace the plug and filter per the service specification for that engine, and refill with the specified grade and capacity. Because the engine is tilted, treat the dipstick reading on the ramps as a rough check only. Lower the vehicle the same way it went up—chocks off last after the tires are on the ground—and verify the level on level ground with the engine in the state the manufacturer calls for (typically off, after a short wait, or running, depending on the engine).
Plastic ramps can creep on smooth concrete; a rubber backing or a stop behind each ramp reduces that. Metal ramps can be slick when oily. Neither type is a storage stand for long periods. After the change, inspect the ramps for cracks, crushed honeycomb, or bent flanges before the next use.
What this guide does not settle
No single ramp height, weight rating, or tire-width figure applies to every car. Those values are product- and vehicle-specific and are not listed here. Whether a given pair will clear a particular bumper, whether an undertray must come off, and whether the filter is reachable from the raised side all depend on the model year, generation, powertrain, and any aero or skid-plate equipment. If those details are unknown, identify the drain and filter locations and the vehicle’s front-axle weight first, then match a ramp pair to those constraints.