Car Overheating and Leaking Coolant: How to Locate the Leak
Before you start
Coolant can escape from a hot engine as steam before it ever forms a visible puddle. Park the car on a level surface, set the parking brake, and let the engine cool completely before opening the hood or touching any cooling system part. Pressurized hot coolant can spray from a loose cap or split hose and cause serious burns. Keep children and pets away from the work area, and have gloves, eye protection, rags, and a flashlight ready. This is a visual inspection you can do locally; it does not require removing major components. If you have already seen the temperature gauge enter the red zone, do not drive the car again until the cause has been found and corrected.
Step-by-step instructions
Check the coolant level first
On a cool engine, inspect the coolant reservoir. The tank is usually a translucent plastic bottle near the radiator, with minimum and maximum marks on its side. If the level is below the minimum mark, note how low it is before adding anything. A low level can be the result of an active leak, but it can also follow a recent overheat event that pushed coolant out through the pressure relief. If the reservoir is empty, remove the radiator cap only when the engine is cold, and look into the radiator opening if the vehicle has a separate cap. Do not open a hot or warm radiator cap.
Look for dried coolant trails
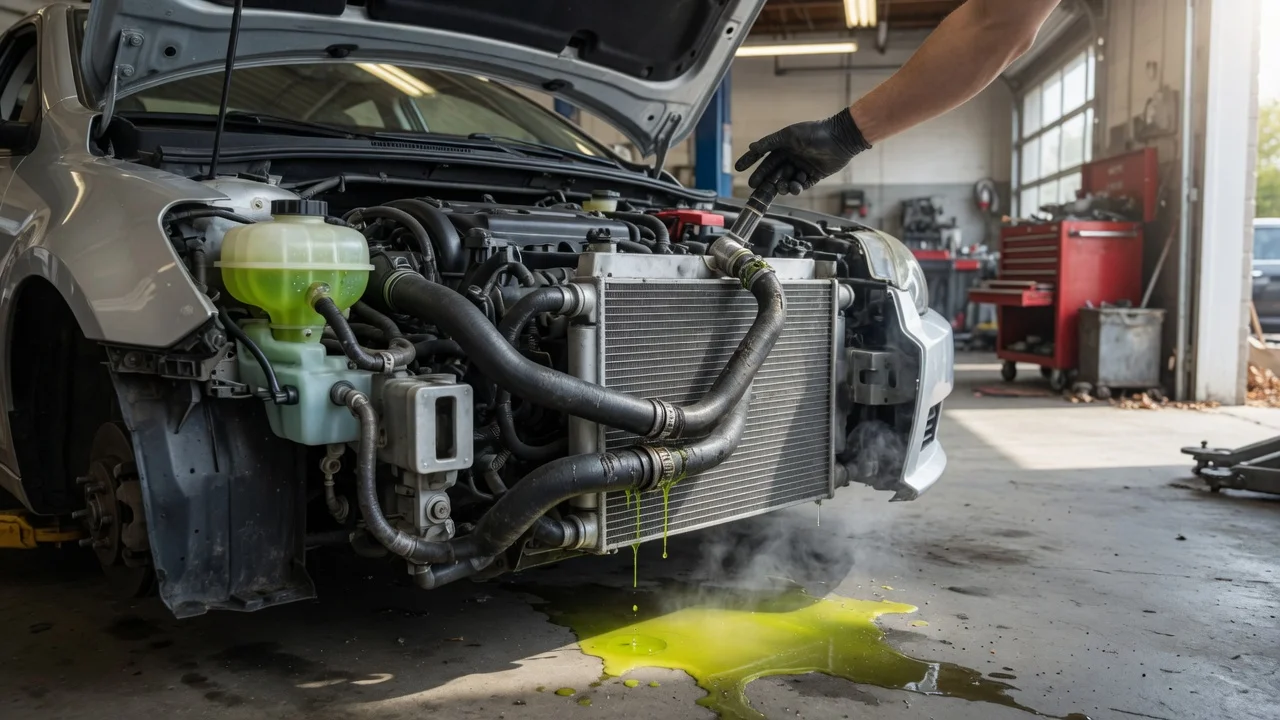
Fresh coolant is often bright green, orange, pink, blue, or yellow, depending on the formulation. Once it dries, it may leave a chalky or crusty stain near the leak point. Check around the radiator, radiator cap, hose connections, water pump area, thermostat housing, heater core connections at the firewall, and the underside of the hood. Some leaks appear only as a fine white or colored spray pattern, so aim the flashlight at the edges of clamps and seals as well as the hoses themselves.
Inspect hoses and clamps
Squeeze the main radiator hoses gently while the engine is cold. A hose that feels soft, swollen, cracked, or extremely hard may need replacement. Examine the clamp area for wetness or crust. A small seep may leave only a residue at the end of the hose, especially after the engine cools and the system pressure drops. Check both the upper and lower radiator hoses, heater hoses, and any small bypass hoses visible from the top of the engine bay.
Examine the radiator and pressure cap
Look along the top and bottom tanks of the radiator and across the core. A damaged fin area can show staining, while a cracked plastic tank may leak only after the system reaches normal operating temperature. On a cold engine, inspect the sealing surface of the pressure cap and the rim of the filler neck for damage or buildup. A cap that no longer seals can let coolant escape during normal driving without leaving an obvious leak at a hose.
Check the ground and underside
After the car has been parked for a while, look beneath the front of the vehicle for a wet area or drip. Coolant often collects under the radiator, water pump, or heater hose area. The position of a puddle does not always match the leak exactly because coolant can run along a splash shield, crossmember, or wiring before it reaches the ground. If it is safe to do so, use a flashlight to look for the highest damp spot and trace it upward toward the likely source.
Check the output
The inspection result should identify a likely leak area, not just a low coolant level. A clear wet or crusty trail at a hose end, radiator seam, cap area, or housing is a strong indication. If no external source is visible, do not assume the coolant is fine. Coolant can be lost internally through a head gasket failure or into the cabin from a leaking heater core, and those problems require a different diagnostic. Also remember that a system can lose coolant only under pressure, so a cold visual check may not reveal every leak. Have a professional confirm any repair that requires removing a timing cover, intake manifold, or other engine component.
Common problems and next steps
No visible leak, but the coolant keeps dropping
If the level falls without an external stain or puddle, the engine may be burning coolant. Watch for white or sweet-smelling exhaust, repeated coolant loss after short drives, or milky residue under the oil cap. The cooling system may also hold pressure incorrectly, so a pressure test performed by a service shop can help separate an external leak from an internal one.
The car is overheating in traffic but not at speed
This pattern can point to poor airflow through the radiator, a failed cooling fan, or a weak fan relay rather than a leak. Check whether the cooling fan runs with the engine warm and the climate control off. If the coolant level is correct and the fan does not operate, avoid idling in stop-and-go traffic until the fan circuit has been checked.
Adding water as a temporary step
In an emergency, adding clean water may help you reach a safe place, but it changes the coolant concentration. After the leak is fixed, the system should be drained and refilled with the correct coolant mixture according to the vehicle manufacturer's specification. Do not add cold water to a hot engine, and never remove a cap while the system is warm.
When to stop and get professional help
Stop the inspection if the engine is still warm, if coolant has sprayed onto a hot surface, or if you find a large amount of coolant loss and cannot see the source safely. Severe overheating can damage the engine even after the temperature gauge returns to normal. Have the vehicle towed if the coolant is empty, if the gauge has been in the red zone, or if there is evidence of oil contamination in the cooling system.