Car Maintenance After a Road Trip: What to Inspect and Service
After a long road trip, your car may need more than a quick wash. Hours of sustained highway speeds, heavy luggage, hot pavement, and unfamiliar roads can accelerate wear on tires, brakes, fluids, and filters. A focused car maintenance after road trip inspection helps catch problems before they become expensive repairs, and it resets the vehicle for safe daily driving. Use your owner’s manual as the final authority on service intervals.
Why Your Car Needs a Check After Long-Distance Travel
Sustained highway speeds raise engine and transmission temperatures while heavy cargo increases load on suspension and brakes. Towing adds stress to the cooling system, and rough or dirt roads can disturb alignment and clog filters. These conditions can consume fluids and wear components faster than typical commuting, even over a relatively short trip. That’s why a post-trip inspection is not optional—it lets you identify heat stress, debris, or loose items before they lead to breakdowns or unsafe handling.
Within a few days of returning, walk around the car in daylight. Look for fresh leaks under the engine or transmission, check tire sidewalls for bulges, and note any warning lights that appeared during the trip. Write down noises, vibrations, or steering pull you felt, along with when they occurred. The vehicle’s maintenance schedule in the owner’s manual determines what service is actually due; a generic “change oil after 3,000 miles” rule is outdated for most modern cars.
Checking Tire Pressure, Tread Wear and Road Damage
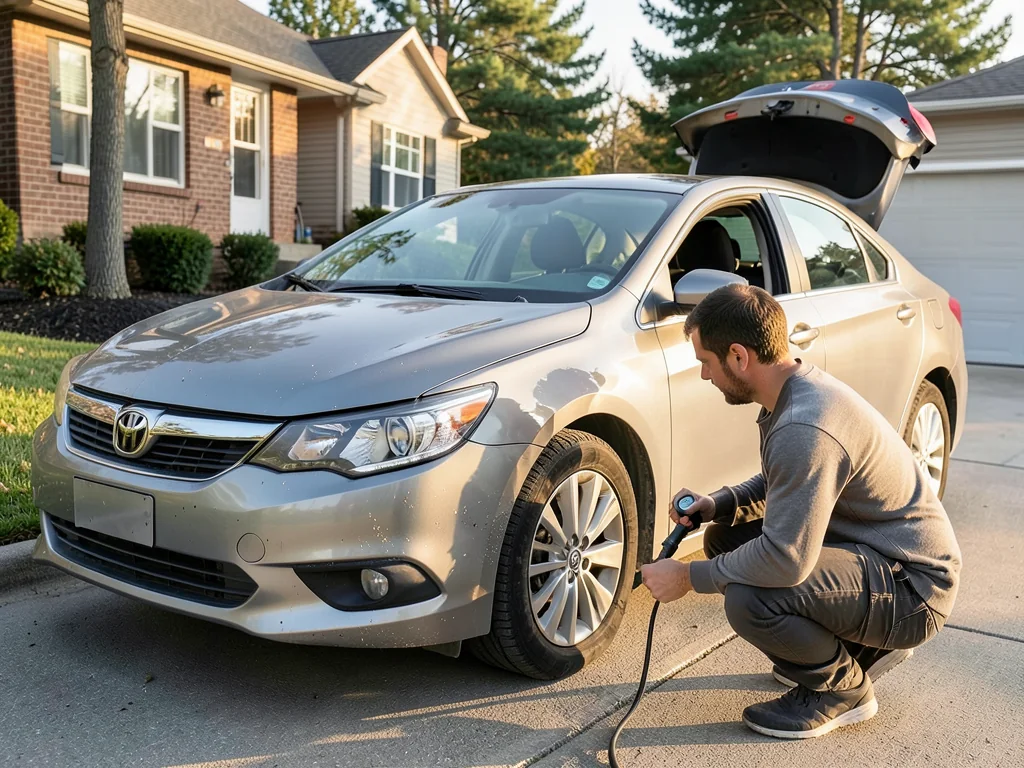
Tire pressure must be checked when the tires are cold, ideally before the car has been driven more than a mile or two. Compare the reading to the tire pressure placard on the driver’s door jamb, not the maximum pressure molded on the tire sidewall. The placard lists the manufacturer’s recommended inflation for normal loads, which balances ride comfort, fuel economy, and even tread wear. A long trip can cause gradual pressure loss, so a few psi low can affect braking and cornering.
Inspect each tire’s tread depth and surface for uneven wear. Inner or outer edge wear often indicates alignment or camber issues, while cupping or scalloped patches can point to worn suspension components. Look for bulges, cuts, embedded nails, or curb scrapes on both tires and wheels—these can lead to sudden air loss. If your vehicle carried a spare, check its pressure and condition too. Any deep cut, sidewall bulge, or visible cord means the tire should be inspected by a tire shop rather than simply re-inflated.
Topping Off and Inspecting Fluids Safely
The most common owner-checkable fluids are engine oil, coolant (at the reservoir), brake fluid, and windshield washer fluid. Some vehicles also have dipsticks or reservoirs for transmission or power steering fluid. Always check with the engine off and cool, and the car parked on level ground. Never remove a radiator cap while the engine is hot—pressurized steam can cause severe burns. Instead, look at the coolant reservoir’s “full cold” and “full hot” markings.
If a fluid level drops unusually quickly between checks, or you find fresh drips under the engine, there may be a leak that needs professional attention. Common leak points include oil drain plugs, coolant hoses, and brake lines. When using a dipstick, wipe it clean, reinsert fully, then read the level against the crosshatch or min/max marks. Top off only with the exact fluid specification listed in the owner’s manual—mixing incompatible coolants or brake fluids can damage seals and reduce performance.
Brakes, Steering and Alignment Warning Signs
After descending long mountain grades or carrying heavy loads, pay attention to brake symptoms. Squealing or grinding can indicate worn brake pad material, while a pulsing pedal suggests warped rotors from excessive heat. A soft or sinking pedal may point to boiled brake fluid or a hydraulic leak, and pulling to one side during braking often means uneven pad wear or a sticking caliper. These warnings are especially important after a trip because sustained braking generates far more heat than city driving.
Alignment problems show up as a steering wheel that is off-center when driving straight, a constant drift to one side, or new uneven tire wear. A hard pothole impact can bend control arms, damage tie rod ends, or shift subframe alignment without any visible damage. Steering and suspension components are safety-critical, and their inspection usually requires a lift and alignment equipment. Any persistent brake pull, steering vibration, or clunk over bumps should be evaluated by a professional technician rather than guessed at.
Filters, Wipers, Lights and Front-End Debris
Dusty, sandy, or wildfire-smoke conditions can clog the engine air filter and cabin air filter much faster than normal. Some air filter housings are easy to open with simple clips or screws; if you can access the filter, hold it up to a light—if little light passes through, it is due for replacement. The cabin filter is often behind the glovebox or under the cowl, and a clogged one reduces airflow and can cause musty odors inside the car.
Inspect wiper blades for cracks, tears, or streaking by running the washers and watching the wipe pattern. Test all exterior lights: headlights, high beams, turn signals, brake lights, and reverse lights—ask a helper to stand behind the car while you press the brake pedal. Remove bugs, tar, and road grime from paint, glass, and the grille soon after the trip because dried insect remains and tar can etch clearcoat. With the engine cool, look at the front of the radiator and condenser for leaves or plastic bags; gently remove debris, never forcing fins.
Cleaning and Resetting the Interior After the Trip
Start interior cleanup by removing all trash, food wrappers, and personal items. Vacuum sand, crumbs, and pet hair from seats, carpets, and cargo areas, using a crevice tool for tight spots. Wipe down high-touch surfaces like the steering wheel, shifter, door handles, and infotainment screen with a cleaner appropriate for the material. Pay attention to cup holders and door pockets where spilled drinks can leave sticky residue that attracts dirt.
If wet gear, swimsuits, or spills sat in the car for hours, lingering moisture can grow mold and cause musty odors. Air out the cabin by leaving windows open in a dry, shaded area, and use microfiber towels to blot damp carpets or seat cushions. Check seats, floor mats, and cargo liners for cuts, stains, or damage from luggage sliding around. Finally, restock the emergency kit: replace any first-aid items used, check the flashlight batteries, and ensure the spare tire tools are back in their proper place.
Deciding If an Oil Change or Full Service Is Due
To decide if an oil change is due, compare the trip mileage against your last service record and the oil life monitor reading. Many modern vehicles calculate oil degradation based on engine revolutions, temperature, and driving conditions, so the monitor may show less remaining life after a hot, high-load trip even if total miles are low. The owner’s manual lists both “normal” and “severe service” intervals—towing, heavy loads, extreme heat, dusty roads, or repeated short trips often fall under severe service.
Do not assume a universal 3,000- or 5,000-mile oil change interval; follow the schedule and oil specification for your exact vehicle and engine. If you noticed any warning lights, new noises, fluid leaks, vibrations, or handling changes during the trip, book a professional inspection soon—these are not normal post-trip quirks. Keep a simple log of trip mileage, date, and any service performed, including oil and filter changes, tire rotations, or brake work. That record helps you stay ahead of the maintenance schedule and spot unusual wear patterns early.