Car AC Pressure Chart: Reading Gauges and Understanding Abnormal Pressures
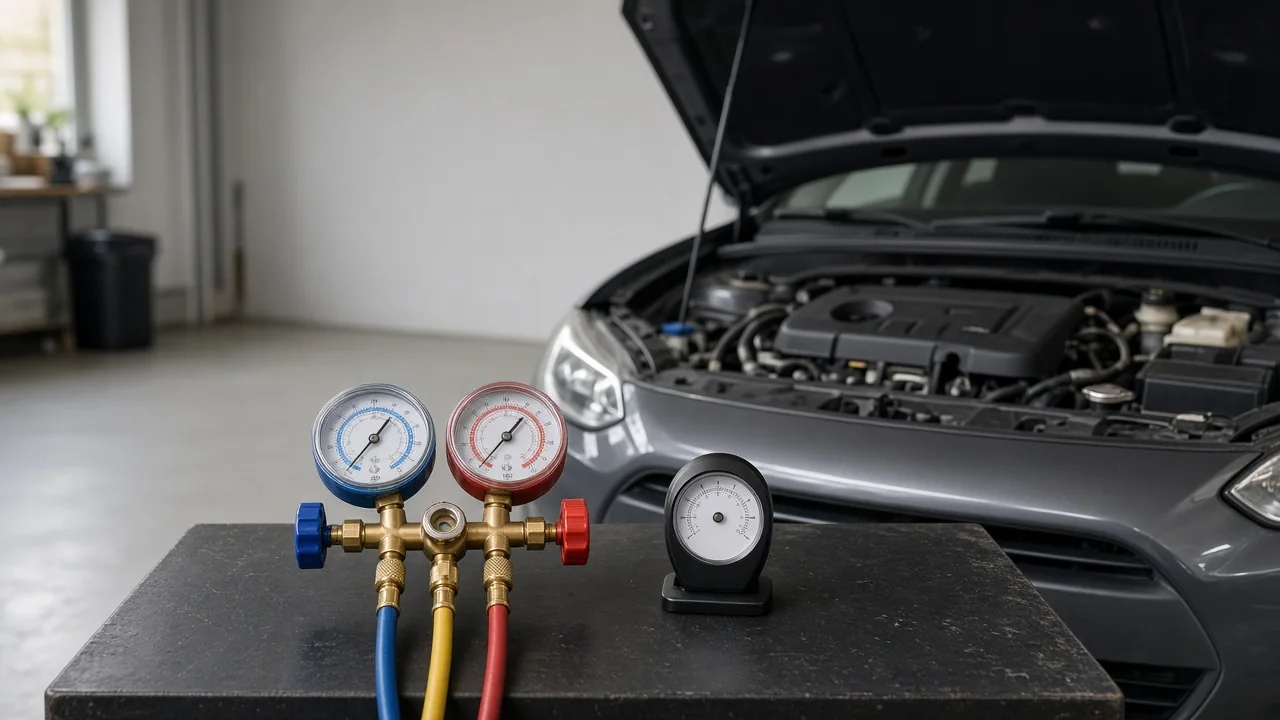
Car AC gauges turn an invisible refrigerant system into numbers you can reason about. Those numbers only mean something when you know the refrigerant, use the right equipment and record the test conditions. This guide explains how a manifold gauge set reads low-side and high-side pressure and how a car AC pressure chart relates to ambient temperature. It also explains why abnormal readings are clues for diagnosis, not a signal to add refrigerant.
Identify the Refrigerant and the Correct Gauge Equipment
A manifold gauge set is the tool most people mean when they search for AC car gauges. It connects two dials to the system at the same time. The low-side gauge, usually blue, reads suction pressure between the evaporator and the compressor, where refrigerant returns as a cool, low-pressure vapor. The high-side gauge, usually red, reads discharge pressure between the compressor and the expansion device, where hot, compressed refrigerant gives off heat through the condenser. Reading both sides together is what makes the gauges useful for diagnosis.
Before choosing a pressure gauge for car AC work, check the refrigerant label under the hood and the service information for the vehicle. R-134a and R-1234yf systems use different service-port couplers and need equipment rated for that refrigerant. A dial that happens to show both scales doesn't make the tool suitable. Refrigerant can cause frostbite and eye injury. Connecting gauges, recovering refrigerant and charging a system are jobs for trained technicians with approved equipment, so use this guide to understand what a technician finds.
Read the Dials and Record the Test Conditions
Most car AC pressure gauges sold in the US read in pounds per square inch gauge (psig), which is pressure above atmospheric pressure. Many dials also have inner rings printed with temperatures for one or more refrigerants. These show the saturation temperature for a given pressure, which is the temperature at which that refrigerant boils or condenses. They don't show the air temperature at the vents, and each ring applies only to the refrigerant printed next to it. Reading the wrong ring leads to wrong conclusions.
A single low-side AC gauge, like the one sold with recharge cans, shows only half the picture. It can't tell you whether the charge is correct, because several different faults can produce similar suction pressure. Useful readings come with their conditions written down. Record the air temperature near the condenser inlet, humidity when the procedure calls for it, engine speed, AC mode, blower setting, recirculation status and center vent temperature. Follow the test procedure for the vehicle, and compare readings only after the system has stabilized.
Use Ambient-Temperature Pressure Charts for R-134a and R-1234yf
A car AC pressure chart usually lists ambient temperature in Fahrenheit and Celsius alongside expected low-side and high-side operating ranges in psi. R-134a and R-1234yf need separate charts because their pressure-temperature relationships differ. A reliable chart states its test conditions, such as engine speed, blower setting and humidity. No universal chart can define acceptable operating pressures for every vehicle, because compressor design, condenser size and metering devices vary. The vehicle's service specifications always take priority over generic car AC pressure charts.
Even with the right chart, readings change with conditions. Higher ambient temperature and humidity add heat load, which generally raises pressure on both sides. Poor condenser airflow, from a slow cooling fan or fins packed with debris, pushes high-side pressure up. A variable-displacement or electronically controlled compressor may change its output on purpose, which changes suction pressure. Keep static pressure-temperature tables separate from operating ranges. A static table describes refrigerant at rest and shouldn't be used to judge a running system.
Understand Static Pressure Before Drawing Conclusions
Static pressure is the reading taken with the engine and compressor off, after pressures and temperatures have had time to even out across the system. At that point both gauges should read about the same, and the pressure reflects the temperature of the refrigerant itself. That temperature can differ from the surrounding air, especially right after the system has run or when the engine bay is heat-soaked. A reading taken too soon can look high or low even when nothing is wrong.
While some liquid refrigerant remains, the system holds nearly the same pressure whether it has a full charge or much less. That means static pressure can't measure how much refrigerant is in the system or prove the charge is correct. It's still useful as a screening check. A very low static reading suggests the system may have lost enough refrigerant that little liquid remains, which justifies a professional leak and charge check. It won't show where the leak is. Finding it takes proper leak detection.
Interpret Abnormal High- and Low-Side Pressure Patterns
Low readings on both gauges can justify checking for low refrigerant. However, a cool day, a low blower speed or recirculated cabin air can also reduce heat load and pull pressures down, which is why test conditions matter. High readings on both sides can prompt checks of condenser airflow, cooling-fan operation, heat load, charge quantity and contamination such as air or other noncondensable gases. The pressures narrow down the possibilities, but they can't identify the cause on their own.
Unusually low suction pressure with high discharge pressure may point to a restriction or a problem at the expansion valve or orifice tube. That calls for professional temperature measurements and component tests. High suction pressure with low discharge pressure may mean the compressor isn't pumping enough or has a control problem. A technician first needs to confirm that the compressor is actually being commanded on. These patterns are diagnostic clues, and none of them alone justifies adding refrigerant or replacing a compressor.
Pair Pressure Readings With Symptoms and Professional Testing
Pressure readings mean more when you pair them with observations anyone can make safely. Note whether cooling is weaker at idle than while driving. Measure vent temperature with a simple thermometer, and note whether cooling fades on and off or after a long drive. Listen for unusual compressor or fan noises, and look for frost on the lines without touching them. A clogged cabin air filter or a weak blower can reduce airflow, causing a cooling complaint and changing evaporator pressure without any refrigerant problem.
Professional follow-up may include checks of the compressor controls and sensors, electronic or dye leak detection, and an airflow check. When the actual charge amount matters, a technician recovers and weighs the refrigerant. If you hear grinding, see smoke or find signs of a large leak, stop using the AC and get the car serviced. Keep hands and tools away from belts and fans. Charging to a gauge reading, venting refrigerant or bypassing pressure switches is unsafe and doesn't replace proper diagnosis.