Can-Am X3 Sway Bar Bushings: Front and Rear Fitment
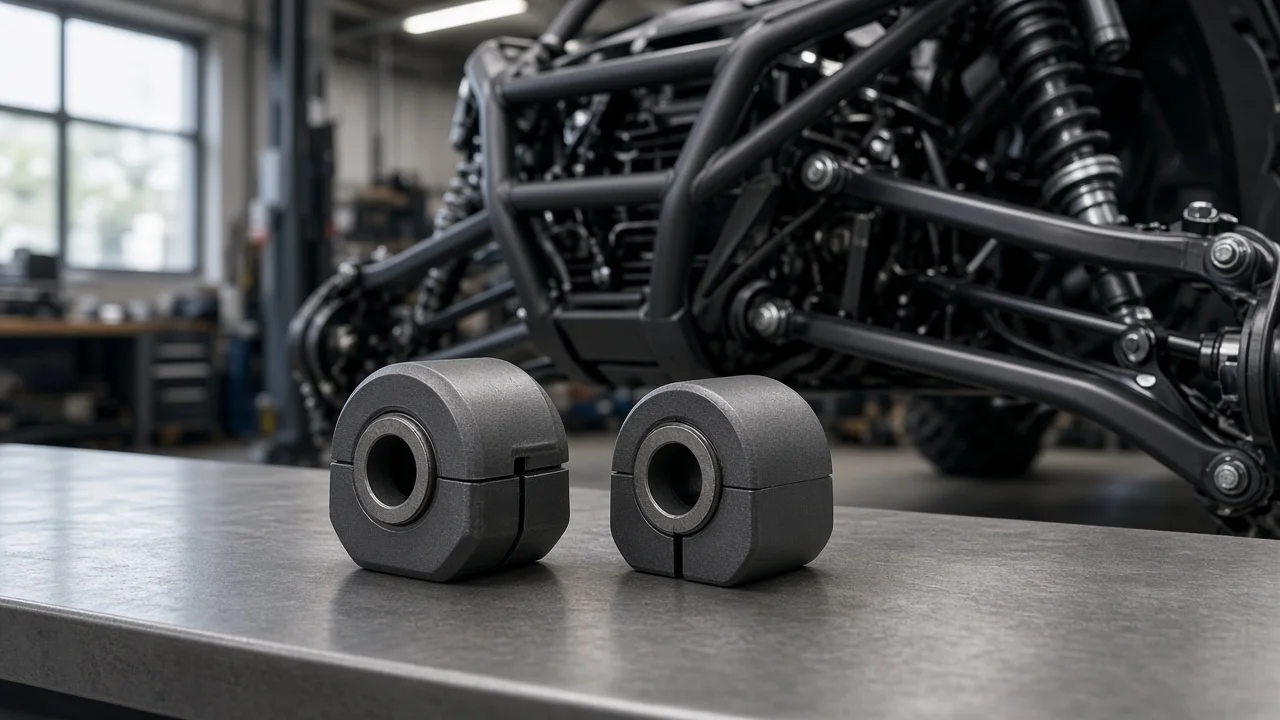
Sway bar bushings on a Can-Am Maverick X3 are small parts, but ordering the wrong set is a common and avoidable mistake. The front and rear bars are separate assemblies, and the bushings that clamp each bar to the chassis must suit that bar. This guide explains how to confirm front and rear fitment for your specific machine, what the bushings do, which factors change the correct part, and when an inspection points to a problem other than worn bushings.
Short answer: front and rear bushings are not interchangeable by default
Can-Am X3 sway bar bushings have to be matched to the bar they support, not just to the model name. The front bar and the rear bar are different components, and a bushing's inner diameter must fit the bar it clamps. Treat front and rear bushings as separate purchases unless the parts listing for your exact vehicle configuration shows they share a part. The X3 family covers many model years, trims, chassis widths and Max versions, and sway bar hardware has not been identical across all of them. The reliable approach is to start from your vehicle identification number or model number, open the front and rear sway bar sections of the parts catalog, and compare the listed bushing with what is actually on the machine.
The same rule applies to aftermarket kits. A kit marketed for the X3 should state which bar it fits, which model years and trims it covers, and the bar diameter it was designed for. If the listing leaves any of that out, measure your bar before ordering instead of assuming that one kit suits every X3.
What sway bar bushings do on the X3
A sway bar is a torsion spring connecting the left and right sides of the suspension. When one side compresses more than the other, such as in a turn or across off-camber terrain, the bar twists and resists body roll. End links connect the ends of the bar to the suspension, while the bushings hold the middle section of the bar in its brackets on the chassis and let it rotate as it works.
Because the bushings are the pivot point, their condition affects how the bar behaves. An intact, snug bushing lets the bar respond as soon as the suspension moves unevenly. A worn, cracked or deformed bushing lets the bar shift or knock inside its bracket before it loads, which owners notice as clunking, a short delay before the bar takes effect, or a looser feel in transitions. Dried-out bushings can also squeak. Both the front and rear locations see mud, water and grit in normal off-road use, and abrasive debris trapped between the bar and the bushing speeds up wear.
Factors that change which bushing fits
Model year, trim level, chassis width and whether the machine is a two-seat or Max version can all change the sway bar hardware, so the catalog lookup should use the full model identification rather than a general X3 label. Service history matters as well. A previous owner may have installed an aftermarket sway bar with a different diameter, swapped in non-factory bushings, changed brackets, or removed a bar entirely. In any of those cases the factory part number may not match what is on the vehicle, and the bar itself becomes the reference for sizing.
Material is the other main decision. Factory bushings are typically rubber, which absorbs vibration and runs quietly. Aftermarket options are commonly polyurethane or similar firmer materials, which hold the bar more precisely and can sharpen the bar's response, but may pass more noise and vibration into the chassis and often need lubrication with a grease the bushing maker approves. Some kits include grease fittings for that reason. Your operating conditions should guide the choice: a machine that spends its time in sand, water or mud will collect grit around any bushing, so plan on more frequent cleaning and inspection regardless of material.
When shopping for Can-Am X3 rear sway bar bushings specifically, check the bracket as well as the bushing. Some aftermarket rear sway bars are sold with their own bushings and brackets, and a bushing intended for the factory rear bar may not suit them. Kits sold as a front and rear set may contain different sizes for each axle, so confirm that both halves of the kit match your bars.
How to inspect the bushings and confirm fitment
Park on level ground, shut the engine off and secure the vehicle before working around the suspension. Clean the area around each bracket so you can see clearly. Look for cracks, torn or missing sections, a bushing that has walked partly out of its bracket, polished or shiny bands on the bar, and rust or dirt trails that show movement. Then grip the bar close to each bracket and try to move it up, down, fore and aft. Visible play or a knock you can feel suggests the bushing no longer holds the bar firmly. Having a helper rock the vehicle side to side while you listen near each bracket can help localize a noise.
To confirm fitment, record the vehicle identification number and model information, then use the parts catalog for the front and rear sway bar assemblies. If the bar may not be original, clean the bar where the bushing sits and measure its diameter with calipers, and note the bracket shape and bolt spacing. Compare those measurements with the bushing listing before you order. Replacing both bushings on the same bar at once keeps the bar evenly supported, and there is little reason to reuse one old bushing alongside a new one.
During installation, use the fastener torque values from the service manual for your model rather than a general figure, since overtightening can distort brackets and undertightening lets the bar move. Reinstall brackets in their original orientation, apply lubricant only if the bushing maker calls for it, and use a compatible grease. After the first ride, it is sensible to recheck the bracket fasteners and listen for any remaining noise.
Rule out other sources of clunking
Not every knock from the suspension comes from the sway bar bushings. Worn end link joints or bushings, loose bracket bolts, worn shock mounting bushings, suspension arm bushings and other pivot points can produce similar sounds over uneven ground. Check the end links for play at both ends and confirm that bracket fasteners are tight before replacing bushings. If new bushings do not change the noise, the cause is elsewhere and further inspection is needed.
Limitations and when to get help
This guide cannot confirm the correct part number for your particular machine. Hardware differs across the X3 range, and only the manufacturer specifications and the parts catalog for your vehicle identification number, or a measurement of the bar actually installed, can settle fitment. There is also no universal replacement interval for these bushings; follow the inspection points in your owner's manual and maintenance schedule, and let the bushings' actual condition decide when they are replaced.
Get help from a dealer or a qualified technician if a bracket or mounting point is cracked or elongated, the bar appears bent, you find damage to the chassis around the mounts, or you cannot obtain the correct torque specifications. Those conditions go beyond a bushing swap and can affect how the vehicle handles.