C4 Corvette Coolant Flush: Drain, Refill and Remove Trapped Air
Before you start
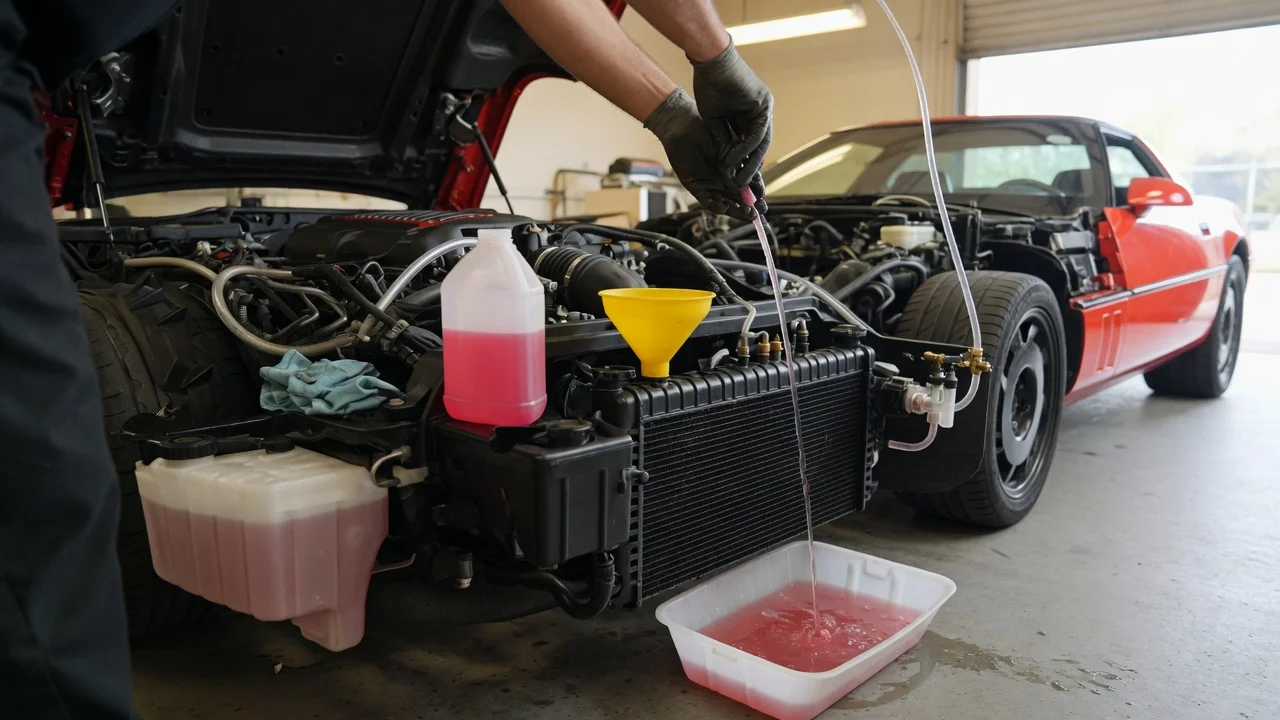
Let the engine cool completely before opening the cooling system. A warm or pressurized system can spray hot coolant and cause serious burns. Park the car on a level surface so the radiator and block drain at a consistent angle, and put a large drain pan under the front of the car. Wear nitrile gloves and eye protection because coolant is slippery and toxic to people and animals.
C4 Corvette cooling systems are drained and refilled locally in the driveway or garage; no remote or online service is involved. The exact drain points depend on the engine package. LT1 and LT4 cars have a coolant drain plug or petcock on the radiator, while earlier L98 cars may use a radiator petcock and a block drain. Check the radiator style and owner's manual for the 1984-1996 model year being serviced.
Use the coolant type specified for the car, mixed at the concentration recommended for the local climate. A 50/50 mix of antifreeze and distilled or deionized water is the common baseline, but the container may list a ready-to-use or concentrate formula. Do not substitute tap water unless the product instructions allow it.
Step-by-step instructions
Set the heater control to full hot so coolant can circulate through the heater core during the flush. On cars with a mechanical control, this opens the path without starting the engine. On automatic climate control cars, follow the factory method for keeping the heater circuit open during service.
Remove the radiator cap or surge tank cap only after the engine is cool. Place the drain pan below the radiator drain and open the petcock or plug slowly. Let the old coolant drain until the flow stops, then close the drain. If the car has a block drain, open it with the appropriate tool and drain that section into a second clean pan.
For a deeper flush, refill with plain water, run the engine briefly with the heater on, cool the system, drain again, and repeat until the drained water looks clean. Skip this loop if the existing coolant is only lightly discolored or if the owner's manual recommends a simple drain and refill.
After the final drain, close all drain points and refill slowly through the radiator neck or surge tank with the correct coolant mix. Pouring too quickly traps air pockets, so add the fluid in stages and pause when the level no longer drops. Fill until the coolant reaches the cold-fill mark or full mark shown for the car.
Remove trapped air
Air trapped in the system can cause uneven heat, a low coolant level after shutdown, or a temperature gauge that climbs then drops. Leave the radiator or surge tank cap off, start the engine, and let it idle with the heater still set to full hot. Watch the coolant level and slowly add more as bubbles rise to the fill opening.
Some C4 models have a bleed valve near the thermostat housing or in the upper radiator hose area. If the car has one, open it carefully while the engine warms and close it when coolant flows steadily without bubbles. Avoid opening a bleed screw on a hot, pressurized system; wait until it is warm enough to push air out but still safe to work around.
Let the engine reach normal operating temperature with the heater fan running. Coolant should move through the heater circuit and warm air should come from the vents. Keep checking the fill level during warm-up because the thermostat opening can release another pocket of air and lower the visible coolant.
Check the output
After the thermostat opens and the cooling fan cycles, install the cap and take a short drive or let the car idle to bring the system fully up to temperature. Then shut the engine off and let it cool. The level in the overflow or surge tank should return to the normal range rather than dropping sharply.
A correct flush should leave the coolant at the proper concentration and the temperature gauge stable in its normal range. There are no universal color, opacity or measurement limits that prove the job is correct, so use the mixture ratio on the product label and the level marks on the tank as the practical checks.
Use a coolant tester if one is available to confirm freeze protection and mixture strength. Recheck the level after one or two heat cycles and top off only with the same mix already in the system.
Common problems and next steps
Coolant level drops after the first drive, usually because air was still trapped after the initial fill; repeat the warm-up bleed and refill at the cold-fill mark. Temperature gauge spikes after refill, often from the thermostat opening late or a remaining air pocket; shut down when the engine is too hot and check the bleed procedure before driving again. Heater blows cold air, which can mean air remains in the heater core circuit; run the engine with the cap off and the heater on until the upper hose warms and the heater outlet becomes warm. Coolant continues to leak from the drain area, which points to a worn petcock seal, damaged plug or debris on the sealing surface; inspect the drain fitting when the system is cool. Old coolant is heavily rusted or oily, which may require more than a basic drain and refill; a professional pressure or chemical flush can be considered, but only after confirming the system is safe for that process.
Collect old coolant in a sealed container and take it to a local recycling or hazardous waste drop-off point. Do not pour it onto the ground or into a drain, and keep pets away from any spilled coolant because even a small amount can be harmful.