C0660, C0644, C0646 and C0696 Chassis Codes: Meanings and Diagnosis
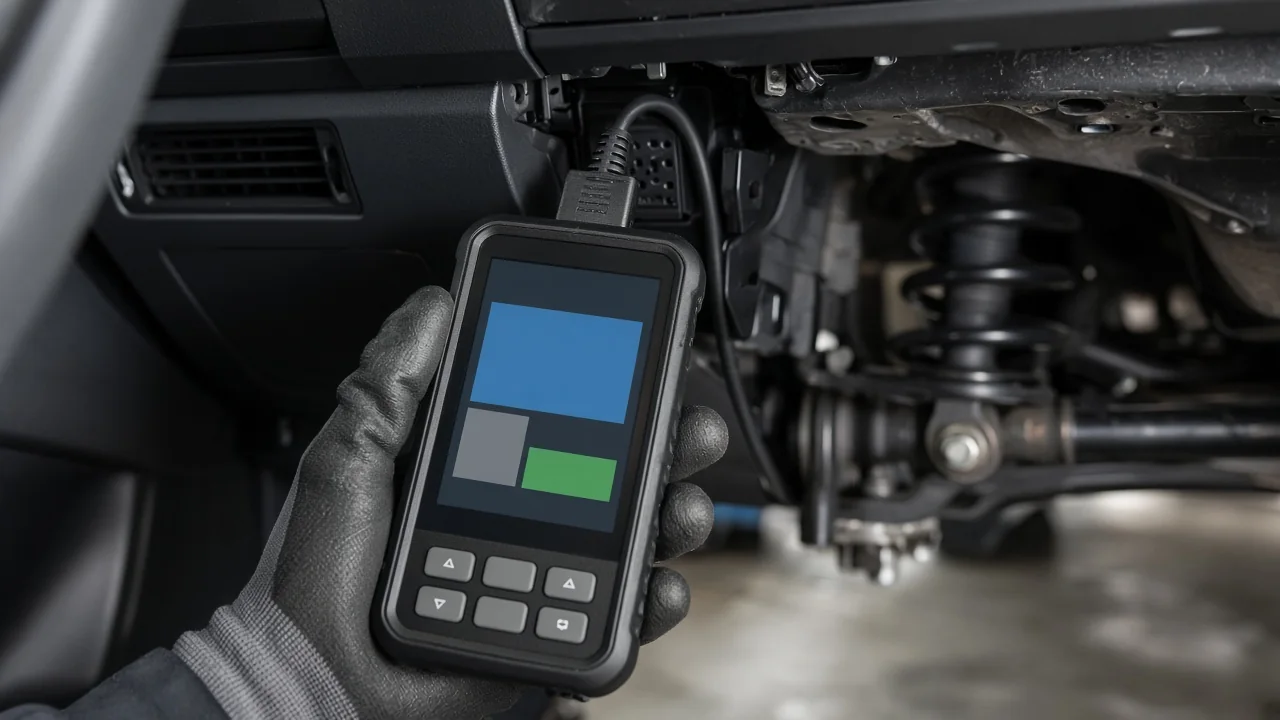
A C0660 code can leave drivers guessing, because chassis trouble codes are not defined by a single universal standard. One manufacturer may use this number for a ride height sensor or level control system fault, while another assigns it to a different circuit entirely. The same applies to related codes like C0644, C0646, and C0696. Interpreting them correctly starts with the exact scan tool description for your vehicle, not with a generic lookup.
What C0660 Means and Why Its Definition Depends on Your Vehicle
C-codes are chassis codes that cover systems beyond the engine and transmission, including suspension and stability functions. The meaning of C0660 is set by the vehicle manufacturer, so the same number can indicate different problems on different models. Before drawing conclusions, read the definition supplied by a scan tool or the factory service information for that make, model, year, and module. Treat any online code list as only a starting point.
On some vehicles this code group relates to electronic suspension, ride height, or self-leveling systems, but that is an example to verify rather than a fixed definition. Another brand may use C0660 for an unrelated sensor supply circuit or a wiring fault. Confirming the exact description prevents wasted effort. An incorrect assumption can send you chasing a suspension sensor when the actual issue is a module communication error.
Reading a C0660 Code: Scan Data, Freeze Frame and Related Codes
A basic engine code reader often cannot access chassis modules, so it may miss a C0660 entirely or show it without useful details. A scan tool that reads suspension control, leveling, or body modules provides the code status, failure type, and sometimes live data. Note whether the code is current or stored, and record any freeze frame data. That snapshot shows operating conditions when the fault occurred, such as vehicle speed or battery voltage.
Record all codes present before clearing anything. Related chassis or voltage codes change how C0660 should be interpreted. For example, a low system voltage code alongside C0660 may point to a charging issue rather than a failed ride height sensor. Clearing the code first throws away the freeze frame and the code’s current-versus-stored status. That information is often the quickest way to separate a wiring fault from a component failure.
Understanding C0644 Within the Same Chassis System
C0644 often appears in the same chassis code family as C0660, yet it still requires its own vehicle-specific definition. A scan tool may describe C0644 as a sensor supply circuit open, short to ground, or out-of-range fault. Read that verified description closely. The failure type tells you whether the problem is a broken wire, a grounded signal line, or a value that is present but implausible.
When C0644 sets together with C0660, a shared power, ground, or wiring harness issue becomes more likely, though that is a possibility rather than a conclusion. Start with safe visual checks. Look for obvious connector damage, pin push-out, rubbed wiring, or corrosion at accessible suspension and frame connectors. Do not disassemble sealed components. A clean visual inspection can reveal a single cause that explains both codes.
Understanding C0646 and How It Relates to the Group
The meaning of C0646 must be confirmed for the specific vehicle and module that stored it. The same numeric identifier can refer to different circuits across brands. If the scan tool shows a fault-type descriptor, such as open circuit, short to voltage, or performance, use that to narrow the diagnosis. A short to voltage points toward a harness rub or a powered component, while an open circuit often means a broken wire or unplugged connector.
Several codes in this group appearing together can indicate a shared supply or reference circuit fault rather than multiple failed parts. Drivers sometimes replace one sensor after another, only to find the problem returns. Before buying parts based on the code number, confirm the circuit definition and test for common causes. Replacing a component without understanding the code often leaves the real wiring issue untouched.
Understanding C0696 and Sensor or Supply Circuit Faults
C0696 should be looked up for the exact vehicle before interpretation, because definitions vary between manufacturers. On one model it may refer to a ride height sensor signal range issue; on another, a suspension control module internal fault. Confirm the description with a scan tool or service information. Guessing based on the number alone is unreliable and can lead to unnecessary repairs.
In general terms, a sensor reference or supply circuit fault can set several chassis codes at the same time. Many sensors share a common 5-volt reference, a sensor ground, or a switched power feed. One compromised wire can pull down the reference for multiple devices, producing C0660, C0644, C0646, and C0696 together. Low battery voltage or a weak charging system can also cause multiple chassis codes. Check battery health first, especially before replacing sensors or modules. Resolving one root cause may clear several related codes.
Symptoms and Warning Lights to Watch For
Symptoms that may accompany this code group vary by vehicle. A suspension or service warning message is common, along with uneven ride height, a leveling feature that stops working, or ride-control modes that no longer change. Some vehicles show no noticeable symptom beyond a stored code, so the absence of a warning does not rule out a fault. If the ride height is visibly off, the code is likely active.
Note when symptoms occur. Does the warning appear at startup, after loading the vehicle, or in wet weather? That information helps a technician isolate the circuit. If handling, braking, or stability feels different, have the vehicle inspected promptly. Avoid carrying heavy loads until the system is checked, because a leveling or stability fault can change how the vehicle behaves under load.
How to Approach Repair and When to Get Professional Testing
Begin with a safe order of work. Verify the code definitions for your vehicle, check battery condition and charging voltage, and perform the visual inspections already described. Only then should circuits be tested. Circuit testing, module diagnosis, and suspension component work require proper tools and service information. Air or electronic suspension systems can store high pressure or support part of the vehicle’s weight, so untrained repair can be hazardous.
A code alone shows where the system detected a problem, not what part failed. A technician may need to perform pinpoint tests, such as checking a sensor’s supply voltage and signal with a multimeter or using a scope to watch the waveform. Ask the shop to confirm the diagnosis and clear the codes, then recheck after a test drive. If the same codes return, the root cause was likely not resolved.