C0306, C0308 and C0310 Codes: What They Mean and How to Diagnose Them
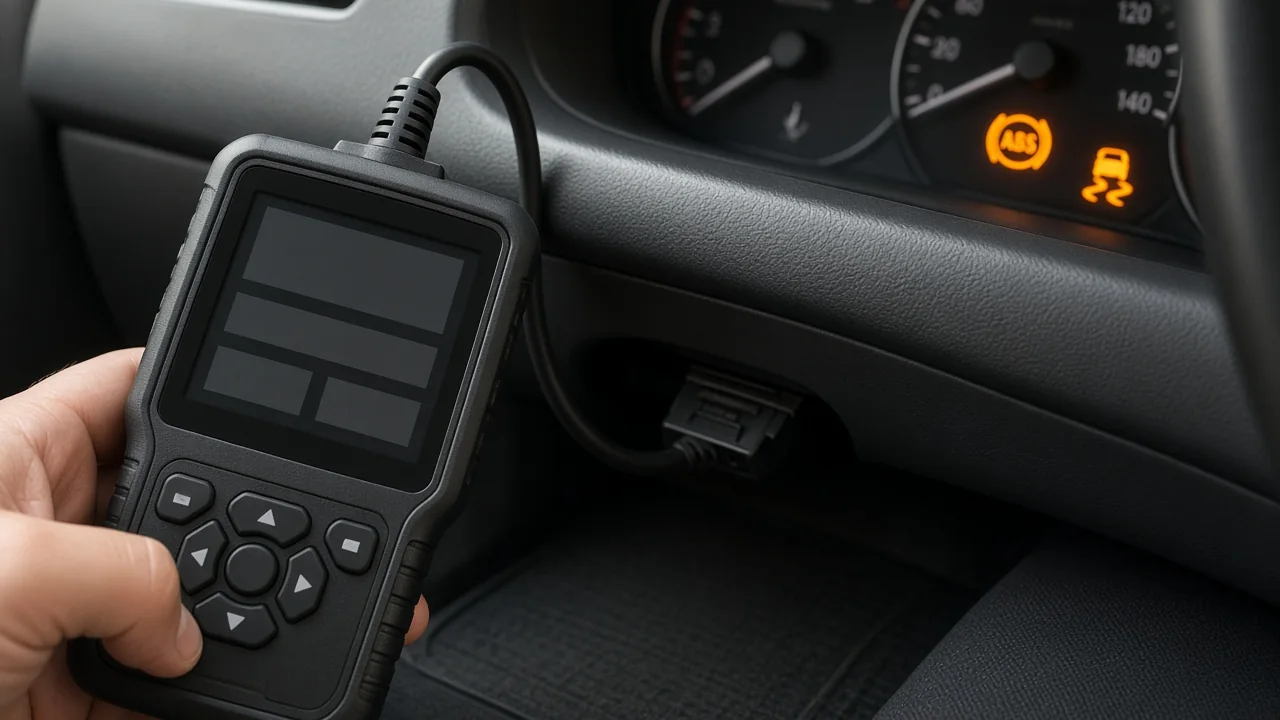
Seeing C0306, C0308, or C0310 on a scan tool can be confusing because these chassis trouble codes do not have a single universal meaning across all vehicles. A generic reader might give only a number or an unclear description, leaving you unsure whether the issue is with the ABS, traction control, or stability control. The actual definition depends on the manufacturer, the module that set the code, and the vehicle’s year and model. Understanding how to confirm each code for your specific vehicle is the first step toward a correct diagnosis and avoiding unnecessary parts replacement.
What a C0306 Code Means and Why You Have to Check It for Your Vehicle
C0306 belongs to the chassis code family, which often covers braking, traction, stability, and suspension systems. Unlike standardized OBD-II powertrain codes, chassis trouble codes can be manufacturer-specific, meaning the same number may point to different circuits or components on different makes and models. The description shown by the vehicle’s brake control module or other control unit is what actually matters, because a generic online definition may not match your car. Before acting on a C0306 code, confirm the exact meaning using a scan tool that reads manufacturer-specific data or reliable service information for your specific vehicle.
The status of the code also changes how it should be interpreted. A current code means the condition was present during the last diagnostic session, while a stored or history code may indicate an intermittent fault that has not reappeared recently. Freeze frame data, if available, can show the operating conditions when the code was set. Knowing which module set the code and whether it is active helps direct testing, so record all details before clearing anything.
Understanding the C0308 Code in Context
Just like C0306, C0308 requires vehicle-specific confirmation before drawing conclusions or replacing parts. A generic scanner may label it vaguely, but the manufacturer’s definition for your exact make, model, and module is essential. When C0308 appears alongside C0306 or C0310, it may indicate a shared circuit, power supply, ground, or control module issue rather than three unrelated faults. This is a possibility to investigate, not a certainty. Writing down every stored code—including powertrain and body codes—helps a technician see the full picture and identify related faults that may share a common source.
Avoid assuming that C0308 is linked to one specific component without confirmed diagnostic steps. Since these codes are close in number, they often belong to the same system family, but they may still point to different circuits or conditions. For example, one code could relate to a wheel speed sensor circuit while another involves a brake pressure sensor. Only through systematic testing, such as checking wiring and connector continuity against specifications, can the actual cause be determined.
What the C0310 Code Indicates and How It Relates to the Others
The meaning of C0310 is also manufacturer-dependent and must be confirmed for the specific vehicle. Codes with close numbers, like C0306, C0308, and C0310, can belong to the same system family—such as traction or stability control—but still point to different circuits or conditions. The order in which the codes were set and any freeze-frame data available can help a technician determine which fault occurred first, which is often the root cause. Without this information, clearing the codes and waiting for them to return can waste time and allow an intermittent issue to become worse.
It is risky to copy a definition from a forum post about a different make or model, because even the same code number can have an entirely different meaning on another vehicle. A C0310 on one vehicle might be related to ABS internal solenoid circuits, while on another it could involve a steering angle sensor or a different module. Use service information specific to your vehicle, or ask a qualified technician to confirm the code interpretation before any parts are replaced.
Common Symptoms Drivers May Notice
Drivers may notice several general signs when chassis trouble codes are present, though none should be linked to a specific code as fact. Common warning lights include the ABS light, traction control light, or stability control indicator, and sometimes a general brake warning may illuminate. Some vehicles may also display a message such as “Service Stability System.” However, some drivers notice no change in how the vehicle drives at all, while others may experience altered braking feel, reduced stability assistance, or unusual pedal behavior. Any change in braking or stability performance is reason to have the vehicle inspected promptly.
A lit red brake warning light, a soft or low brake pedal, or any noticeable loss of braking performance means the vehicle should not be driven until it has been inspected by a professional. These are serious safety concerns that go beyond a simple diagnostic code. Additionally, a warning light that comes and goes may point to an intermittent connection problem, perhaps in a wiring harness or connector corrosion. Only testing while the fault is present, or using a scan tool to capture freeze frame data, can confirm that suspicion.
Possible Causes to Consider Without Guessing
Chassis codes can be set by broad categories of issues, including wiring or connector damage, corrosion, low system voltage, weak battery or charging problems, sensor or actuator faults, and even control module internal problems. Low battery voltage or a recent jump-start can sometimes cause stored chassis codes because modules may detect implausible signals during voltage drops. Checking the charging system and battery condition is a wise early step. However, no single cause should be considered the most common for these codes without vehicle-specific evidence, as their meanings vary widely.
Replacing parts on a guess often wastes money and can leave the real fault in place. For example, if a wheel speed sensor code is caused by a damaged wire, installing a new sensor will not fix the problem because the wire is still broken. A systematic approach that verifies wiring, power, ground, and signal before condemning a component is more effective. Understanding the specific code definition and testing related circuits usually reveals the true fault without unnecessary parts replacement.
Safe Checks You Can Do Before Visiting a Shop
Before visiting a shop, record all codes and their descriptions with a capable scan tool. Do not clear them, because clearing can erase important diagnostic data such as freeze frame and history codes. A safe visual inspection can also help. Check the brake fluid level against the reservoir markings; if it is low, there may be a leak or worn brake pads, but do not open the system. Look for obvious wiring damage near the wheels, such as cut or chafed insulation, and inspect connectors for visible corrosion. Avoid taking apart brake or hydraulic components unless you are qualified.
Checking the battery condition and terminal cleanliness is another simple step. A weak battery or corroded terminals can cause voltage drops that set chassis codes. After addressing any obvious issues, note whether the codes return after a normal drive cycle. Also, check for any service bulletins or campaigns that apply to your vehicle through the manufacturer or dealer. There may be a known issue with a wiring harness or module, but do not assume one exists until it is verified.
When Professional Diagnosis and Repair Are Needed
Brake and stability system repairs affect safety and often require manufacturer-level scan tools, circuit testing, and sometimes module setup or specialized bleeding procedures. A qualified technician will first confirm the code definition for your exact vehicle, then check the relevant circuits against specifications—measuring voltage, resistance, and signals. They will test the affected component before replacing anything, ensuring that the root cause is found. This systematic process prevents unnecessary parts replacement and can uncover hidden wiring or module faults.
When you take your vehicle to a shop, ask them to explain the confirmed cause and the test results that support their conclusion. After the repair, verify that all codes stay clear and that warning lights operate normally during a test drive. A proper repair should not leave any lingering warning lights. If codes return soon after, further diagnosis may be needed. Staying informed about the process helps ensure your vehicle’s safety systems are functioning correctly.