Brake Fluid Level Sensor 5S7672: Fitment and Part Selection
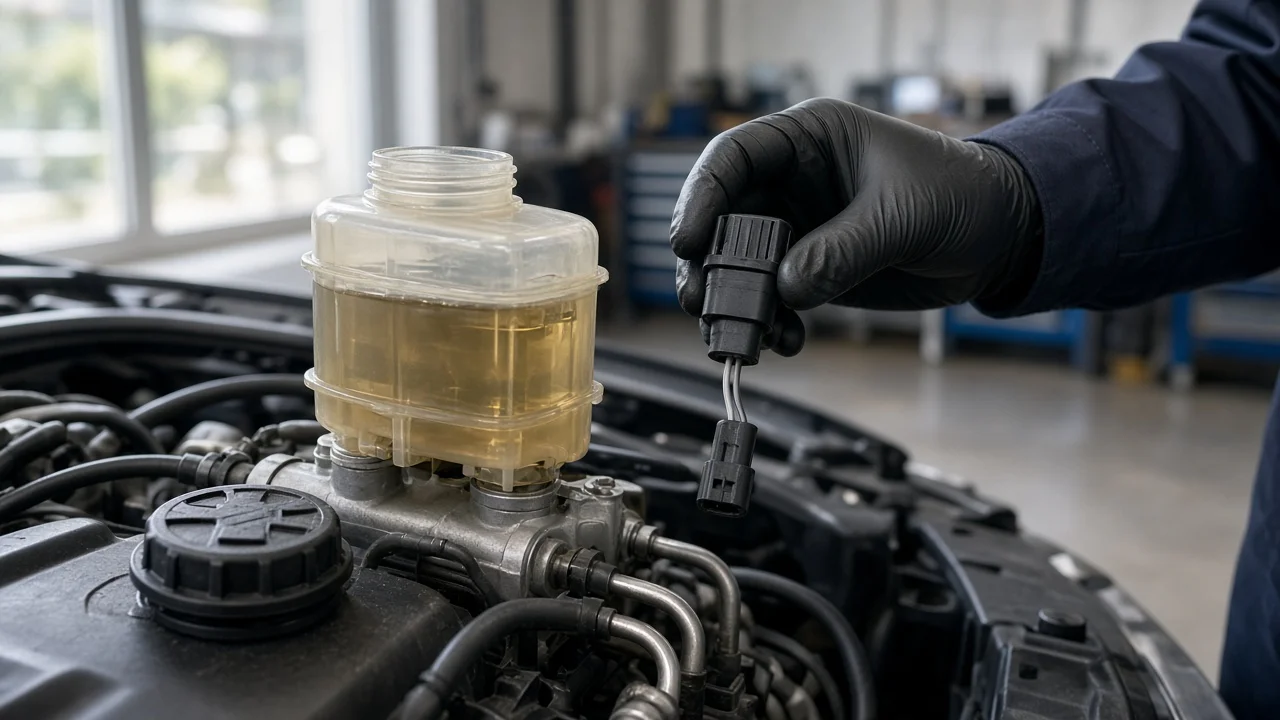
A brake fluid level sensor sold under part number 5S7672 has one narrow job. It warns the driver when the master cylinder reservoir falls below a safe level. Picking the right replacement means confirming that the part matches your vehicle's reservoir, connector and warning circuit. It also means ruling out the real reason the warning came on. This guide covers fitment checks, the features worth comparing, ownership limits and a short checklist. The goal is to buy the correct sensor without mistaking it for a cure for a brake fault.
Define the job the product must do
Most reservoir level sensors use a float and a switch. When the brake fluid drops past a set point, the switch changes state and the instrument cluster turns on the brake warning lamp. The sensor does not measure hydraulic pressure, pad thickness or fluid condition. It only reports whether there is enough fluid in the reservoir. A replacement makes sense when the sensor itself has failed. Typical signs are a warning lamp that stays on with a correctly filled reservoir, a cracked sensor body, a broken connector or locking tab, or a lamp that never responds when the level is actually low.
A low reading is often a symptom rather than the fault. As brake pads wear, the caliper pistons move outward and draw fluid from the reservoir, so the level falls gradually. A leak at a brake line, hose, caliper, wheel cylinder or the master cylinder also lowers the level. If the reservoir really is low, inspect the pads, friction material and brake rotors against the wear limits in your vehicle's service information, and look for wet spots or residue before replacing the sensor or topping up. A soft or sinking pedal, pulling under braking, or a warning lamp combined with visible fluid loss means you should stop driving the vehicle and have the brakes professionally serviced.
Check compatibility
Treat the part number as a starting point, not proof of fit. Confirm that 5S7672 is listed for your exact year, make, model, engine and brake system. Use a parts catalog lookup by VIN where available, or the manufacturer's service information. The same model can use different reservoirs depending on production date, ABS configuration or market, so a listing for the model name alone is not enough. Remove or inspect your original sensor and compare it with the replacement. Check the mounting method (push-in, threaded, clip-retained or built into the cap), the float length and shape, the seal or grommet, the connector shape, the number of terminals and the position of the locking tab.
The electrical side matters as much as the physical fit. Depending on the vehicle, the circuit may expect the switch to close or to open when fluid is low. A sensor with the wrong switching logic can cause a permanent warning or no warning at all, even if it plugs in. The wiring diagram in your service information shows what the circuit expects. On some vehicles the sensor is molded into the reservoir and is not sold separately. In that case a standalone sensor will not fit, and the correct repair is a reservoir assembly. Do not cut, splice or reshape a connector to make a near match work on a safety circuit.
Features that affect the choice
Useful evidence is specific and checkable. Look for a clear vehicle fitment listing, photos that show the connector face and terminal count, an original equipment cross-reference that matches the number on your old part, and a statement of whether a seal or grommet is included. The sensor must also be compatible with the brake fluid your vehicle specifies, which is usually stated on the reservoir cap or in the owner's manual. Labels such as premium, heavy duty or OE quality describe marketing positioning, not a measurable property. Give them weight only when they come with a stated specification or a verifiable cross-reference.
The main trade-off is between an original equipment sensor and an aftermarket one. A dealer part removes most fitment doubt but usually costs more. An aftermarket part can be the sensible choice when its cross-reference and connector clearly match. Warranty length and return terms also differ between sellers. Some sellers restrict returns on electrical parts once installed, so confirm the match before fitting it rather than test-fitting by trial and error.
Limitations and ownership costs
Fitting a level sensor is usually a short job, but brake fluid needs careful handling. Most fluids absorb moisture from the air and can damage paint, so clean around the reservoir before opening it, protect nearby painted surfaces and keep dirt out of the system. Use only the specified fluid from a sealed container. Removing a sensor from the reservoir body may mean lowering the fluid level first. If the reservoir ever ran low enough to let air into the master cylinder or lines, the system will need bleeding according to the vehicle's procedure. Follow the service information for any retaining clips or fastener torque.
Budget for more than the sensor itself. You may need a new seal, fresh brake fluid, possibly a reservoir assembly and diagnostic time if the warning has more than one cause. On many vehicles the same brake lamp also reports the parking brake switch or certain ABS-related faults, so a new sensor will not clear a warning that comes from another circuit. The sensor cannot fix a leak, replace worn friction material, correct rotor wear or free a sticking caliper. After installation, confirm the warning lamp behaves as the service information describes. That includes the lamp check at key-on, if your vehicle performs one, and the lamp going out with the reservoir at the correct level.
Build a practical shortlist
Before ordering, work through these checks in order. First, confirm the diagnosis: the reservoir level is correct, there are no leaks, the pads are within wear limits, and the warning is not coming from the parking brake or another system. Second, confirm vehicle fitment for 5S7672 by VIN or service information. Third, match the mounting style, float, seal, connector shape and terminal count to your original part. Fourth, confirm the switching logic your circuit expects. Fifth, check whether a seal is included and which fluid the part is compatible with. Finally, compare warranty and return terms, and price only among the candidates that pass every earlier check.
If any of these checks leaves doubt, or the warning came with changes in pedal feel or braking behavior, have a brake specialist inspect the system before you buy parts. A correctly matched sensor restores an important warning, but it only reports the fluid level. The hydraulic system, pads, rotors and calipers still need to be in serviceable condition for the vehicle to stop safely.