Brake Caliper Replacement: Procedure and Requirements
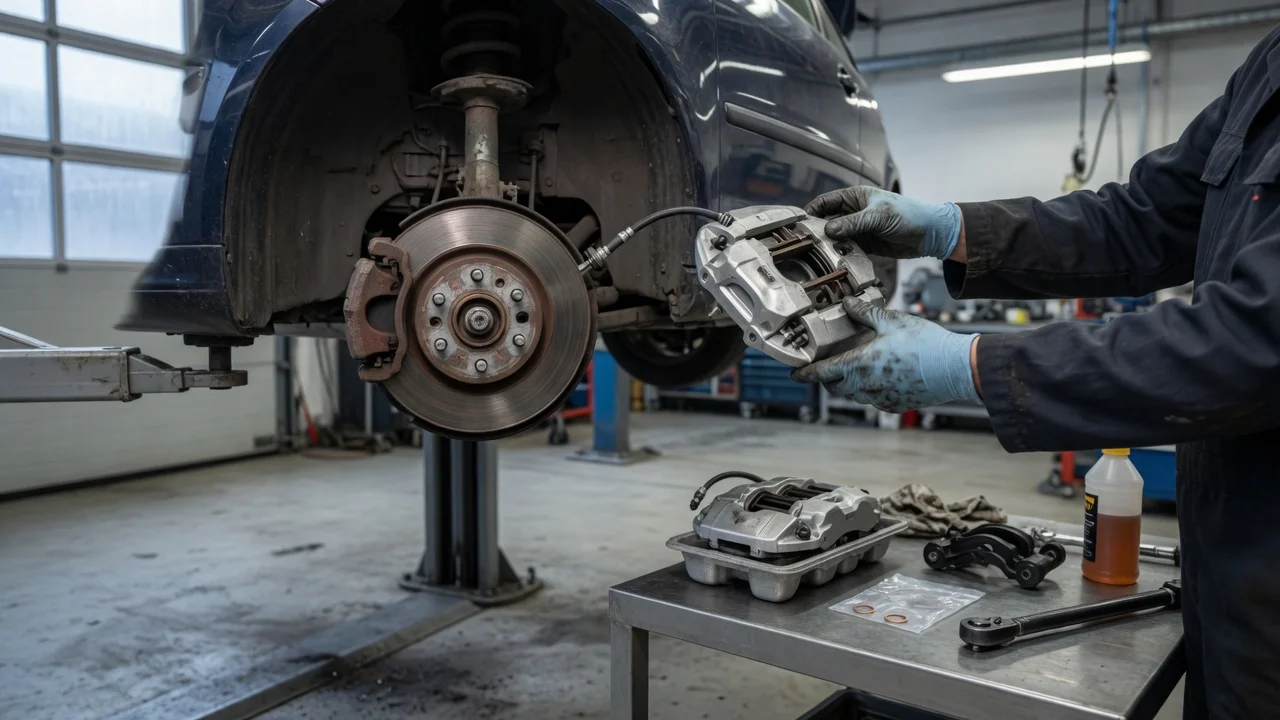
The Short Answer
Replacing a brake caliper means removing the hydraulic clamp that squeezes the brake pads against the rotor, fitting a new or remanufactured unit, reconnecting the brake hose, bleeding air out of the hydraulic system and confirming a firm pedal before the vehicle is driven. A person with sound mechanical skills, proper lifting equipment and the vehicle's service information can do it at home. Because the brakes are a primary safety system, any doubt about fastener torque, bleeding or pedal feel is a reason to stop and have a qualified technician finish or check the work.
The exact procedure varies with the vehicle. Front and rear calipers often differ, and rear calipers with an integrated parking brake mechanism, especially electronic parking brakes, can require a scan tool or a specific retraction sequence. Bolt sizes, torque values, brake fluid specification and bleeding order are set by the manufacturer for each model year, generation and trim. This guide does not list those values. Take them from the applicable factory service manual or equivalent repair data.
Before You Start
Confirm that the caliper is actually the fault. Common reasons for replacement include a seized or sticking piston, a leaking piston seal, slide pins that cannot be freed, or a damaged caliper body or bleeder screw. Symptoms such as pulling to one side, a dragging wheel, uneven pad wear or fluid on the inside of the wheel can also come from hoses, pads, slide hardware or other parts, so a diagnosis should come before buying parts.
Correct replacement caliper, matched to the vehicle and the side (calipers are usually left- or right-specific because of bleeder position); New copper or crush washers if the brake hose uses a banjo bolt; Brake fluid of the type specified on the reservoir cap or in the owner's manual, from a sealed container; Service information giving torque values, fluid type and bleeding procedure for the specific vehicle; New pads and hardware if the old ones are worn or contaminated with fluid; many shops replace pads on both sides of an axle together; Rotor inspection against the manufacturer's minimum thickness figure
Tools Typically Needed
Tool | Purpose; Floor jack and rated jack stands | Lift and support the vehicle; never work under a vehicle held only by a jack; Wheel chocks | Stop the vehicle rolling while one end is raised; Lug wrench or socket and breaker bar | Remove the wheel; Sockets or wrenches sized for the caliper and bracket bolts | Remove and refit the caliper; sizes vary by vehicle; Flare-nut (line) wrench | Disconnect threaded brake fittings without rounding them; Torque wrench | Tighten caliper, bracket and wheel fasteners to specification; Brake hose clamp | Limit fluid loss while the hose is disconnected (use a type designed not to damage the hose); Piston compressor or C-clamp; rear wind-back tool or scan tool where required | Retract pistons; some rear pistons must be rotated, and electronic parking brakes may need a service mode; Wire brush and brake-specific high-temperature lubricant | Clean mounting surfaces and lubricate slide pins and pad contact points; Clear tubing, catch bottle and bleeder wrench, or a pressure or vacuum bleeder | Bleed the system; Brake cleaner, gloves and eye protection | Clean parts and protect skin and eyes from fluid and dust
Step-by-Step Procedure
1) Park on level, firm ground, chock the wheels on the opposite axle and loosen the lug nuts slightly while the wheel is still on the ground. 2) Raise the vehicle at a manufacturer-approved lift point, support it on jack stands, then remove the wheel. 3) If working on a rear caliper with an electronic parking brake, put the system into its service or maintenance mode with a compatible scan tool or the documented procedure before touching the caliper. Forcing the piston back can damage the actuator. If the procedure is not available, this is a point to involve a professional. 4) Check the brake fluid reservoir level and remove some fluid if it is near full, so the level does not overflow later when pistons are pushed back. Brake fluid damages paint, so cover nearby surfaces. 5) Fit a hose clamp to the flexible brake hose if one is being used, then loosen the banjo bolt or line fitting at the caliper with the correct wrench. Have the catch container ready and keep fluid off the pads and rotor. 6) Remove the caliper mounting or guide-pin bolts and lift the caliper away. If only the caliper is being replaced and the bracket is reused, inspect the bracket, slide pins and boots. Disconnect the parking brake cable on rear calipers that have one. 7) Clean the bracket where the pads sit, remove rust and old lubricant, and lubricate the slide pins and approved contact points with brake-specific grease. Keep lubricant off pad friction surfaces and rotors. 8) Inspect the pads and rotor. Replace pads that are worn or soaked with fluid, and measure the rotor against the manufacturer's minimum thickness. 9) Fit the pads and new caliper, then install the mounting bolts and tighten them to the manufacturer's torque value. Some vehicles specify thread locker or new bolts; follow the service information. 10) Reconnect the brake hose using new sealing washers on banjo fittings, check that the hose is not twisted or touching suspension parts through full steering and suspension travel, and tighten the fitting to specification. Remove the hose clamp. Reconnect the parking brake cable if fitted. 11) Bleed the caliper, and the rest of the system if required, in the order the manufacturer specifies. Keep the reservoir from running dry during bleeding, as that can draw air further into the system. Some vehicles with ABS need a scan tool to cycle the hydraulic unit if air has reached it; if that applies and the equipment is not available, have a shop complete the bleed. 12) Top up the reservoir to the correct level with the specified fluid and refit the cap. 13) Refit the wheel, tighten the lug nuts in a cross pattern by hand, lower the vehicle and torque the wheel fasteners to specification. 14) Take the electronic parking brake out of service mode if it was used, and confirm any warning lights have cleared.
Completion Check
Before driving, pump the brake pedal with the engine off until the pistons seat against the pads. The pedal should then feel firm and stay at a consistent height. A pedal that sinks slowly, feels spongy or travels further than before points to air in the system or a leak and means the vehicle should not be driven until the cause is found.
No fluid weeping at the hose fitting or bleeder screw after several hard pedal applications; Reservoir at the correct level; Wheel turns freely by hand without heavy drag when the brake is released; Parking brake holds and releases correctly where the rear caliper was changed; No brake or stability warning lights on the instrument panel; A low-speed test in a safe, empty area confirms straight, even stopping before normal driving; Wheel nuts rechecked for torque after a short distance if the manufacturer recommends it
New pads and resurfaced or new rotors usually need a bedding-in procedure to reach full performance. The correct method depends on the pad maker's instructions, which should be followed rather than a generic routine.
When to Use a Professional
A brake shop or dealer is the better choice when the vehicle has an electronic parking brake and no compatible scan tool is available, when ABS hydraulic bleeding is required, when brake lines or fittings are seized or corroded, when the cause of the fault is uncertain, or when the correct torque values and procedure cannot be obtained. Any brake job that ends with a soft pedal, persistent warning light or visible leak should be inspected before the vehicle returns to the road.
Information Gaps to Fill Before Starting
This guide describes the general sequence used on typical disc brake systems. It does not supply fastener torque values, brake fluid grade, bleeding order, electronic parking brake service steps or ABS bleeding requirements, because these are specific to each vehicle and were not part of the available evidence. Confirm each of them in the manufacturer's service information for the exact model year, generation, powertrain and trim before beginning the work.