Brake Booster Repair: Options and Limits
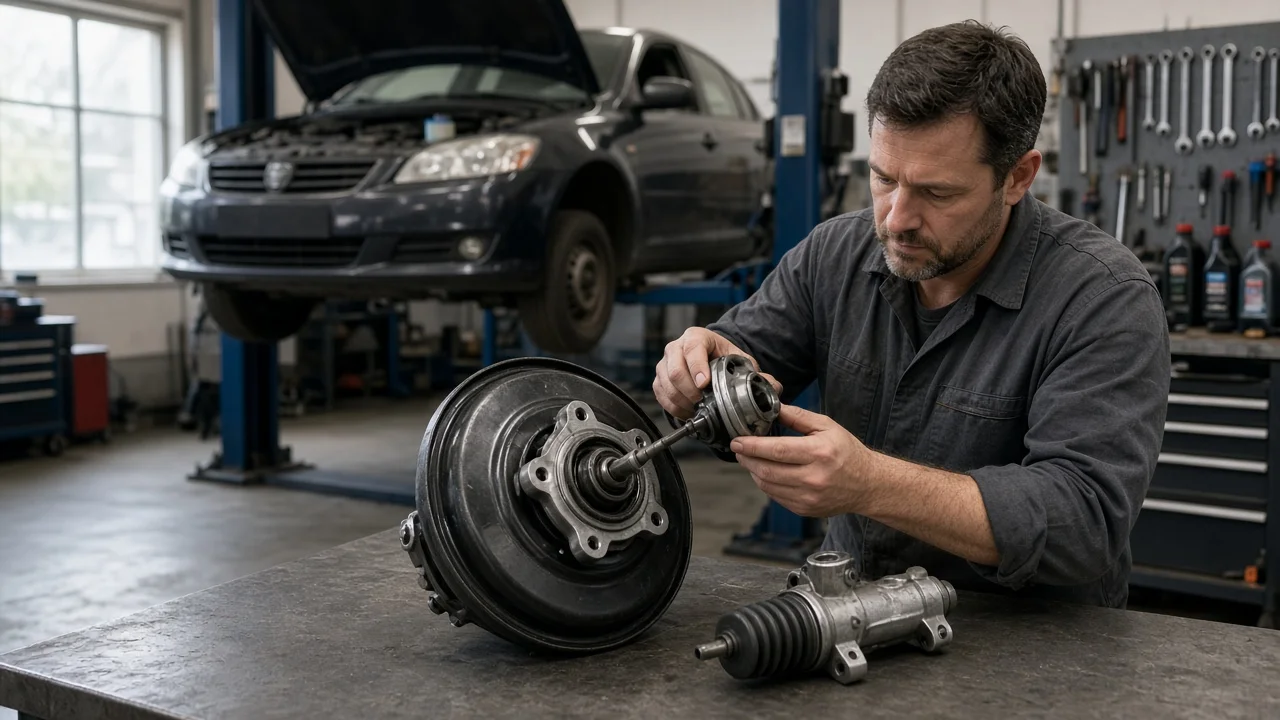
A brake booster multiplies the force from your foot so the brakes apply without excessive pedal effort. When it fails, the pedal turns hard and stopping distances grow. That makes brake booster repair a safety job, not a convenience fix. This guide explains how to confirm the fault, what can realistically be repaired, where the limits are and how a correct repair is verified. If braking assist is noticeably reduced, stop driving the vehicle until it has been inspected.
Confirm the fault before repair
Typical signs of a failing booster are a hard, high pedal that needs far more effort than usual, a hissing sound near the pedal when you press it, and assist that fades after several stops in a row. On engines that supply vacuum to the booster, a leak can also cause the idle to drop or run rough when you brake. A basic functional check starts with the engine off. Pump the pedal several times to use up the stored vacuum, hold light pressure on it, then start the engine. A working booster lets the pedal move down slightly as assist arrives. For a second check, run the engine, shut it off and wait briefly before braking. A sealed booster and check valve should still give one or two assisted applications. Use the procedure and acceptance values in the service information for the exact vehicle.
Several other faults feel similar. A spongy pedal usually points to air or moisture in the brake fluid rather than the booster. A pedal that slowly sinks under steady pressure suggests a master cylinder fault or a hydraulic leak. Pulling or grabbing points toward a caliper, the brake pads or the brake rotors. Glazed or contaminated friction material, or pads worn past their wear limits, can make the pedal feel hard even when the booster works. A healthy booster can also be starved by low engine vacuum, a cracked hose, a faulty check valve or a failed vacuum pump. Brake fluid inside the booster or running down its shell usually means a leaking master cylinder has damaged the diaphragm. Measure vacuum at the booster supply and inspect the system visually before ordering parts.
Define the repair scope
Booster designs differ, so one remedy does not fit every vehicle. A conventional vacuum booster draws vacuum from the intake manifold. Many diesel, turbocharged and direct injection engines rely on a mechanical or electric vacuum pump instead. A hydraulic booster, often called hydro-boost, uses pressure from the power steering system and appears on many heavy-duty trucks and some diesel pickups. Many hybrids, electric vehicles and newer models use an electromechanical booster or an integrated brake control unit tied to ABS, stability control and regenerative braking. Each type has its own failure modes and repair path.
Next, locate the fault. It may sit in the supply side, such as a hose, check valve, vacuum pump or power steering pump. It may be inside the booster itself, or at the interface with the master cylinder. Note whether the unit has a single or tandem diaphragm, how the ABS is configured and whether part numbers changed within the model years. Confirm vehicle fitment by VIN or production data. Boosters that look alike can differ in diameter, pushrod length, mounting studs and master cylinder pattern.
Compare repair options
Supply-side repairs are the simplest way to fix a brake booster when the unit itself is sound. Replacing a cracked vacuum hose, a failed check valve or a hardened booster grommet can fully restore assist. Vehicles with a vacuum pump may need that pump replaced. On hydro-boost systems, hose leaks, power steering pump output and fluid condition are the first areas to check. None of these repairs addresses an internal diaphragm or valve leak, so the booster must be retested afterward.
Adjustment applies to the pushrod between the booster and the master cylinder, which is adjustable on some designs. If the pushrod is too long, the brakes can drag. If it is too short, pedal travel increases. Adjustment only corrects geometry and does not cure a leak. Rebuilding the internals of a vacuum booster is rarely supported on passenger cars. Repair kits are uncommon, and crimped housings are not designed to be reopened. In practice, most vacuum brake booster repair means fitting a new or remanufactured unit. Some hydraulic boosters accept seal kits, but remanufactured units are more common.
A replacement booster resolves internal leaks, but it does not fix a leaking master cylinder. If you find brake fluid in the old booster, repair or replace the master cylinder as well. Electric boosters and integrated brake units usually belong with a specialist or dealer. They are typically replaced as an assembly and often need a scan tool for initialization, calibration and bleeding routines. Any stored brake system fault codes also call for specialist diagnosis.
Requirements and limits
Start with service information for the exact vehicle, including the procedure, torque values and pushrod specification. You will also need a hand vacuum pump or vacuum gauge, a pushrod gauge where one is specified, line wrenches, the correct brake fluid and bleeding equipment. Some systems also need a scan tool. Removing a booster usually means unbolting the master cylinder. Sometimes the master cylinder can be moved aside without opening the lines. If the lines are opened, a full bleed is required, and some ABS units need a scan-tool bleeding sequence.
Booster work affects the primary braking system, and a mistake may not show until a hard stop. Never bypass a check valve, plug a vacuum line or reuse fasteners that the service information says must be replaced. Make sure the pedal clevis pin and its retaining clip are correctly installed. Hybrid and electric vehicles add high-voltage hazards and calibration requirements, so that work belongs with trained technicians. If you lack the equipment or information, have the vehicle towed rather than driven.
Verify the outcome
After any brake booster fix, repeat the engine-off depletion test and the reserve test. Confirm the vacuum or hydraulic supply, and listen for any hiss. Check that the idle stays stable while braking and that pedal height and free play match the specification. Make sure the brakes release fully. A wheel that is hard to turn, or a caliper that runs hot after a short drive, can point to an overlong pushrod. Check the brake fluid level and look for leaks at the master cylinder. Confirm that no brake or ABS warning lights remain. Then make a low-speed test in a safe area before driving in traffic.
Keep records of the original symptoms, test results, part numbers, fitment confirmation, pushrod measurement, fluid used, bleeding method and any calibration performed. These records help with warranty claims on remanufactured units and speed up diagnosis if symptoms return.
If the pedal is still hard after the repair, recheck the vacuum source, hose routing, check valve orientation and pushrod setting. Then inspect the foundation brakes: seized calipers, contaminated friction material, and pads or rotors beyond wear limits. A sinking pedal points back to the master cylinder or a hydraulic leak. Warning lights require diagnosis of the electronic brake system. If any of these remain, stop using the vehicle and have it serviced professionally.