Brake Booster Pushrod Adjustment Tools: Choosing the Right Gauge
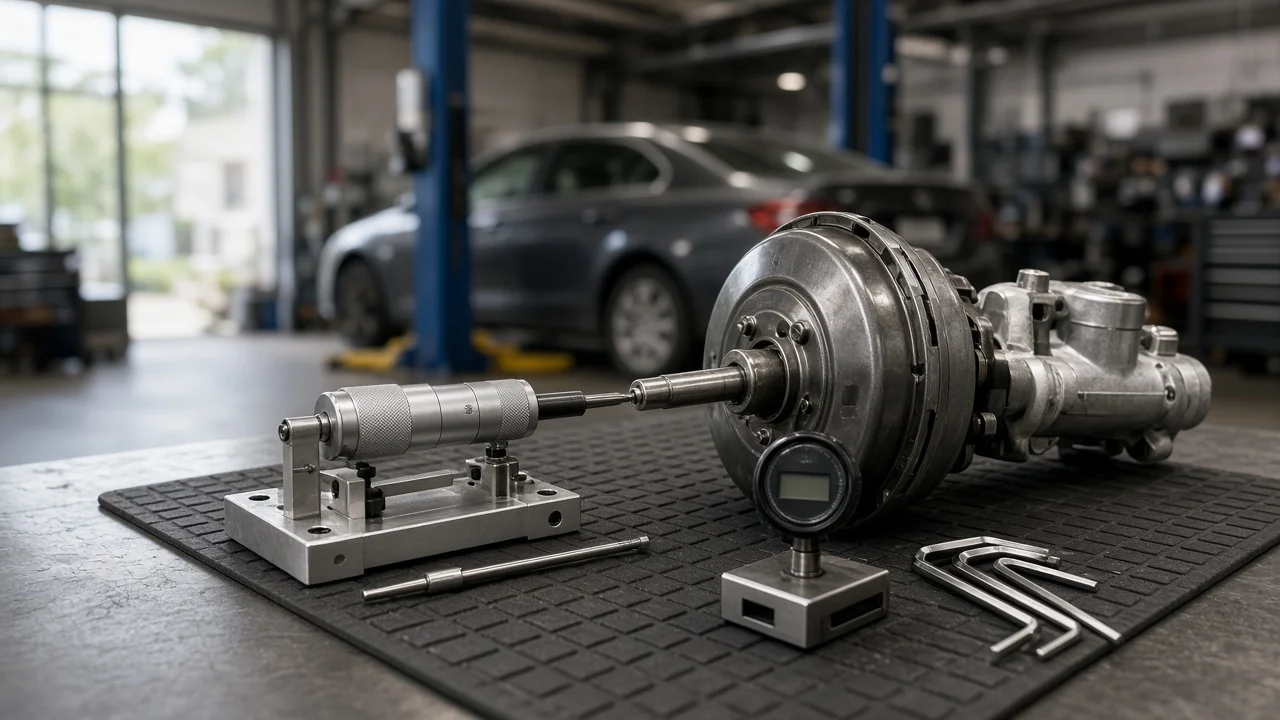
A brake booster pushrod adjustment tool sets the small gap between the booster's output rod and the master cylinder piston. If that setting is wrong, the pedal can feel long, or the brakes can drag and overheat. This guide helps vehicle owners pick a gauge that matches their booster and master cylinder, understand what it can and cannot measure, and recognize when the job belongs with a professional.
Define the job the product must do
The gauge exists for one measurement. The output pushrod on a vacuum booster must meet the master cylinder piston with the clearance or contact specified for that vehicle. Because piston pocket depth varies between master cylinders, and pushrod length varies between boosters, the tool transfers one dimension to the other. You measure the depth to the piston on the master cylinder, then compare it with how far the pushrod protrudes from the booster face. The adjustable tip on the pushrod is then turned until the two agree with the specification.
Most owners need this tool when replacing a booster or master cylinder, especially with remanufactured or aftermarket units whose dimensions may differ from the originals. Consider how often you will use it: a one-time repair on a single vehicle justifies a different purchase than a hobbyist or shop working on several models. Note practical constraints too, such as access to the booster in a crowded engine bay and whether your procedure calls for measuring with vacuum applied to the booster. Symptoms like a hard pedal, brakes that release slowly or a pedal that sinks before engaging need diagnosis first; a gauge confirms one setting, not the overall health of the system.
Check compatibility
Vehicle fitment starts with the booster type. The tools discussed here are for vacuum boosters with an adjustable output pushrod. Hydraulic assist units, electric boosters and integrated brake modules use different procedures, and some vacuum boosters have a pushrod that is not meant to be adjusted. Check the service information for your exact vehicle before buying anything.
Next, compare the gauge to the interface between the parts. Its base must sit squarely on the master cylinder mounting flange, and the measuring pin must reach the bottom of the piston pocket without landing on a snap ring or seal retainer. Flanges differ in diameter, stud spacing and whether they use a raised boss, an O-ring groove or a separate gasket. Find out whether the manufacturer's procedure measures with or without that seal, because a gauge that ignores it can be off by the seal's thickness. Some automakers specify a dedicated go/no-go gauge for a particular booster and master cylinder pair; universal adjustable gauges cover more combinations but rely on you to apply the correct specification.
Features that affect the choice
The main trade-off is between dedicated and adjustable designs. A vehicle-specific gauge is quick and hard to misread: the pushrod setting either fits it or does not. Its weakness is narrow coverage. An adjustable depth gauge, usually a flat bar or body with a sliding pin and a locking screw, works on many master cylinders but demands careful technique, because every reading depends on clean, square seating and a firmly locked pin.
Look for features that support an accurate transfer. A machined, flat reference face matters more than a printed scale, since most procedures only require carrying a dimension from one part to the other rather than reading a number. A pin long enough for deep piston pockets, a lock that does not shift the pin as it tightens and a base wide enough to bridge the flange opening all help. Rigid steel or hard aluminum resists bending if the tool is dropped. Some owners use a depth-capable caliper and a straightedge instead, which can work if the caliper is accurate and the straightedge rests on the same reference surfaces the specification uses.
Treat marketing labels with caution. Phrases such as universal fit, professional grade or fits all models are not evidence. Useful evidence includes a stated measuring range, a list of flange styles or vehicle applications, instructions that explain which surfaces the gauge references, and an illustration showing how it handles O-ring or gasket seals.
Limitations and ownership costs
A pushrod gauge cannot diagnose a leaking booster diaphragm, a faulty check valve or a failing master cylinder, and it does not set pedal height or the input rod at the pedal clevis, which may have its own adjustment. It also cannot fix problems the wrong setting has already caused. If the pushrod is too long, the piston may not return far enough to open the compensating port, which can trap pressure, make the calipers drag and overheat the friction material on brake pads and rotors. Too much clearance has the opposite effect: extra pedal travel before the brakes apply. Uneven or rapid wear, particularly beyond the wear limits for your vehicle, is a reason to recheck this setting and the rest of the hydraulic system rather than simply replacing pads.
Ownership costs go beyond the tool itself. You may need wrenches to hold the pushrod while turning its adjusting nut, a replacement nut or seal if the manufacturer calls for one, fresh brake fluid of the correct specification, and bleeding equipment if any brake lines were opened. Keep the gauge clean and store it so its reference faces stay undamaged, and check it against a known flat surface if it is ever dropped. If the vehicle has a sinking or hard pedal, brakes that drag or pull, or a warning light after the work, stop driving it and have the braking system inspected by a qualified technician.
Build a practical shortlist
Before comparing products, gather your vehicle's year, model, booster type and master cylinder details, plus the pushrod specification and measuring procedure. Then narrow the options with a short checklist. Confirm the tool is designed for vacuum boosters with an adjustable output rod. Confirm the base seats on your flange style and the pin can reach your piston pocket depth. Confirm how the instructions treat the seal or gasket. Check that the pin locks securely and the reference face is machined flat.
Finally, match the tool to how you will use it. For a single repair on one vehicle, a dedicated gauge, where one exists for that application, often gives the most confidence. For several vehicles, an adjustable brake booster push rod adjustment tool with clear instructions makes more sense. Whichever you choose, record the measurement, recheck it after tightening the adjusting nut, and confirm proper pedal feel and brake release in a safe place before normal driving. If readings or pedal behavior do not match the specification, a professional inspection is the safer next step.