Bosch Electric Brake Booster: Unit Selection and Compatibility
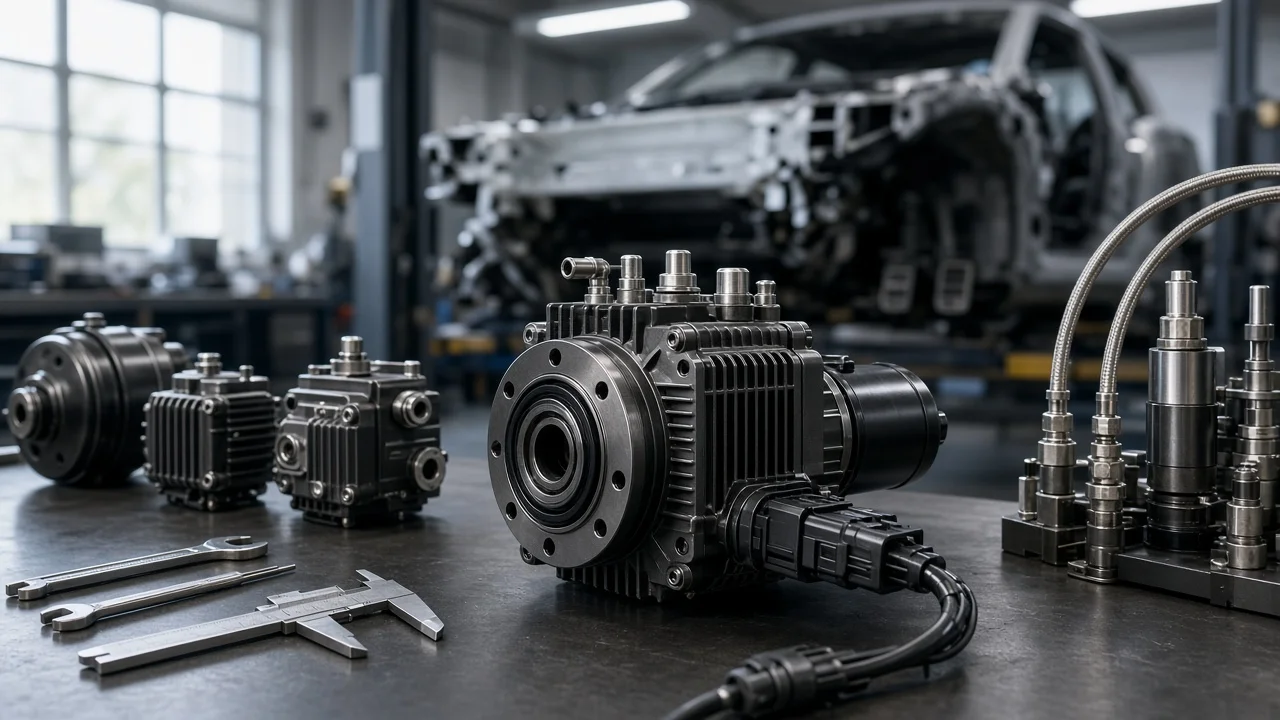
Bosch's electromechanical brake booster, marketed as the iBooster, replaces the traditional vacuum diaphragm with an electric motor that amplifies pedal force. It appears on many hybrid and electric vehicles, and it also attracts builders converting cars to electric drive. Choosing a unit depends less on the brand name than on whether its master cylinder, mounting, electrical supply and control requirements match your vehicle. This guide covers those checks so you can narrow your options before buying.
Define the job the booster must do
Most buyers fall into one of three situations: replacing a failed unit on a vehicle that left the factory with an electric booster, adding one to an EV conversion or engine swap where engine vacuum no longer exists, or fitting one to a project car where packaging matters. Each case has different constraints. On a factory-equipped vehicle, the right answer is almost always the part specified for that exact vehicle, because the booster is calibrated for it and communicates with the stability control and powertrain modules.
For a conversion, start with vehicle weight, tire size, existing caliper and rotor sizes, intended use, firewall space, available 12-volt capacity and whether you can supply the network messages the unit expects. Also consider whether you want regenerative braking blended with friction braking, and what your state's inspection rules require for modified brake systems. If your current brakes show a warning light, a sinking pedal or longer stopping distances, stop using the vehicle and have it diagnosed by a qualified technician; the booster is not always the cause.
Check compatibility before you buy
Mechanical fitment comes first. Compare the mounting stud pattern and spacing with your firewall, the pushrod length and clevis style with your pedal, and the pedal ratio the unit was designed around. Check the overall length, reservoir position and hose routing against clearance to the hood, strut tower, steering shaft and wiring. A unit that bolts up but forces an awkward pushrod angle or crowds nearby components is a poor match.
Hydraulic fitment determines pedal feel. The master cylinder bore, number of outlet ports and their thread type must suit your brake lines and the fluid volume your calipers demand. Large caliper pistons need more displacement, so a mismatched bore can produce a long pedal or a hard pedal with weak stopping power. Confirm how the outlets route to the ABS or stability control modulator, and use the brake fluid specification listed in your vehicle's service information.
Electrical and software fitment is where many purchases go wrong. The unit needs a properly fused high-current supply, a wake or ignition signal and, in most applications, specific messages on the vehicle network. Units from different donor vehicles can look identical yet carry different part numbers and software. Replacement on a factory vehicle may require coding or calibration with a factory-level scan tool. Base vehicle fitment decisions on the part number and documented application, not on appearance.
Features that affect the choice
Bosch has produced more than one generation of this booster, and they differ in internal drive design, packaging, connectors and control behavior. Do not assume a unit from one generation can replace another without wiring and software changes. In factory installations the booster works with the stability control system to blend regenerative and friction braking, and the stability control unit may provide backup pressure if the booster fails. In a conversion, both blending and backup behavior depend entirely on how the system is integrated and controlled.
Separate useful evidence from marketing labels. Phrases such as plug and play, OEM quality or tested mean little on their own. More useful information includes the exact part number, donor vehicle, model year, mileage, stored fault codes, photos of connectors and ports, and a clear return policy. For remanufactured units, ask what was replaced and whether the software was reset. For conversion kits, ask what controller is included, which messages it sends and how the system behaves if the controller or supply fails.
Limitations and ownership costs
The purchase price is only part of the cost. Budget for wiring, fuses and relays, a mounting adapter if needed, pushrod modification, possible new brake lines and fittings, and bleeding. Some systems require a scan-tool-driven bleeding or calibration procedure, including setup of the pedal travel sensor. If a professional installs or codes the unit, labor can be significant, especially on conversions where no factory procedure exists.
An electric booster does not replace routine brake maintenance. Brake pads, brake rotors and calipers still need inspection against the wear limits in your vehicle's service information. Regenerative braking can reduce wear on friction material, but light friction use can also let rotors corrode and caliper slides stick, so inspection remains important. Brake fluid absorbs moisture over time and should be replaced on the schedule your vehicle specifies. The booster cannot correct air in the lines, worn pads, a seized caliper or a leaking hose, and the unit itself is generally not serviceable internally, so a failure usually means replacing the assembly.
Build a practical shortlist
For each candidate, record the same details so comparisons stay honest: exact part number and generation; donor vehicle, year and mileage; master cylinder bore, port count and thread type; mounting pattern and pushrod geometry compared with your pedal; connector type and required control messages or controller; power supply requirements; known fault history; and return terms. Any blank you cannot fill is a risk you should price in or avoid.
Rank candidates by fit rather than price. The unit that matches your vehicle's documented application, or requires the fewest adaptations, is usually the better choice even if it costs more upfront. On a factory-equipped vehicle, start with the part specified for your vehicle and confirm any coding requirements before purchase. After installation, confirm that warning lights are clear and pedal feel is consistent, test braking at low speed in a safe area, and have the complete brake system inspected by a qualified technician before returning the vehicle to normal use.