BMW X5 F15 Parking Brake Actuator Replacement
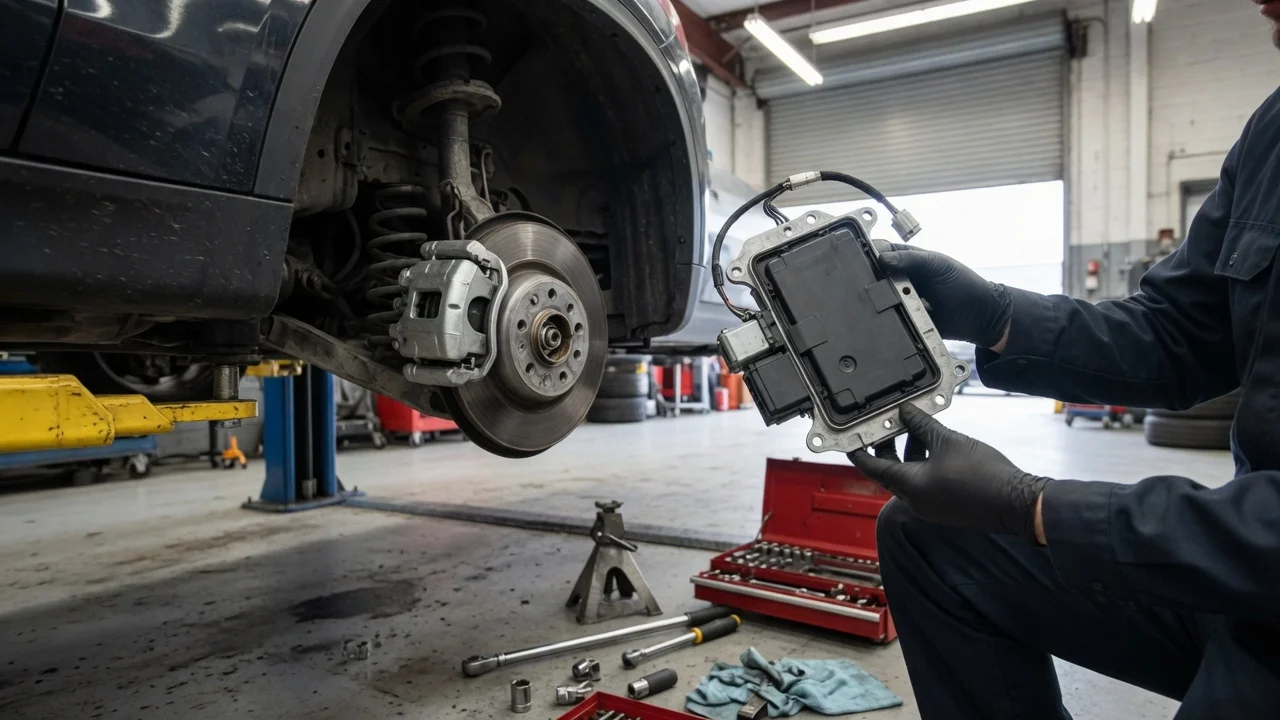
Confirm the part and repair scope
Before buying parts or removing anything, confirm that the vehicle is actually fitted with the actuator you intend to replace. The BMW X5 F15 uses an electromechanical parking brake, and the actuator is usually mounted at or near the rear caliper depending on the brake package and market specification. Vehicle fitment can vary by production date, engine, rear axle size and whether the car has a performance brake option, so a part number that fits one F15 may not fit another.
Also confirm that the actuator is the cause of the fault. A parking brake warning, failure to release, or a stored control module fault may come from the actuator, but similar symptoms can also be caused by wiring, a connector problem, a damaged caliper, worn brake pads, or a control unit issue. If the parking brake is not holding the vehicle reliably, treat the car as unsafe for normal use until the fault is found and repaired.
Replacement is one part of the repair. If the actuator is being changed because the brake has been sticking or dragging, also inspect the caliper guide pins, piston boot, brake pads and brake rotor. Replacing only the actuator will not correct a mechanically seized caliper.
Prepare tools and safe access
Work on a firm, level surface with the transmission in Park or in gear, the engine off, and the front wheels chocked. Raise the vehicle with a suitable jack and support it on approved stands before reaching under it. Never rely on the jack alone.
Gather the tools before starting. Typical needs include torque wrenches, metric sockets and wrenches, trim or connector tools, and a suitable scan tool or diagnostic interface capable of communicating with the parking brake control module. Some actuator positions require releasing a connector clip or removing a wheel and brake components for access.
Many parking brake systems must be placed in a service or replacement position before the actuator or caliper is removed. On vehicles with an electronic parking brake, this can require a diagnostic command rather than simply forcing the mechanism. If a service position cannot be set, stop and obtain vehicle-specific service information before continuing.
Brake work is not a good first repair for an inexperienced owner. The fasteners are safety-critical, the electrical connector can be brittle, and incorrect assembly can leave the vehicle without a reliable parking brake.
Remove without avoidable damage
Disconnect the battery or otherwise protect the electrical system only if the applicable service information requires it. Before unplugging the actuator, look for a locking tab or secondary clip. Release the lock first and pull on the connector body, not the wires.
Remove the actuator fasteners and separate the actuator cleanly from the caliper. Some designs use a small drive coupling that must stay clean and undamaged. Do not pry against the caliper body or allow dirt to enter the open mounting face.
The actuator is not a generic interchangeable motor. Note the orientation and any sealing element before discarding the old part. If the mating surface has a seal or O-ring, inspect it and replace it if the service information calls for renewal. Do not guess torque values for assembly.
Install and restore the system
Fit the new actuator in the same orientation as the old one. Make sure the coupling is engaged properly before starting the fasteners by hand, then tighten them to the specified torque in the specified sequence if one is given.
Reconnect the electrical connector so the lock seats fully, then secure the wiring away from moving suspension and hot brake parts. If brake fluid lines, calipers, brake pads or brake rotors were disturbed, the hydraulic system may need bleeding and the pads may need to be reset.
On this vehicle, installation usually ends with an electronic function check and, where required, calibration or basic setting of the parking brake through the diagnostic system. Some repair paths also require resetting the brake pad service data if the pads were renewed as part of the job.
Check the completed work
With the vehicle still supported and the wheels off the ground, operate the parking brake through its normal control and confirm that the actuator runs and the wheel is held and released. Listen for unusual grinding or continued motor operation. Repeat the apply and release cycle several times.
Refit the wheel and torque the fasteners correctly before returning the vehicle to the ground. Then perform a careful low-speed check in a clear area. The parking brake should hold the vehicle on an incline and release fully without dragging.
After the job, check for warning messages and stored faults. If the parking brake warning remains, the actuator does not respond, or the brake still drags or fails to hold, do not continue driving. The repair may need further diagnosis rather than another actuator.