BMW X5 E70 Parking Brake Actuator Replacement
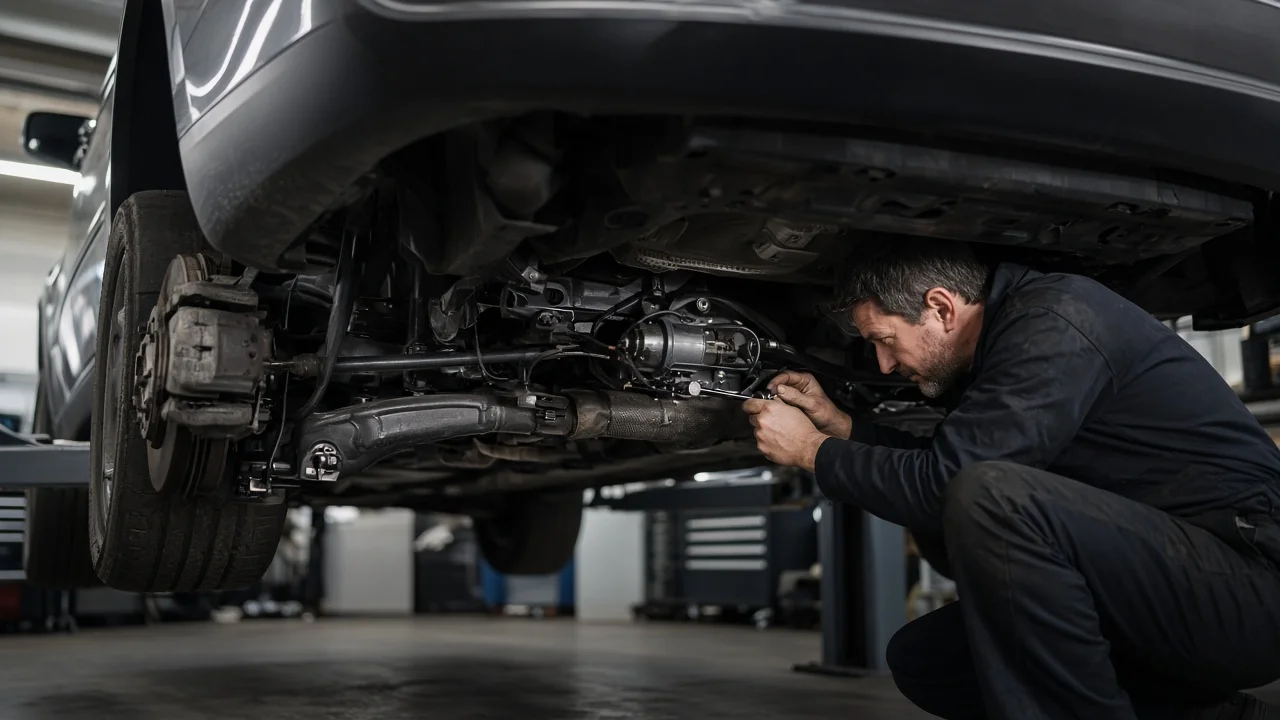
The electromechanical parking brake on the BMW X5 E70 uses a central actuator that tensions cables running to small parking brake shoes inside the rear brake rotors. When the actuator fails, the brake may refuse to apply or release, and warning messages appear on the dash. A careful owner can replace the actuator, but the job requires BMW-capable diagnostic software, the correct part for the vehicle, and careful handling of the cables and electronics.
Confirm the part and repair scope
Typical actuator symptoms include a parking brake failure message, a motor that whirs without holding the vehicle, a brake that will not release, and clicking or grinding from the unit during operation. Other faults can produce the same messages: low or unstable battery voltage, damaged wiring or connectors, seized or stretched cables, a faulty switch, or parking brake shoes that are worn, contaminated, or out of adjustment. Before buying parts, read the fault memory with a scan tool that can access the parking brake module. The stored codes and live data help separate an internal motor or sensor fault from a cable force, voltage, or communication problem.
Confirm vehicle fitment by VIN rather than by model name alone. Actuator part numbers changed during E70 production, and earlier and later X5 generations use different parking brake designs, so parts are not interchangeable between them. Decide whether you are using a new, remanufactured, or repaired unit, and check what the supplier says about coding. If the parking brake shoes are near their wear limits, the friction material is oil-contaminated, or the inner drum surface of the rotor hat is damaged, plan to address those items in the same repair, because a new actuator cannot compensate for them.
Prepare tools and safe access
Gather vehicle-specific service information for the removal steps, fastener torque values, and the electronic procedures. You will need a lift or quality jack stands rated for the vehicle, wheel chocks, a battery charger or maintainer that keeps system voltage stable during diagnostic work, trim tools, and a basic socket set. Most important is diagnostic software that can run the parking brake functions: moving the actuator to its assembly or workshop position, coding the replacement if required, and running the initialization routine. Without that capability, you can remove and fit the part but not finish the job correctly.
The parking brake cannot be relied on while you work, so put the transmission in Park, chock the front wheels, and never work under a vehicle supported only by a jack. If the vehicle has self-leveling air suspension, follow the service information for lifting so the system does not react while the vehicle is raised. If the brake is stuck applied, release it electronically or with the emergency release procedure described in the owner's manual or service information before moving the vehicle. Owners without experience working safely under a raised vehicle, or without suitable software, should leave this repair to a professional shop.
Remove without avoidable damage
With the battery connected and supported by the charger, use the diagnostic tool to drive the actuator to its assembly position so cable tension is released. Only then disconnect the battery if the service information calls for it, since the release step needs power. The actuator is on the underside of the vehicle toward the rear. Remove the underbody covers or shields the service information lists to reach it, keeping track of fasteners and clips.
Unlock and disconnect the electrical connector without pulling on the wires, and inspect the pins and seal for corrosion or water entry, which can cause repeat faults on a new unit. Note how each cable is routed and retained before unhooking it from the actuator. Do not pry on cable sheaths, kink the cables, or force a cable end that is still under tension, because that can damage the cable or the new unit's mounts. Then remove the mounting fasteners and lower the actuator. While the area is open, check the cables for frayed strands, torn boots, and sheaths that bind, and replace any cable that is damaged.
Install and restore the system
Compare the new actuator with the old one, checking the connector, cable attachment points, and mounting orientation. Check how the replacement is supplied and do not cycle it before the cables are attached unless its instructions allow it. Mount the unit, tighten the fasteners to the specified torque, and attach each cable so it is fully seated in its retainer and follows the original routing without contact with exhaust or suspension parts. Connect and lock the electrical connector, then refit the underbody covers. This job does not open the hydraulic system, so bleeding the brake fluid is not part of it unless you also service a caliper or other hydraulic components.
Reconnect the battery and return to the diagnostic software. On the E70, the actuator assembly includes its control electronics, so the replacement may need to be coded to the vehicle according to the software's procedure. Next, exit the assembly position and run the initialization routine so the system learns cable travel and applies the intended clamping force. Skipping this step can leave the brake weak, cause it to drag, or trigger new fault messages. Clear the fault memory once the routines complete without errors.
Check the completed work
Cycle the parking brake several times with the engine running and with it off, listening for smooth motor operation and confirming that warning lights and messages clear. With the vehicle still raised, check that both rear wheels lock when the brake is applied and turn freely when it is released. After a short, low-speed test drive, carefully check the rear wheel areas for unusual heat that would suggest drag. Then test holding on a gentle slope with the driver at the controls and ready to use the service brake. If new parking brake shoes were fitted, complete any bedding procedure in the service information. Read the fault memory again after these checks.
Further diagnosis is needed if fault messages return, one wheel does not hold, a rear wheel drags or overheats, there is noise from the rotor hats, or codes point to cable force or supply voltage. The service brakes are a separate system, so confirm that the brake pads, brake rotors, and calipers are in good condition rather than assuming the actuator repair covered them. If the parking brake cannot hold the vehicle or will not fully release, stop using the vehicle and have the system inspected by a professional before driving it further.