BMW X5 Air Suspension Compressor Replacement
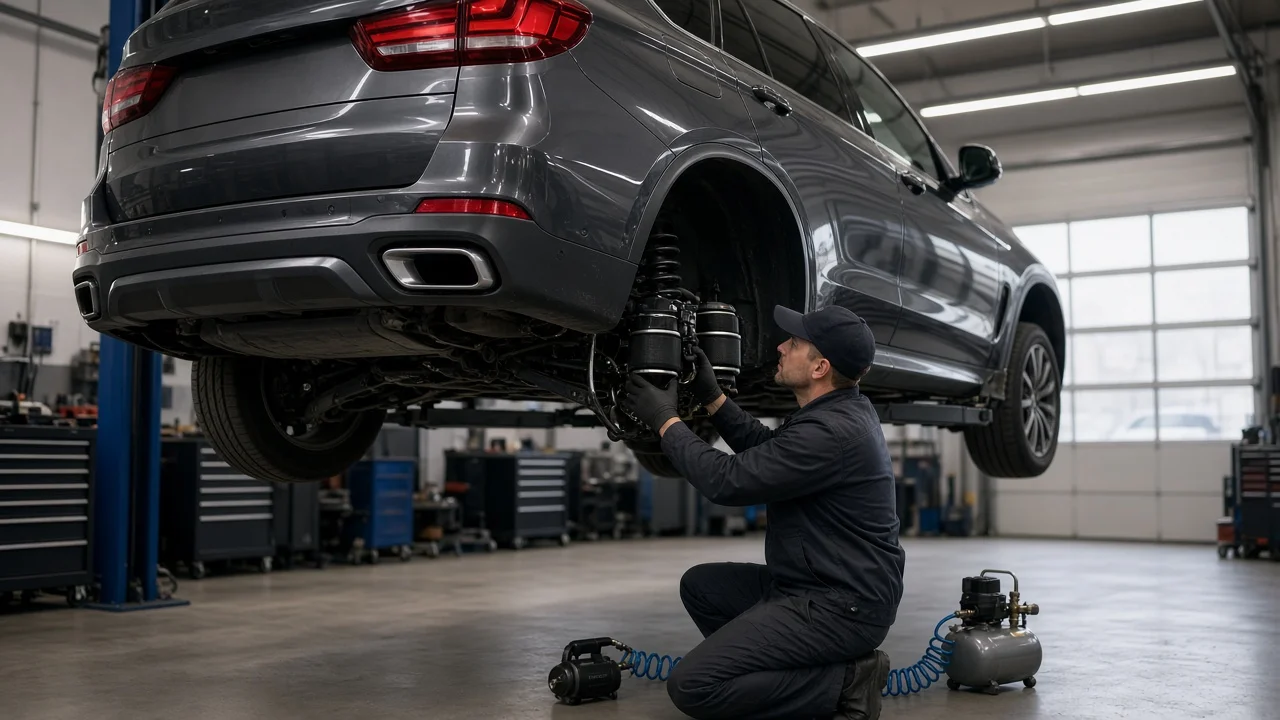
A failing air suspension compressor on a BMW X5 usually shows up as slow leveling, a suspension warning message, or a vehicle that sits low after it has been parked. Replacing the compressor is a manageable job for an experienced home mechanic, but only after diagnosis points to the compressor itself. This guide covers confirming the repair, preparing safe access, removing and installing the unit, and checking the system once the work is finished.
Confirm the part and repair scope
BMW has offered air suspension on several X5 generations, but the layout is not the same across them. Some versions use self-leveling air springs on the rear axle only, while others use air springs on both axles. Compressor part numbers, mounting brackets, electrical connectors and relay arrangements vary by generation, production date and factory options. Match the replacement using your VIN through a dealer parts catalog or a supplier that looks up parts by VIN, rather than relying on a photo or the model name alone.
Before buying a new compressor, make sure the old one is actually the problem. A compressor rarely fails in isolation: a leaking air spring, air line or fitting forces it to run longer and hotter, which wears it out early. Read stored fault codes with a scan tool that can access BMW chassis and suspension modules. Check the compressor relay and fuse as well, because a failed relay can make a healthy compressor appear dead, and a relay stuck closed can run the compressor continuously until it overheats. Spray the air springs, lines and fittings with soapy water while the system is pressurized and look for bubbles. If you find a leak, repair it in the same job, or the new compressor will follow the old one.
Prepare tools and safe access
Get the model-specific service procedure for your X5 generation before starting. It will show where the compressor is mounted, what has to be removed for access, how the system is depressurized, and the fastener specification for each bolt and nut. Do not guess torque values. Typical tools include a capable scan tool, metric sockets, Torx and E-Torx bits, a torque wrench, trim removal tools, caps or plugs for open air lines, and a spray bottle of soapy water for leak testing.
Proper vehicle support matters more than usual on an air-sprung vehicle. Work on level ground, chock the wheels, lift only at the designated jacking points, and rest the vehicle on rated jack stands at the specified support locations. Never work under a vehicle held only by a jack or by its own suspension. Air suspension can change height when doors are opened or the ignition is switched on, so use the jack or lift mode if your model has one, or deactivate the leveling system as the service procedure describes. If you do not have stands, a suitable scan tool, or experience with pressurized pneumatic systems, this job is better left to a shop.
Remove without avoidable damage
The general sequence is to deactivate leveling, release system pressure exactly as the procedure specifies, and disconnect the battery if directed. Then gain access to the compressor, which depending on generation may involve removing an underbody panel, heat shield or interior trim. Unplug the electrical connector, disconnect the pressure line and the intake or vent hose, remove the mounting fasteners or bracket, and lower the unit out. Never loosen an air line that is still under pressure; the fitting and line can release with enough force to cause injury.
Plastic air lines and fittings become brittle with age, so avoid bending or twisting them and note their routing before disconnecting anything. Cap open lines and ports immediately to keep out dirt and moisture, which can damage the valve block and air springs. Take a photo of the mounting points and the orientation of rubber isolators and brackets. Corroded fasteners deserve penetrating oil and a well-seated bit rather than force, because a rounded or snapped bolt turns a simple swap into a much longer job. While the connector is open, check it for corrosion and look along the harness for chafing.
Install and restore the system
Compare the new compressor with the old one before fitting it: bracket shape, connector type, port positions and intake filter should all match. If the replacement does not come with a bracket or isolators, transfer them from the old unit, and replace any rubber mounts that are cracked or flattened, since they keep compressor vibration out of the cabin. Install the unit in the same orientation as the original and tighten fasteners to the specification in the service information. Seat the air line fully into its fitting and give it a firm tug to confirm it is locked, using new seals or fittings if the procedure calls for them. Route the intake or vent hose as originally fitted so it cannot draw in water or road debris.
Reconnect the electrical connector and battery. Many technicians replace the compressor relay at the same time, because a worn compressor draws more current and can damage the relay. Reactivate the leveling system, clear stored fault codes and follow any commissioning steps for your model. Some X5 generations require a scan tool routine to fill the system or recalibrate ride height after suspension work, so follow the procedure for your vehicle rather than assuming no setup is needed. Do not drive until the vehicle has risen to its normal height.
Check the completed work
A successful repair means the compressor starts, builds pressure and shuts off on its own, the vehicle rises evenly to normal ride height, and no new faults are stored. Recheck every disturbed fitting with soapy water. Measure from the wheel center to the fender edge at each corner after leveling, then again after the vehicle has sat overnight, and compare the readings. Finish with a short road test, listening for buzzing or rattling that would suggest the compressor or its bracket is touching the body.
Further diagnosis is needed if the compressor runs constantly or cycles frequently, an overheating or suspension warning returns, one corner sags overnight, or ride height stays incorrect after calibration. Those symptoms point toward remaining leaks, the valve block, a height sensor or its linkage. Replacing the compressor does not change wheel alignment by itself, but if ride height was wrong or a height sensor link was disturbed, correct the height before any alignment is performed. While under the vehicle, it is also worth noting any joint play in the suspension links for a separate inspection.