BMW N55 Wastegate Actuator Replacement
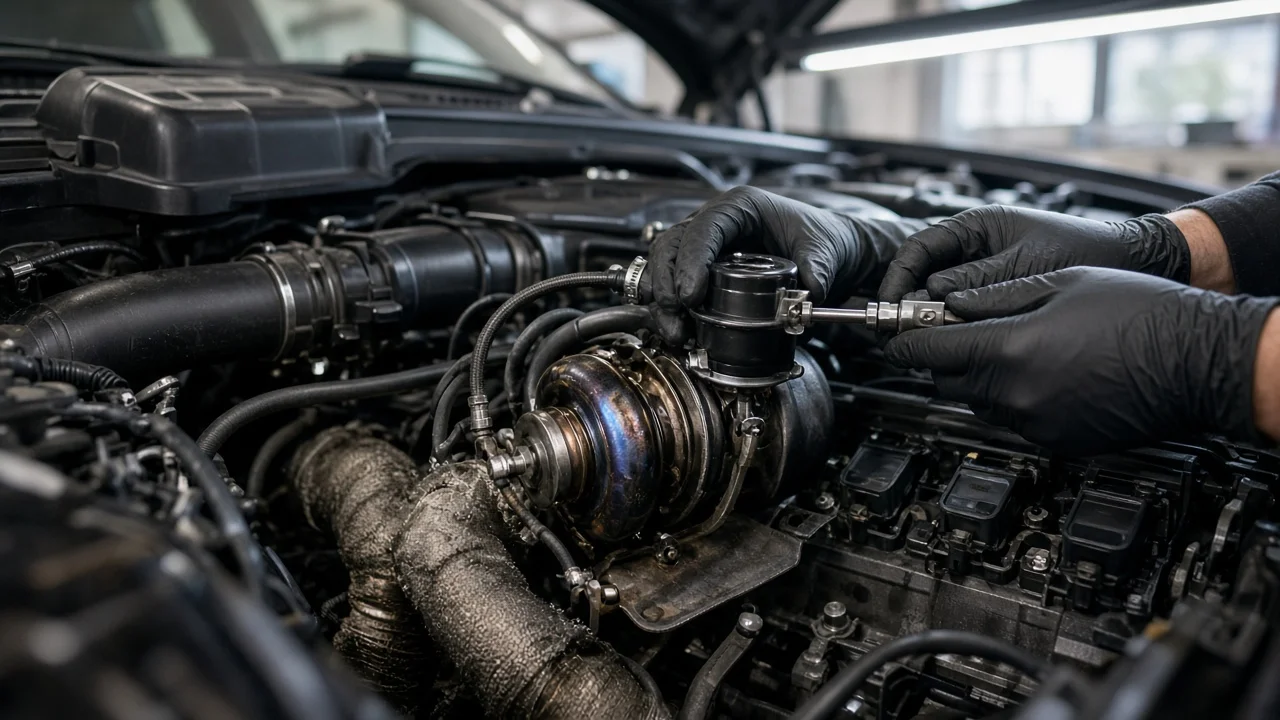
A failing wastegate actuator on a BMW N55 can leave the engine short of boost, store boost-control faults and drop the car into reduced power. Replacing the actuator is a well-defined repair, but it only pays off when the actuator is actually the cause. This guide covers how to confirm the diagnosis, prepare safe access, remove and install the unit without collateral damage and verify boost control afterward, using the service information for your exact vehicle configuration.
Confirm the part and repair scope
The N55 is BMW's single twin-scroll turbocharged inline six, used across many models from the 2010s. Its wastegate is moved by a vacuum actuator that the engine control unit operates through an electro-pneumatic pressure converter, supplied by the engine's vacuum pump. Because several parts share this circuit, symptoms such as low boost, a boost-control fault or limp mode do not prove on their own that the actuator has failed. Start by reading fault memory with a BMW-capable scan tool, and confirm the correct part number against the VIN, since engine variants and turbocharger revisions differ.
Rule out the less expensive causes first: cracked, softened or disconnected vacuum lines, a leaking pressure converter, weak vacuum supply and charge-air leaks in the intake piping or intercooler. A hand vacuum pump connected directly to the actuator is the usual way to separate the actuator from the rest of the circuit. The rod should move smoothly as vacuum is applied, and the diaphragm should hold vacuum rather than slowly bleed down. Also separate actuator failure from the well-known N55 wastegate rattle. A metallic rattle at cold start or when lifting off the throttle usually comes from wear at the wastegate flap and its bushing inside the turbocharger housing, and a new actuator will not cure it. If the flap or bushing is worn, the job may become a turbocharger replacement instead. Check whether a separate actuator is available for your turbocharger part number before committing, because parts availability varies. There is no universal maintenance schedule interval for this part; replace it based on inspection and diagnosis, not mileage alone.
Prepare tools and safe access
Most of this work happens underneath the car on hot-side exhaust components, and access differs by chassis, steering side and whether the vehicle is rear-wheel drive or xDrive. On some cars the actuator can be reached once underbody panels and heat shields are removed; on others the downpipe or additional hardware must come off, and some technicians remove the turbocharger for clear access. Look up the procedure for your vehicle in BMW repair information or a reliable workshop manual before you start, and take torque values, one-time-use fasteners and gasket requirements from that source rather than from memory or forum posts.
Work only on a fully cold engine and exhaust. Raise the car on a hoist or on properly rated jack stands on level ground, and disconnect the battery if the procedure calls for it. Useful equipment includes a hand vacuum pump with a gauge, a BMW-capable diagnostic tool, a torque wrench, good-quality sockets and extensions, penetrating oil for corroded exhaust and heat shield fasteners, and a bright work light. Review the car's service history too, since previous turbo or vacuum work changes what you may find. If you have no experience with turbocharger hardware, or if seized fasteners will need drilling or extraction, this is a sensible job to hand to a shop familiar with BMW engines.
Remove without avoidable damage
Follow the documented sequence for your car. In general terms, you remove the underbody panels and heat shields that block the turbocharger, label and disconnect the vacuum line at the actuator, then free the actuator rod from the wastegate lever, typically by removing a retaining clip. Photograph how the rod sits on the lever and how the actuator is oriented before disturbing anything, because the replacement must go back in the same relationship. Then remove the mounting fasteners and lift the actuator out.
The main risks are mechanical. Exhaust-side fasteners corrode and can snap, so give penetrating oil time to work and avoid forcing them. Aged vacuum lines and plastic connectors crack easily. Never pry against the wastegate lever or bend the actuator rod, since altered geometry changes how the wastegate opens and seals. If the downpipe or turbocharger has to come off, replace gaskets and seals as the service information specifies and cover open ports so debris cannot enter the turbo or exhaust. While you have access, inspect the wastegate lever for play and check that the flap moves freely; excessive looseness points back to bushing wear rather than the actuator.
Install and restore the system
Compare the new actuator with the old one before fitting it: mounting points, rod design and vacuum port orientation should match. Mount it in the same orientation as the original and tighten the fasteners to the manufacturer specifications. Attach the rod to the wastegate lever and make sure the retaining clip is fully seated, using a new clip if one is supplied. Some replacement actuators arrive preset, while others require the rod length or preload to be set. Adjust only if BMW or the actuator supplier calls for it and specifies the method, because an incorrectly set rod can stop the wastegate from sealing, causing low boost, or from opening properly, risking overboost.
Reconnect the vacuum line, replacing any section that is hardened, cracked or loose on its fittings. Refit the downpipe or turbocharger if removed, then the heat shields and underbody panels, and reconnect the battery. Clear the stored faults with your scan tool. If the service information calls for resetting boost or adaptation values after wastegate or turbocharger work, carry that out with a tool that supports the function.
Check the completed work
Before driving, repeat the vacuum pump check on the installed actuator: the rod should move through its travel, the wastegate lever should follow without binding and the gauge should hold steady. Start the engine, check every disturbed exhaust joint for leaks and confirm that no faults return at idle. Some smoke from penetrating oil residue on hot exhaust parts can appear briefly at first. Then, on a safe road and within legal limits, use live data to compare requested and actual boost under varying load and operating conditions.
Further diagnosis is needed if boost faults return, actual boost lags well behind the requested value, boost overshoots, the rattle persists or an exhaust leak appears. In those cases, revisit the vacuum supply and pressure converter, check the charge-air path for leaks and assess the turbocharger itself. Once the repair is confirmed, record the part number and date in the car's service history so future diagnosis starts from accurate information.