BMW E90 ABS Reluctor Ring Replacement: Diagnosis, Removal and Installation
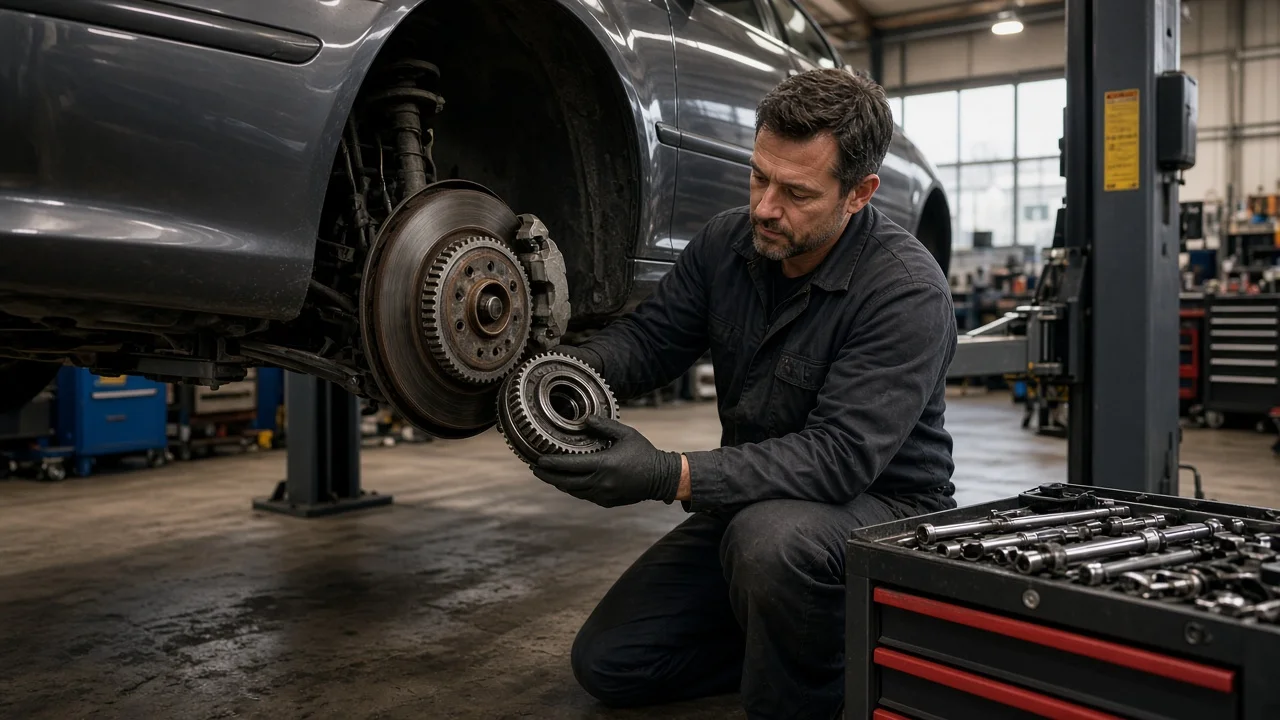
An ABS or DSC warning on a BMW E90 often sends owners looking for a new reluctor ring. On this platform, though, the part that generates the wheel speed signal is usually not a separate ring you can swap on its own. This guide covers how to confirm the fault and the correct part, what the job involves at the front and rear axles, and how to verify the repair. Braking and stability systems are safety-critical. If you are unsure at any point, stop and have a qualified technician finish the work.
Confirm the part and repair scope
The E90 uses active wheel speed sensors that read a magnetic encoder rather than a classic toothed tone ring. On most versions this multipole encoder is built into the seal of the wheel bearing. At the front it is part of a bolt-on hub and bearing unit. At the rear of rear-wheel-drive cars it is part of a bearing pressed into the wheel carrier. In practice, replacing the reluctor ring on an E90 normally means replacing the hub or bearing that carries it. The layout can differ between rear-wheel-drive and xDrive models, between body styles, and across production dates. Confirm vehicle fitment with a VIN-based parts lookup rather than by model name alone. A magnetic encoder has no visible teeth, so you cannot judge its condition just by looking at it.
Before buying parts, prove that the encoder is actually at fault. Read the DSC fault memory with a scan tool that can access the BMW stability control module, and compare live wheel speed readings from all four corners. Many wheel speed faults turn out to be a failed sensor, a chafed harness near the suspension, a corroded connector, or debris on the sensor tip. All of these are cheaper to fix than a bearing. Signs that point toward the encoder include a signal that drops out once per wheel revolution, metal particles stuck to the encoder track, a torn or displaced bearing seal, and bearing play or noise at that corner. If the evidence is unclear, have the system diagnosed professionally instead of replacing parts on a guess.
Prepare tools and safe access
Get the vehicle-specific service procedure for your exact car before starting. You need its torque values, any torque-plus-angle steps, and the list of fasteners that must be replaced rather than reused. Do not rely on numbers from a different model or a forum post. Plan on a calibrated torque wrench, the correct sockets and bits for the caliper, carrier, rotor screw and hub fasteners, and a scan tool. You will also want penetrating oil, a wire brush, brake cleaner and a way to support the caliper. Lift the car only at the approved jacking points, support it on rated jack stands on firm level ground, and chock the wheels that stay on the ground.
Front hub replacement is within reach of an experienced home mechanic. The rear is a different job. It usually means removing a very tight axle collar nut, pushing the drive shaft out of the hub, and pressing the bearing out of the wheel carrier and a new one in with a dedicated press kit. Mistakes here can ruin the new bearing or its encoder, so this side is not suitable for inexperienced owners. Keep the new part in its packaging until installation, and keep magnetic tools, magnetic trays and metal shavings away from the encoder. Since the brake pads and rotors come off during the job, have replacements on hand in case they turn out to be below their wear limits.
Remove without avoidable damage
With the car safely supported and the wheel removed, take out the wheel speed sensor first so it cannot be crushed or torn while you work. Sensors often seize in their bores, so use penetrating oil and gentle twisting rather than prying, and have a new sensor ready if the old one breaks. Disconnect the pad wear sensor if that corner has one. Remove the caliper carrier with the caliper still attached and hang it from the suspension so the flexible brake hose carries no weight. Leave the hydraulic lines closed, and the brake fluid will not need bleeding. Then remove the rotor retaining screw and the rotor.
At the front, remove the hub fasteners and extract the hub from the knuckle. Corrosion can hold it tightly, so use controlled force and avoid striking the knuckle, the dust shield or the sensor bore. At the rear, follow the service procedure for holding the hub while you loosen the axle collar nut, which is commonly specified as single-use. Press the drive shaft out of the hub without letting it hang at a steep angle or pulling the inner joint apart. Then remove the hub flange and press the bearing out of the wheel carrier with the correct adapters. Clean the bores and mating faces thoroughly, and check them for damage before going any further.
Install and restore the system
Orientation matters most. The encoder side of the bearing or hub must face the wheel speed sensor, and some bearings carry markings or instructions to confirm this. When pressing a rear bearing, the tool must bear only on the race specified in the procedure, never on the encoder or seal. Pressing through the wrong surface can destroy the new part. Clean the hub mounting face and the knuckle or carrier to bare metal so the hub seats squarely and the rotor runs true. Fit new fasteners wherever the service information requires them, and tighten everything to the specified values in the specified sequence.
Clean the sensor bore and install the wheel speed sensor so it seats fully, then secure its retaining bolt. Route the harness through its original clips, away from moving suspension parts and the drive shaft. Reinstall the rotor on a clean hub face, followed by the caliper carrier and caliper, and reconnect the pad wear sensor. Before moving the car, pump the brake pedal until it is firm, because the caliper pistons may have been pushed back. If a brake line was opened, bleed the system using the procedure for your car, including any scan tool steps it requires. A hub or bearing replacement does not normally require coding, but clear the stored DSC faults afterwards. If the car uses the indirect flat tire monitor, reinitialize it as described in the owner's manual.
Check the completed work
Clear the fault memory, then watch live wheel speeds while the car moves slowly. Use a helper reading the scan tool on a quiet, safe road or private lot. All four readings should rise and fall together without dropouts or spikes. The ABS, DSC and brake warning lights may stay on until the car has driven a short distance and the system completes its self-test, after which they should go out. Recheck the wheel bolt torque if your service information calls for it. Listen for bearing noise, and confirm that the pedal feels normal and the car brakes straight without pulling.
Further diagnosis is needed in several cases: the warning returns, the same wheel logs a new fault, that wheel's speed signal drops out at road speed, or the fault appears only over bumps, which suggests wiring. Faults on several wheels at once point toward the control module, its power supply or network communication rather than an encoder. If the brake pedal is soft or low, the red brake warning stays on, or you hear grinding, stop driving the car and have it inspected professionally. While everything is apart, compare the pad friction material and rotor thickness with the published wear limits so the brakes leave in as good a condition as the new bearing.