BMW Air Suspension Valve Block Selection Guide
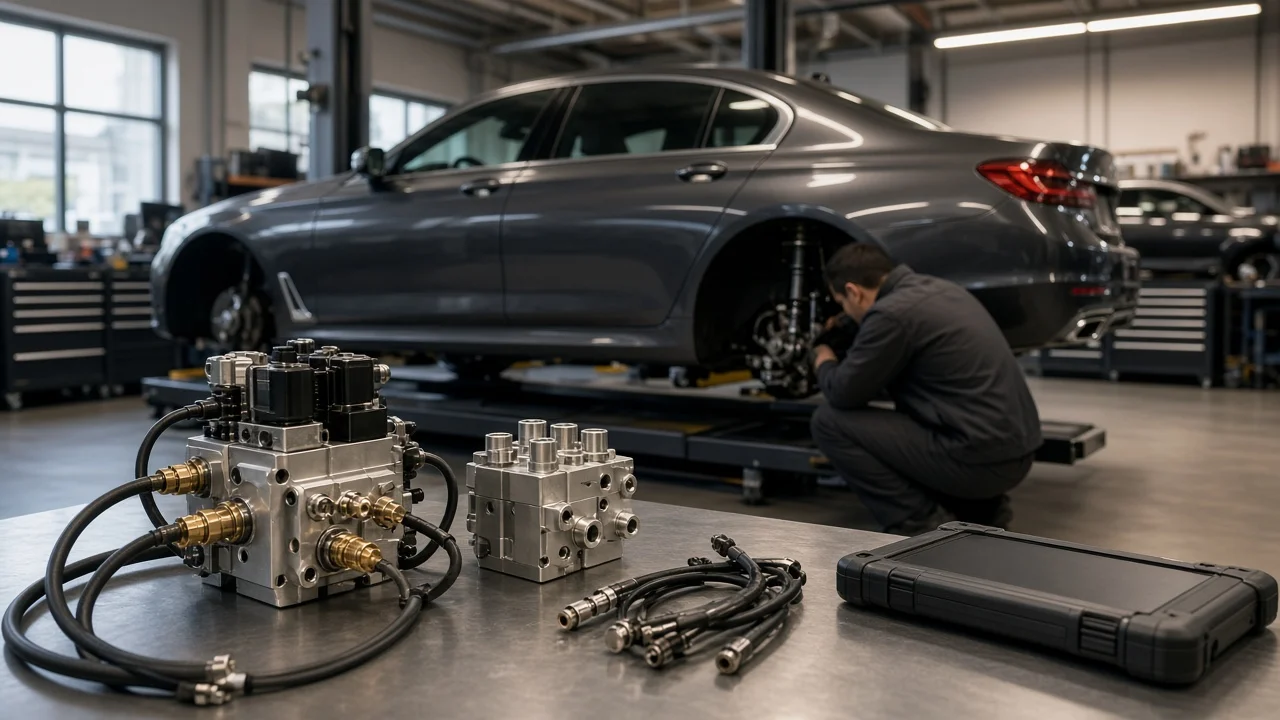
A failing valve block on a BMW with air suspension often shows up as a corner or axle that sits low after the car is parked, a compressor that runs longer than normal, or a suspension warning on the dash. A replacement block can restore stable ride height, but only if it matches your chassis and the block is actually the faulty part. This guide covers how to confirm the need, check fitment, compare features and plan the real ownership cost before you buy.
Define the job the product must do
The valve block is a manifold of electrically controlled solenoid valves. When the suspension control module wants to raise a corner, it opens that corner's valve and lets compressed air into the air spring. To lower the car, it routes air back through the block to the exhaust path. The rest of the time the valves stay closed and hold pressure in each spring. When internal seals wear, a valve sticks or a solenoid coil fails, air can leak out through the block, pass between springs, or stop flowing to a corner altogether. Electrical faults usually leave stored codes in the suspension module, while seal leaks may only show up as slow sagging.
Before shopping, confirm the block is the cause. Leaking air springs, cracked or chafed air lines, a weak compressor, a saturated air dryer and a faulty ride height sensor all produce similar symptoms. A single corner that drops overnight usually points to that corner's spring, line or valve. A whole axle that settles evenly can point to the block, the compressor outlet or a shared supply line. Read fault codes with a scan tool that can access the chassis or suspension module, then spray soapy water on the spring bellows, line fittings and block ports with the system pressurized to look for bubbles.
Also set your practical constraints. A daily driver may justify a new genuine part and professional installation, while an older project vehicle may suit a carefully chosen remanufactured unit. Decide early whether you have access to diagnostic software capable of ride height calibration, and whether you can support the vehicle safely while working on the air system.
Check compatibility
BMW has used air suspension in different layouts across its range. Some models use air springs on the rear axle only for self-leveling, while others use air springs at all four corners. A two-corner block has fewer outlets and different internal routing than a four-corner block, and the two are not interchangeable. Part numbers can also change within a single model generation as BMW revises components. The most reliable starting point is the original part number on the label of your existing block, or a VIN-based lookup in a parts catalog, followed by a check for supersessions to newer numbers.
Beyond the part number, compare the physical interfaces. Count the air ports and note which ones feed springs, the reservoir if fitted, the compressor supply and any vent. Check the line diameter and fitting style, since push-in collet fittings and threaded fittings are not interchangeable without adapters. Match the electrical connector shape and pin count, and look at the bracket and rubber isolator layout at the mounting points. On some vehicles the valve block is bolted to or integrated with the compressor assembly, so you may need a block designed for that specific assembly or the complete unit, rather than a standalone manifold.
Treat broad listings that claim to fit an entire model line with caution. Compare the seller's photos of ports, connector and brackets against your own unit before ordering, and ask for the cross-referenced OE number if it is not stated.
Features that affect the choice
The main decision is between a new genuine part, a new aftermarket block and a remanufactured unit. A genuine part removes most fitment doubt and matches the original valve characteristics, but usually costs the most. New aftermarket blocks are cheaper and vary widely in internal quality. Remanufactured units can be good value when the rebuilder replaces worn seals and tests each valve, but quality depends entirely on that process, and some units are only resealed while keeping original solenoids.
Separate useful evidence from marketing labels. Phrases such as OE quality, heavy duty or plug and play do not prove anything on their own. More meaningful information includes an exact OE number cross-reference, a clear statement of which internal parts are new, a description of any pressure or leak-down testing performed before shipping, included O-rings and fittings, a matching connector, written warranty length and terms, and a return policy that covers fitment problems. A seller who cannot answer basic questions about these points is giving you less to rely on than a listing with fewer claims but clear documentation.
Seal and rebuild kits are the lowest-cost route, but they only address seal leaks, not failed solenoid coils or worn valve seats. They demand a clean workspace, correct seal material and careful reassembly, so they suit experienced owners more than first-time air suspension repairs.
Limitations and ownership costs
A new valve block cannot fix a leaking air spring, a corroded line, a tired compressor, a failed relay or a faulty height sensor. If another leak remains, the compressor will keep cycling and wear out, and the car will still sag. A saturated air dryer can send moisture into the system, which can damage new valves, so inspect the dryer and compressor condition when replacing the block and budget for them if they are suspect.
Installation starts with safe vehicle support. Follow the model-specific procedure to deactivate automatic leveling or enable a workshop or transport mode where the vehicle provides one, release system pressure as the repair information describes, and place the car on stands at the designated support points. Never work under a vehicle held up only by its air springs, because the suspension can lower suddenly. Tighten brackets and fittings to the manufacturer's fastener specification from the repair information rather than guessing, replace single-use collets or seals, inspect isolators at the mounting points and cut any shortened air line squarely as the procedure requires.
After installation, clear stored faults, run the ride height calibration where the system requires it, repeat the leak check and recheck ride height after the car sits overnight. If ride height was corrected or recalibrated, schedule a wheel alignment check to the manufacturer's settings, and use the time on stands to inspect joint play in ball joints and bushings, since alignment readings are only meaningful with sound joints. Total cost therefore includes the part, seals and fittings, labor, diagnostic access and a possible alignment, not just the block itself.
Build a practical shortlist
Use a simple checklist for every candidate. Confirm the diagnosis points to the block and not another component. Match the OE part number or its current supersession for your VIN. Verify port count, line fitting type, connector and mounting layout against your existing unit. Note whether your vehicle uses a standalone block or one tied to the compressor assembly. For remanufactured parts, check which internal components are new and whether each unit is pressure tested. Confirm included seals and fittings, warranty terms and return conditions, and make sure you can perform or pay for ride height calibration and an alignment check.
Narrow the field to two or three options that pass every item, then compare total installed cost rather than part price alone. Drop any listing that omits a part number or gives only vague compatibility claims. The right choice is the block that clearly matches your chassis, comes with documentation you can verify and fits the budget for a complete, properly calibrated repair.