BMW 1 Series Brake Vacuum Pump: Finding the Correct Part
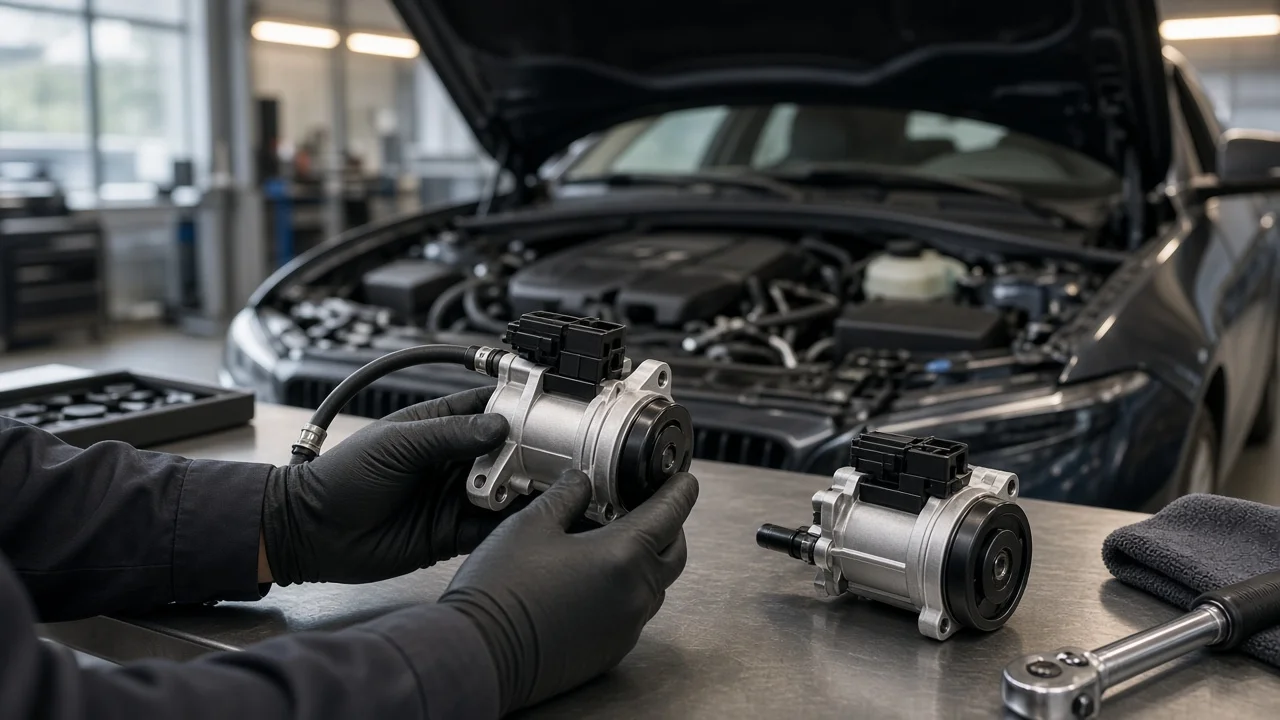
A failing brake vacuum pump on a BMW 1 Series makes the brake pedal hard and lengthens stopping distances, so the replacement has to be right. The 1 Series has been built across several generations with many petrol and diesel engines, and a pump that fits one car may not fit another. This guide explains how to confirm the correct part, what the pump does, and when the job belongs with a professional.
The short answer: match the pump to your engine and VIN
The engine determines which vacuum pump a BMW 1 Series needs, not the model badge. A 118d, 120i and 125i can share body panels and still use completely different pumps. The most reliable way to identify the right part is a VIN-based lookup in a BMW parts catalog, which accounts for engine code, production date and running changes. Check the result against the part number on the pump currently fitted, because part numbers are often superseded over time. If the catalog, the old pump and the seller's listing do not agree, resolve the difference before you order.
How the brake vacuum pump works
The brake booster uses vacuum on one side of a diaphragm to multiply the force from your foot. That force goes to the master cylinder, which pressurizes the brake fluid that operates each caliper. Many engines draw this vacuum from the intake manifold. Diesel engines cannot, because they have no throttled intake to create it. BMW's Valvetronic petrol engines control airflow largely through valve lift rather than a throttle plate, so their manifold vacuum is low. Turbocharged engines spend much of their time under boost, which also leaves little manifold vacuum.
For these reasons, most 1 Series engines use a mechanical pump driven by the engine, typically from a camshaft and lubricated by engine oil. A one-way check valve in the vacuum hose holds vacuum in the booster after the engine stops. If the pump wears, leaks or loses its drive, the booster gets less assistance and the pedal becomes noticeably harder. The pump does not change how the brake pads, brake rotors or friction material work. It only reduces the effort needed to apply them.
Factors that change which part fits
Generation is the first filter. The first generation, launched in 2004, covered hatchback, coupe and convertible bodies. The second generation arrived in 2011 with a new range of engines. The third generation, introduced in 2019, moved to a front-wheel-drive-based layout with different engines again. Within each generation, petrol and diesel engines use different pumps. Updates during production can also change the mounting, drive coupling or hose connection while the engine name stays the same.
Market and specification matter as well. Cars built for different regions may carry different engine variants, and performance versions can use their own pump or related hardware. Some pumps come with a new gasket or O-ring and others do not. The vacuum hose and check valve are usually sold separately. When comparing listings, look for vehicle fitment stated by engine code and date range, not just model name. Be suspicious of a listing that claims to fit every 1 Series.
Practical steps before you order
First confirm that the pump is actually the fault. A simple booster check works like this. With the engine off, press the brake pedal several times until it firms up. Then hold steady pressure on the pedal and start the engine. The pedal should sink slightly as assistance arrives. If it does not, the cause could be the pump, a split hose, a faulty check valve or a leaking booster diaphragm. Each symptom points somewhere different: a hissing noise suggests a leak, and oil seeping from the pump body points to the pump seal. A stored fault code related to brake assistance, where the car records one, can narrow things further. Measuring vacuum at the booster with a gauge against the vehicle-specific specification is the clearest way to tell pump failure from a leak downstream.
Before ordering, record the VIN, engine code and build date. Photograph the old pump's part number and label before you remove it. Compare OE, OE-supplier and aftermarket options on correct fitment, included seals and the seller's return terms, not on price alone. If the old pump leaked oil, plan to replace the seal or gasket and clean the surrounding area, so any new leak is easy to spot later.
Installation details vary by engine. On many designs the pump is driven through a coupling that must engage correctly with the camshaft, and the fasteners must be tightened to a specified torque. Use the service information for your exact engine and fit new seals. Before driving in traffic, check for oil leaks and confirm normal pedal feel, then test the brakes at low speed in a safe area.
Limitations and when to get professional help
This guide cannot replace a parts lookup for your specific car. It does not give torque values, test specifications or part numbers, because these depend on the engine variant and production date. Catalog data and seller listings can contain errors, so cross-checking them remains your responsibility.
A hard or unpredictable brake pedal is a safety fault. Without assistance the brakes still work, but they need much more force, which can catch any driver out in an emergency. If braking feels compromised, stop using the car and have it inspected. Choose a professional technician if you lack the tools to test vacuum or if the pump drive or camshaft area has to be disturbed. Professional help is also the right call if inspection reveals other problems, such as low brake fluid, a leaking caliper, or pads and rotors beyond their wear limits.