Bad 4WD Actuator Symptoms and Diagnostic Tests
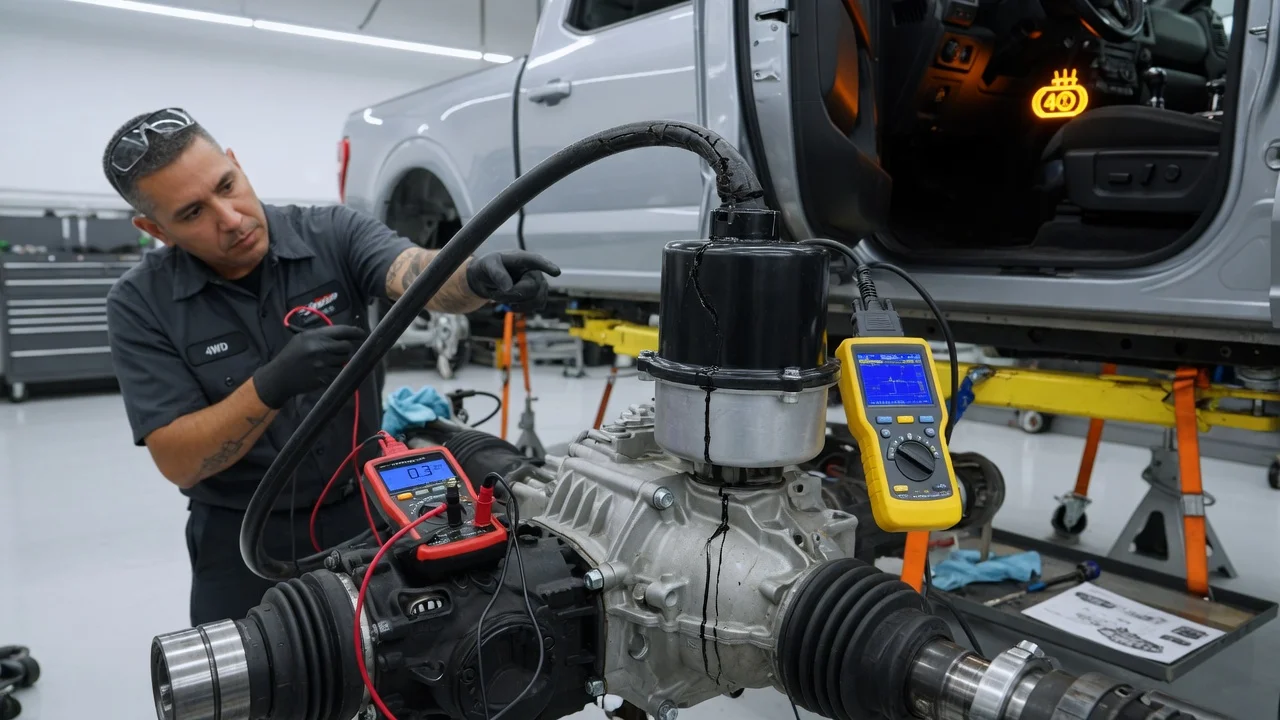
When four-wheel drive will not engage, engages late or refuses to disengage, the 4WD actuator is a common suspect, but it is rarely the only one. Depending on the vehicle, the actuator may be an electric motor, a vacuum diaphragm or a heated plunger that connects the front axle or shifts the transfer case. This guide explains how to recognize the symptoms, which faults can mimic a failed actuator, and how to test the system so a part is replaced only when the evidence supports it.
Establish the symptoms
Start by writing down exactly what happens. Note whether the 4WD indicator stays off, flashes or stays on after you select two-wheel drive. Record whether the front wheels actually pull, whether you hear grinding, clicking or a ratcheting sound from the front axle or hubs, and whether the problem appears only in cold weather, after a car wash, at a certain speed or only when the vehicle is stationary. Many systems require the vehicle to be rolling, in neutral, or below a set speed before they will shift, so an engagement attempt made under the wrong conditions can look like a failure.
Also note any warning lights, stored trouble codes and recent work. A suspension repair, axle seal replacement, lift kit, tire change or battery disconnect can disturb connectors, vacuum lines or calibration. Mismatched tire sizes can confuse some systems. These symptom conditions narrow the search far more than the general complaint that 4WD does not work.
Distinguish plausible causes
A bad actuator is likely when commands reach it correctly but nothing moves, or when it moves slowly, noisily or only partway. Supporting evidence includes a code for actuator position or circuit performance, live data showing a command with no change in reported position, or a vacuum diaphragm that will not hold vacuum. The actuator becomes less likely if power, ground or vacuum never reach it in the first place.
Electrical faults are the most common competitors: a blown fuse, failed relay, corroded connector, chafed harness near the axle, or a faulty selector switch or control module. Vacuum-operated systems add leaking hoses, a failed solenoid, a cracked check valve or worn hub seals. Mechanical causes include a worn shift fork or sliding collar, low or contaminated fluid, a seized hub or binding caused by driveline load. Grinding that comes from the axle while the actuator clearly moves points toward internal wear rather than the actuator itself. A transfer case shift motor fault can produce similar complaints, so identify which component the code or symptom actually concerns.
Checks in a useful order
Begin with checks any owner can do safely. Confirm the engagement procedure in the owner's manual and try it on a loose surface such as gravel, where tire slip lets components align. Check the fuses listed for the 4WD system. With the engine off and the vehicle secured, look at the actuator connector, harness and any vacuum lines for damage, corrosion, disconnections or melted sections near the exhaust. Listen near the front axle while a helper selects 4WD with the key on; on many electric units you can hear a brief motor or click. A total absence of sound is useful information but not proof of a failed part.
Next, read stored and pending codes with a scan tool, and save freeze-frame data showing speed, gear and temperature when the fault set. If your tool supports it, view live data for commanded versus actual mode or actuator position, and use any bidirectional actuator test it offers. Remember that a code identifies a monitored condition, not necessarily a failed component.
Deeper tests require service information for your exact vehicle: wiring diagrams, connector pinouts, voltage and resistance specifications, and vacuum values. Typical steps include checking for supply voltage and a good ground at the actuator connector during a command, measuring motor or position sensor circuits, testing a vacuum diaphragm with a hand pump to see whether it moves and holds, and verifying engagement with the wheels raised and the vehicle properly supported on stands. Do not apply direct battery power to an actuator unless the procedure allows it, and never work under a vehicle held only by a jack. If you lack the tools or specifications, these steps belong with a qualified technician.
Interpret the findings
Each result answers a narrower question. A blown fuse confirms a circuit problem but not why it blew; a short in the harness or a seized actuator can both cause it. Correct voltage and ground at the connector during a command, combined with no movement, strongly implicates the actuator. Missing voltage moves attention upstream to the wiring, switch or module. A vacuum diaphragm that leaks down confirms that part is faulty, while one that holds steady points toward lines, the solenoid or the hubs.
An actuator that moves fully but the front axle still does not drive suggests a mechanical problem inside the axle or hub. Live data that reports engagement while the wheels show none can mean a faulty position sensor rather than a failed motor. Before buying parts, confirm the cause against the specifications, and after any repair, clear codes and run a confirmation test under the same conditions that originally triggered the fault. Intermittent problems may need several drive cycles before the result is trustworthy.
Urgency and next action
A system that simply will not engage usually leaves the vehicle drivable in two-wheel drive, but avoid situations where you would depend on four-wheel drive, such as snow, mud or towing on steep grades. Treat the problem as more urgent if the vehicle seems stuck in 4WD on dry pavement, the steering binds or the tires scrub in tight turns, loud grinding or clunking comes from the axle, fluid is leaking, or traction and stability warnings appear together. In those cases, stop driving on hard surfaces and arrange inspection, since continued driveline binding can damage the axle, transfer case or tires. No one can promise how far a vehicle can safely go with an unresolved driveline fault.
Whether you continue testing yourself or hand the vehicle to a shop, bring the year, model, engine and VIN, all trouble codes with freeze-frame data, a description of when the fault occurs, recent repairs, and the results of every check you completed. That record keeps diagnosis focused, avoids paying twice for the same tests and reduces the chance of replacing a working actuator.