B0001–B0008 Airbag Codes: Circuit Meanings and Safe Next Steps
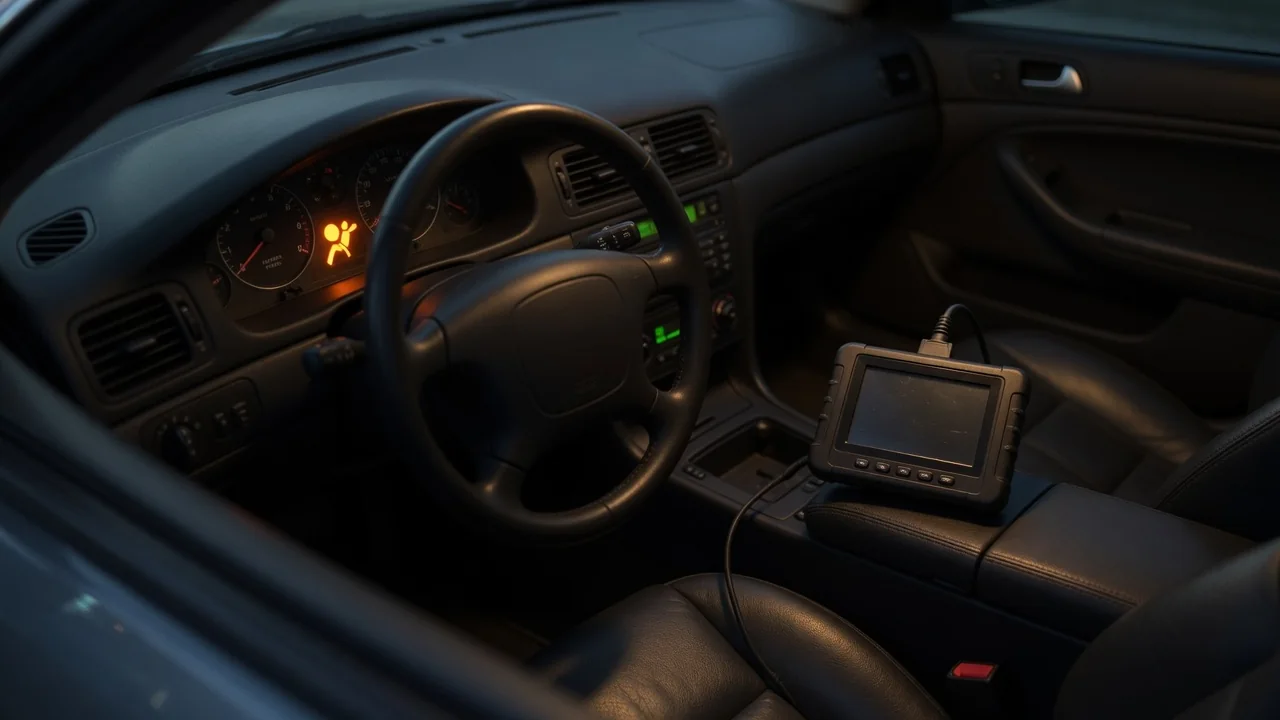
A B0001 code appears when the restraint control module detects an unexpected condition in a frontal airbag deployment loop, but the code alone doesn't identify a failed part. Body codes B0001–B0008 use manufacturer-specific definitions, so the same base number can mean different circuits in different vehicles. Read the full SRS scan report, note any fault subtype, and confirm the exact definition for your year, make, and model before deciding the airbag warning light points to a clockspring, connector, or wiring issue.
Verify the Vehicle-Specific Definition Before Interpreting B0001
Before interpreting B0001 or any code in the B0001–B0008 range, confirm the vehicle year, make, model, and applicable manufacturer service information. These body codes are not standardized across all cars; one platform may use B0001 for the driver frontal stage 1 loop while another assigns it to a passenger seat belt tensioner. A scanner that shows only the base code hides the suffix that often differentiates between deployment stages, loop locations, and fault types.
The code identifies a detected electrical condition, not a failed component. For example, a B0001 with a high-resistance subtype may result from a poor terminal connection rather than a bad inflator. The restraint control module reports an out-of-range measurement, and the diagnostic procedure determines which part of the circuit caused it. Treat any frontal airbag deployment-loop explanation as valid only when your specific vehicle's definition matches that meaning.
Read B0002 Through B0008 With the Full SRS Scan Report
Codes B0002, B0003, and B0004 often follow a numbering pattern, but seating positions and deployment stages vary by manufacturer. One platform may define B0002 as a passenger frontal loop while another uses it for a side airbag. The scanner's written description is the minimum requirement; the complete fault subtype adds whether the issue is a short to ground, open circuit, or resistance out of range. Without that detail, a generic code-to-component table can send diagnosis in the wrong direction.
Likewise, B0005, B0007, and B0008 must be read with the exact description and any accompanying subtype. Some vehicles include B0006 in this family as a mirror-adjacent or different loop, but it needs the same verification. Deployment loops are wired paths that feed a firing signal to one or more stages of an airbag; a dual-stage inflator uses two loops that can be reported independently. Record the reporting module, full code, fault status, and any companion SRS codes, as a current fault may differ from a stored history event.
What the Airbag Warning Light Can Tell You
The airbag warning light runs a self-check at startup, usually illuminating for a few seconds. The owner's manual defines normal behavior because some vehicles keep the lamp on longer if a passenger seat is occupied or if a previous fault is stored. A persistent or recurring warning is a request for prompt assessment even when the vehicle drives normally. The restraint system can be partially disabled while the engine, brakes, and steering remain unaffected.
The lamp alone cannot name the affected deployment loop or reveal which restraint functions are still available. The control module may disable one airbag, all frontal stages, or seat belt pretensioners depending on the fault. An intermittent warning that goes out does not prove the issue is resolved; the module may keep a code in memory with reduced status. A drive cycle that temporarily satisfies self-test conditions can hide a recurring electrical fault.
How Wiring, Connectors, and the Clockspring Enter the Diagnosis
When the verified code points to a deployment loop, wiring damage and connector issues become leading paths. A rubbed harness under a seat, a corroded terminal at a body connector, or a loose retention clip can create a high-resistance measurement. The clockspring is a ribbon conductor that carries steering-wheel electrical connections, including the driver airbag loop, horn, and steering-wheel controls. Its relevance is limited to circuits actually routed through it; a passenger-side code is not a clockspring candidate.
Warning changes noticed during ordinary steering movement are useful history. A lamp that flickers while turning may suggest a clockspring ribbon beginning to open, but observing this is enough; no need to reproduce the fault by turning the wheel repeatedly. Recent collision damage, water intrusion, or interior and steering work provide context. A repaired front-end impact may have stressed a connector, while a lifted carpet or replaced steering rack could have disturbed a harness, but these are starting points, not proof of causation.
Safe Observations to Record Before an Appointment
Record when the warning first appeared, whether it stays on, turns off after a restart, or recurs during specific conditions like a bump or steering angle. Note any dashboard messages beyond the icon, such as a service SRS or passenger airbag disabled alert. Photograph the cluster at the moment it occurs if safe. Do not disturb restraint-system components; even wiggling a visible connector can alter the stored fault data and confuse diagnosis.
Preserve an existing scan report before anyone clears codes. The full code, fault subtype, status, and freeze-frame data form a diagnostic trail that can be lost with a simple clear command. Keep your observations visual and noninvasive: inspect wire routing and connectors without unplugging them, and never probe wires or check resistance with a multimeter. Do not assume battery disconnection makes restraint-system work safe; residual energy and deployment hazards require specific service procedures.
Professional Testing and Confirmation of a Resolved Fault
The restraint control module requires a scan tool that can access manufacturer-specific data and run deployment loop tests. A generic OBD-II reader may show the code but not the task-specific test results, such as watching resistance values while the harness is moved. Professional diagnosis begins with confirming the definition, then following the factory procedure, which may include connector inspection, wiring checks, and component-level tests using a known-safe substitute or breakout box.
Clearing codes does not repair a circuit, and a lamp staying off for a day is not verification. The prescribed system check often includes a full module self-test, a road test, and a follow-up scan with no fault returning. After collision damage or airbag deployment, the owner's manual and a qualified repair facility guide use and transport decisions. Do not promise that normal restraint protection is available until the factory verification is complete.