Audi A4 Brake Pad Replacement: Procedure and Service Planning
Direct Answer and Scope
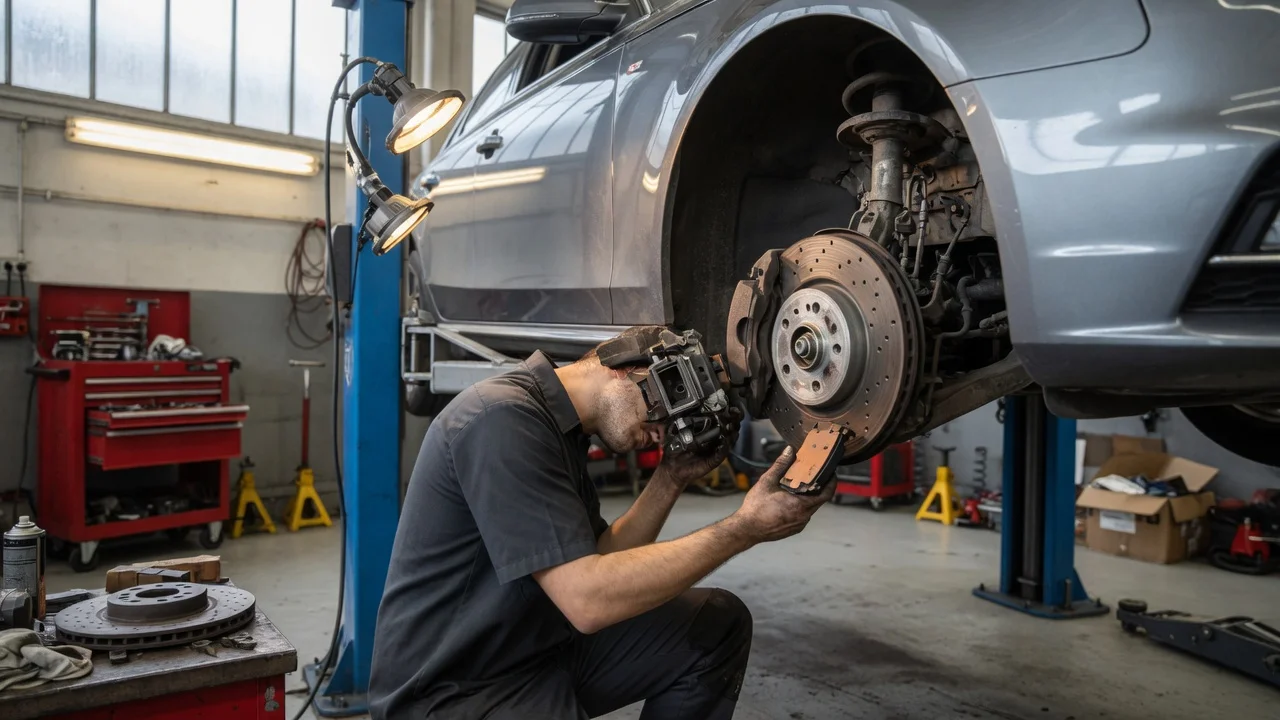
Replacing the front or rear brake pads on an Audi A4 is a standard service task that involves safely lifting the car, removing the wheel and brake caliper, compressing the caliper piston, installing new pads and hardware, and reassembling before bedding in the brakes. The exact procedure varies by model year, generation, powertrain, trim, and whether the car has an electronic parking brake. For rear brakes on many contemporary A4 models, the electronic parking brake must be placed into service or retraction mode using a diagnostic tool before the caliper piston can be pushed back. Without doing so, forcing the piston can damage the caliper. If you do not have the correct diagnostic interface or are uncertain about your car's brake system, have the work performed by a qualified technician.
Prerequisites and Tools
Before starting, confirm the correct pad set and wear sensor for your specific A4. Brake specifications can differ between base, S line, and high-performance variants, and front versus rear axle parts are not interchangeable. You will need a jack and jack stands, a lug bolt wrench or impact driver, a suitable socket and ratchet set, a caliper piston retraction tool or wind-back kit, a wire brush or brake cleaner, silicone brake grease or suitable anti-squeal compound, and a torque wrench. New caliper carrier bolts and pad wear sensor should be on hand if your model requires single-use fasteners.
Step-by-Step Procedure
Lift and Support the Vehicle
Park on a level surface, set the parking brake or chock the wheels, and loosen the lug bolts slightly before lifting. Raise the corner to be worked on and support it with a jack stand placed at an approved lift point. Never work under a car supported only by a jack.
Remove the Wheel and Caliper
Remove the wheel. On the front axle, the caliper is typically a floating design secured by two guide bolts at the rear. On the rear axle with an electronic parking brake, first connect a diagnostic tool and retract the parking brake motor according to the manufacturer's function test or service mode. Then remove the caliper. Suspend the caliper from the suspension using a hook or wire; do not let it hang by the brake hose.
Replace Pads and Hardware
Remove the old pads and note the position of any shims, clips, or wear sensors. Clean the caliper bracket and guide surfaces with a wire brush or brake cleaner. Install the new anti-rattle clips or springs if supplied. Apply a thin film of brake grease only to the pad backing plate contact points and guide areas, not to the friction surface or the rotor.
Compress the Caliper Piston
For the front axle, use a piston retraction tool or a large C-clamp with one old pad to press the piston back evenly. For the rear axle with a conventional integrated handbrake mechanism, many A4 calipers require the piston to be rotated clockwise while being pressed in using a wind-back tool. For electronic parking brake calipers, after retracting the motor electrically, the piston is normally pushed straight back. If significant resistance is felt, stop and recheck the procedure because damage can occur.
Reassemble and Complete
Refit the caliper over the new pads, install any new guide bolts, and torque all fasteners to the manufacturer's specification. Reinstall the wheel and lower the car. Pump the brake pedal several times before moving to seat the pads against the rotor. Check the brake fluid level, but do not overfill. For rear calipers with an electronic parking brake, exit service mode and verify that the parking brake engages and releases correctly.
Precautions and Professional Boundaries
Brake work is safety-critical. Always replace pads in axle sets, and inspect the brake disc thickness and condition at the same time. If the disc is below the minimum thickness specification or heavily scored, replace it. Do not reuse single-use caliper carrier bolts if the Audi service information calls for replacement. If the brake pedal feels soft, the parking brake warning appears, or any fluid leak is visible, do not drive the car until the issue has been corrected by a qualified workshop.
Completion Check
After the repair, the brake pedal should feel firm after a few pumps, the fluid level should be within the marked range, and the wheels should spin freely with no scraping sound. Take the car for a gentle test drive in a safe area. New pads require bedding in, typically a series of moderate stops from moderate speed without coming to a complete standstill, but follow the pad manufacturer's specific bedding instructions. A soft pedal, pulling to one side, or grinding noise during the test means the job must be rechecked before normal driving.