Audi A4 B8 Adjustable Control Arms: Fitment and Selection
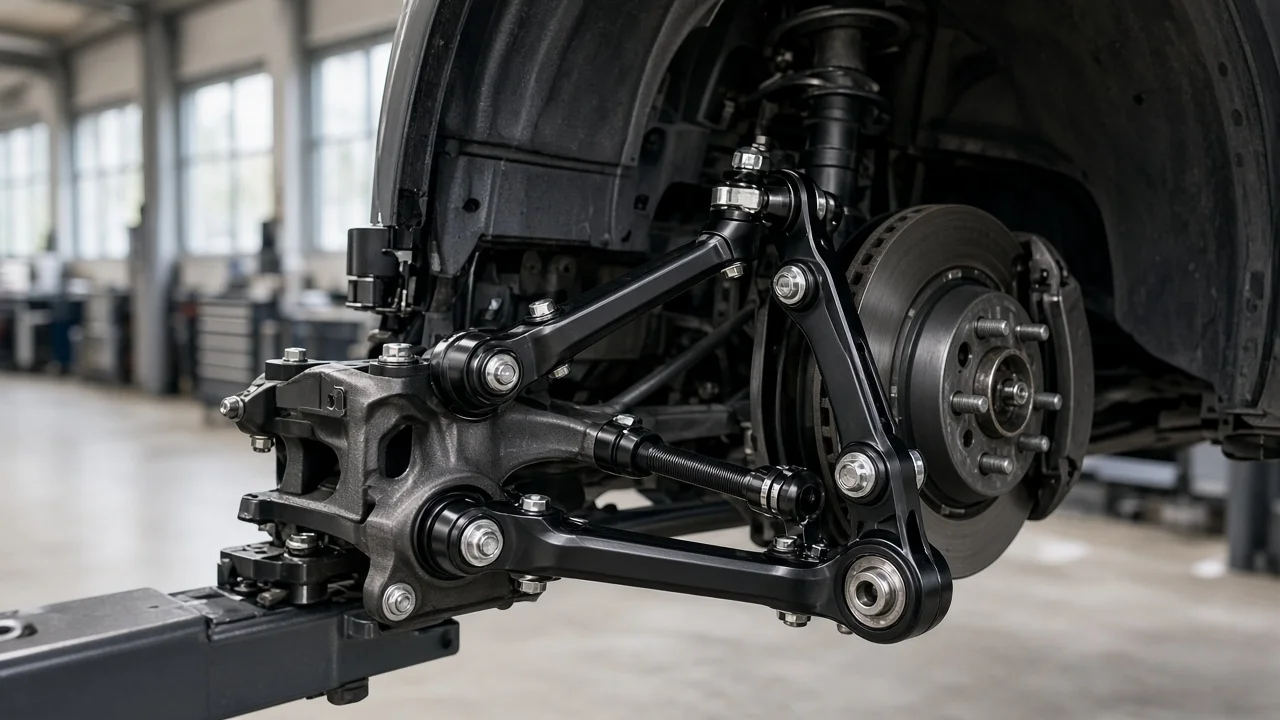
Most owners buy adjustable control arms for an Audi A4 B8 to fix one problem: an alignment that the factory adjustment can no longer bring into specification, usually after lowering. They are not a general upgrade. The wrong set can add noise, wear and alignment headaches. This guide covers how to match adjustable arms to your car and goal, which details decide fitment, how joint choices trade comfort for precision, and what the arms cost to own.
Define the job the product must do
The B8 generation, including the facelifted cars often called B8.5, uses a multi-link front suspension with two upper links and two lower arms per side, plus a multi-link rear axle. Adjustable versions exist for several of these positions, so start by naming the reason you want them. A car lowered on springs or coilovers often ends up with more negative camber than the stock adjustment can remove, which wears the inner edges of the tires. A car used for autocross or track days may need extra camber on purpose. A daily driver with clunking or worn factory arms usually needs quality replacement arms, not adjustable ones, because adjustability does nothing to cure worn joints. Be honest about your constraints too: rough roads, winter salt, how long you plan to keep the car, and whether a local shop has experience aligning modified Audis.
Before you shop, get a wheel alignment printout taken at your current ride height. It shows which axle and which corners are out of range and in which direction. If only the front camber is out, there is no reason to buy rear arms. Record the ride height as well, because any later change to springs or coilovers will shift the geometry again and may change which arms you actually need.
Check compatibility
Confirm the exact vehicle first: model year, body style (sedan, Avant or allroad), drivetrain (front-wheel drive or quattro) and whether the car is an S4. Rear axle components can differ between front-wheel-drive and quattro versions, and the allroad and S4 use different suspension tuning and ride heights. The B8 A4 shares its architecture with related Audi models, and some listings cover them together. A shared platform does not guarantee identical parts, though. Check each listing against a VIN-based parts lookup or the factory part number of the arm you are replacing.
Next, identify the arm position and its interfaces. A front upper link, a front lower arm and a rear camber arm are different parts with different mounting points. Compare the ball joint pin and its fit in the knuckle, the bushing sleeve width, the bolt diameter at each body or subframe mount, and the length range. The range should include the stock length with margin on both sides. Check clearance to the wheel, brake hose, ABS sensor wire and spring through full suspension travel and full steering lock, especially with aftermarket wheels or spacers. Finally, see whether the kit includes hardware, and check whether the factory fastener specification calls for new bolts or nuts. Audi frequently specifies single-use suspension fasteners.
Features that affect the choice
The adjustment method matters during alignment. Threaded turnbuckle-style arms with left- and right-hand threads can often be adjusted on the car without removing bolts, which saves shop time. Designs that require removal for each change make fine-tuning slow. Look for solid jam nuts or clamps that lock the setting. A longer adjustment range is not automatically better: you only need enough to reach your target at your ride height, and an overly long arm can create clearance problems.
Joint type is the biggest comfort trade-off. Rubber bushings are the quietest and most forgiving but allow more deflection. Polyurethane is firmer and more precise, but it can squeak and may need periodic lubrication. Spherical bearings remove almost all compliance and sharpen steering feel, but they transmit more noise and vibration. Without good boots, they wear faster in water, grit and salt, and joint play then develops as clunks. For a street-driven A4 in a winter climate, rubber or well-sealed polyurethane is usually the sensible choice. Spherical joints suit cars that see more track time than slush.
Separate evidence from marketing. Labels such as race-proven or aircraft-grade say nothing about whether a part fits your car or survives your roads. Useful evidence includes a published application list by year and drivetrain, a stated adjustment range, material and corrosion finish details, installation instructions, replaceable joints and boots sold separately, and clear warranty terms. Feedback from B8 owners running a similar ride height and wheel setup is also valuable.
Limitations and ownership costs
Installation requires proper vehicle support. Lift the car only at the designated lift points and work under it only on rated stands or a lift, never on a jack alone. Preset each adjustable arm to the length of the part it replaces so the car is safe to drive to the alignment shop. Tighten bushing mounts with the suspension loaded at normal ride height so the bushings are not preloaded in a twisted position. Use the torque values and fastener replacement requirements from the service information for your exact car, not generic figures. A full wheel alignment is mandatory afterward, and budget for possible extra shop time to set adjustable arms. If the car has just been lowered, the suspension may settle, so a recheck after some driving can be worthwhile.
Ongoing ownership means periodic inspection: check for joint play, torn boots, loose jam nuts and corrosion on exposed threads, especially after winter. Spherical joints and polyurethane bushings may need replacement or service sooner than rubber. Be clear about what adjustable arms cannot do. They will not fix worn bushings elsewhere, bent components, tired dampers or damaged mounting points. They do not change ride height. Setting aggressive camber for grip on a daily driver still costs tire life.
Build a practical shortlist
Use a short checklist for each candidate. Fitment should be confirmed for your model year, body style and drivetrain, ideally against the factory part number. The arm positions should match the corners your alignment printout shows as out of range. The adjustment range should cover your target, with the stock length inside it. The joint type should suit your mix of commuting, weather and track use. The kit should state which hardware is included and whether new factory fasteners are still needed. Rebuild parts, instructions and warranty terms should all be available. Anything that fails one of these points comes off the list, whatever its price.
Narrow the list to two or three options and compare total cost, not the sticker price alone: the arms, any required fasteners, installation labor and at least one alignment. If your printout shows only a small deviation, ask the alignment shop whether a less invasive correction is possible for that axle before you buy a full set. Then book the alignment in advance so the car does not sit on preset lengths longer than necessary.