Arnott Air Suspension Compressor Selection Guide
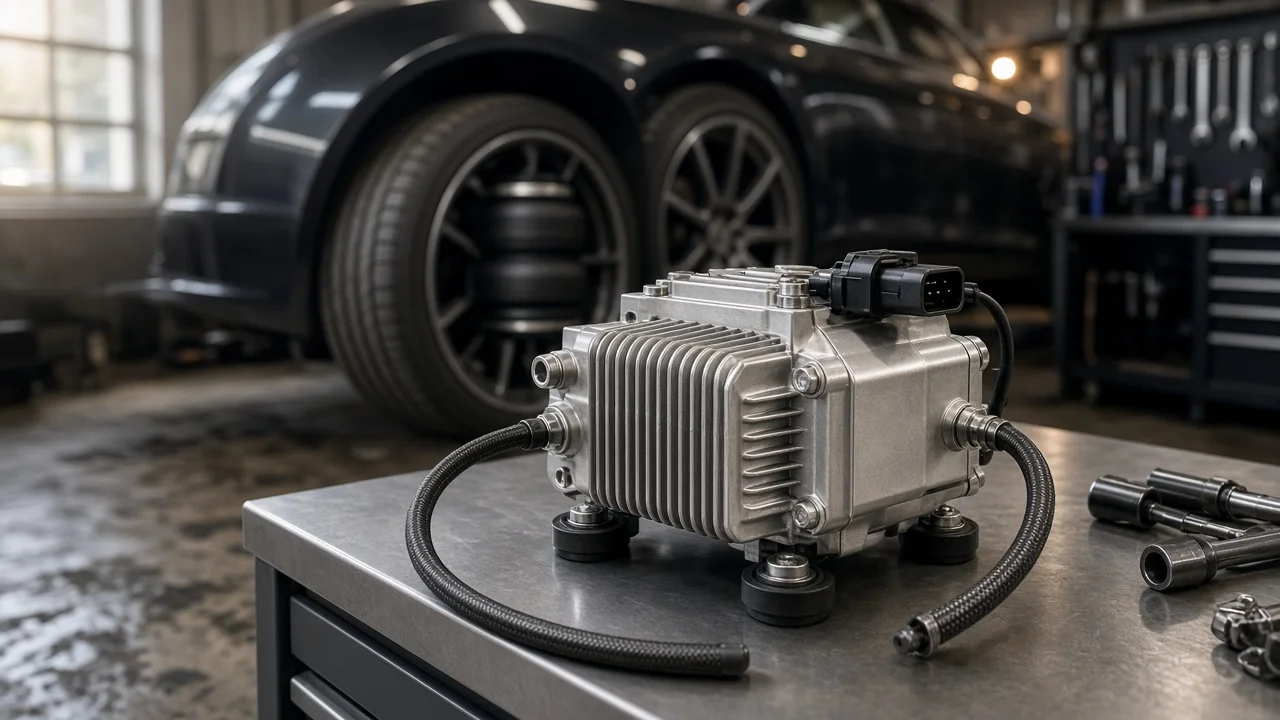
A replacement Arnott air suspension compressor usually comes up when a vehicle rises slowly, sits low after startup or shows a suspension warning. Matching the make and model is not enough. The compressor has to fit the exact system, fix the actual fault and come with the parts your installation needs. This guide covers diagnosis, compatibility, the features that matter, ownership costs and a simple shortlist, so you can buy once and install it correctly.
Define the job the product must do
First, confirm that the compressor is the problem and not a victim of another fault. A compressor wears out early when it has to make up for a leak elsewhere. A car that drops overnight or sags at one corner usually points to a worn air spring, a cracked line, a leaking fitting or a valve block fault. Signs that point more directly to the compressor include a unit that runs but lifts the vehicle very slowly, one that does not run even though its fuse and relay test good, grinding or rattling noises, and stored fault codes for compressor run time or overheating. A scan tool that reads the suspension module gives far better evidence than guesswork. If there is a leak, fix it before or during the compressor replacement. A new compressor feeding a leaking system will be overworked from the start.
Next, consider how the vehicle is used. A daily driver that stays at normal ride height asks less of the compressor than an SUV that changes height often for off-road driving, loading or towing. Climate also matters, because moisture and cold add load on the air dryer and seals. Be realistic about your workspace and skills. Some compressors can be reached with basic hand tools, while others sit behind wheel liners, under the vehicle or in the spare wheel well and require safe lifting. These constraints decide whether you want a complete bolt-in assembly or a bare unit, and how much to budget for professional installation.
Check compatibility
Fitment starts with year, make and model, but that is rarely enough. Many platforms were built with different suspension packages, such as full four-corner air, rear-only self-leveling or combinations with adaptive damping, and the compressor can differ between them. Identify the chassis or body code, the engine where relevant and, ideally, the part number printed on your original compressor or returned by a dealer lookup using your VIN. For any Arnott listing you consider, cross-check its application notes against that original part number and look for notes about production date splits or excluded trims.
Then compare the physical and electrical interfaces. Check the connector shape and pin count, the air outlet and fitting size, and whether the original compressor shares a housing with the air dryer, the valve block or both. Look at the mounting points, bracket and rubber isolators. A complete assembly may include them, while a compressor-only unit means transferring the originals, which must be in good condition. If a unit needs adapters, rewired plugs or modified brackets, the fitment is probably wrong.
Hardware deserves the same attention. Use the fastener specification from the factory service information for your vehicle, including torque values and any instruction to replace self-locking nuts or one-time-use bolts. Do not guess these figures or rely on generic charts. An under-tightened bracket can let the compressor vibrate loose, and over-tightening can crack mounts or crush isolators.
Features that affect the choice
The most important decision is scope. A complete assembly with bracket, dryer and isolators costs more, but it avoids reusing a saturated dryer or perished mounts, and installation is usually faster. A compressor-only unit costs less and suits owners whose original bracket and dryer are in good condition. Remanufactured or rebuilt options may be cheaper still, but check what was replaced inside and how the warranty compares with that of a new unit. Also ask whether a new relay is included or required. A relay that sticks closed can run a compressor until it overheats, so many installers replace the relay at the same time, and some warranties set conditions around it.
Separate evidence from marketing. Labels such as heavy duty, upgraded or improved design mean little without details. Find out what changed, such as piston material, cylinder or seal design, cooling or thermal protection, and whether the seller publishes a duty cycle or airflow figure for the unit. Useful evidence includes specific fitment notes, a clear parts list, written warranty terms with any installation conditions, installation instructions for your model and a reasonable return policy for wrong-fit parts. Owner feedback is worth reading for noise, isolation and connector quality, but look for patterns across many reviews rather than relying on single anecdotes.
Limitations and ownership costs
A compressor cannot fix leaking air springs, a sticking valve block, failed height sensors, a corroded line or a control module fault. If any of these are present, budget for them along with the compressor. After installation, some vehicles need a scan tool to clear stored codes, run a compressor test or recalibrate ride height. If ride height is reset, check the result against factory specifications. Ride height affects suspension geometry, so consider a wheel alignment check if the height was noticeably wrong before or has been adjusted. Replacing the compressor by itself does not change alignment.
Ownership costs go beyond the purchase price. Treat the air dryer, intake filter, relay and fuse as wear items, and check springs, lines and fittings for leaks from time to time, because even a minor leak shortens compressor life. Keep the intake and its filter clear of mud and debris, especially on vehicles used off-road. If the work takes you near suspension components, check bushings and ball joints for joint play. Worn parts can affect handling and tire wear regardless of the air system.
Safety comes first during any air suspension work. Never rely on the air system to hold the vehicle up. Use proper vehicle support: a suitable jack at the manufacturer's lifting points and rated jack stands on level ground. Many air-equipped vehicles have a jack, tire-change or service mode that stops automatic leveling while the vehicle is raised. Follow your model's procedure, and depressurize or disconnect the system as the service information directs before opening any air connection.
Build a practical shortlist
Before ordering, run each candidate through the same short checklist. First, confirm the diagnosis and list any leaks or related faults that need repair. Second, verify fitment by original part number, chassis code and suspension type, not just the model name. Third, decide between a complete assembly and a compressor-only unit, and confirm exactly what is in the box: bracket, isolators, dryer, relay and fittings. Fourth, read the warranty terms, including any requirement to replace the relay or fix leaks, and check how returns work for an incorrect part.
Finally, compare total cost, not just part price. Add any relay, dryer, fittings, scan tool time, ride height calibration and labor you will need, and compare that total against the original equipment and remanufactured alternatives you are considering. Before the part arrives, make sure you have the model-specific procedure and the right tools for safe lifting. The right choice matches your system exactly, fixes the confirmed fault and suits how you use the vehicle, regardless of which listing makes the boldest claims.