Alternator Fuse: How to Check a Suspected Charging Circuit Fuse
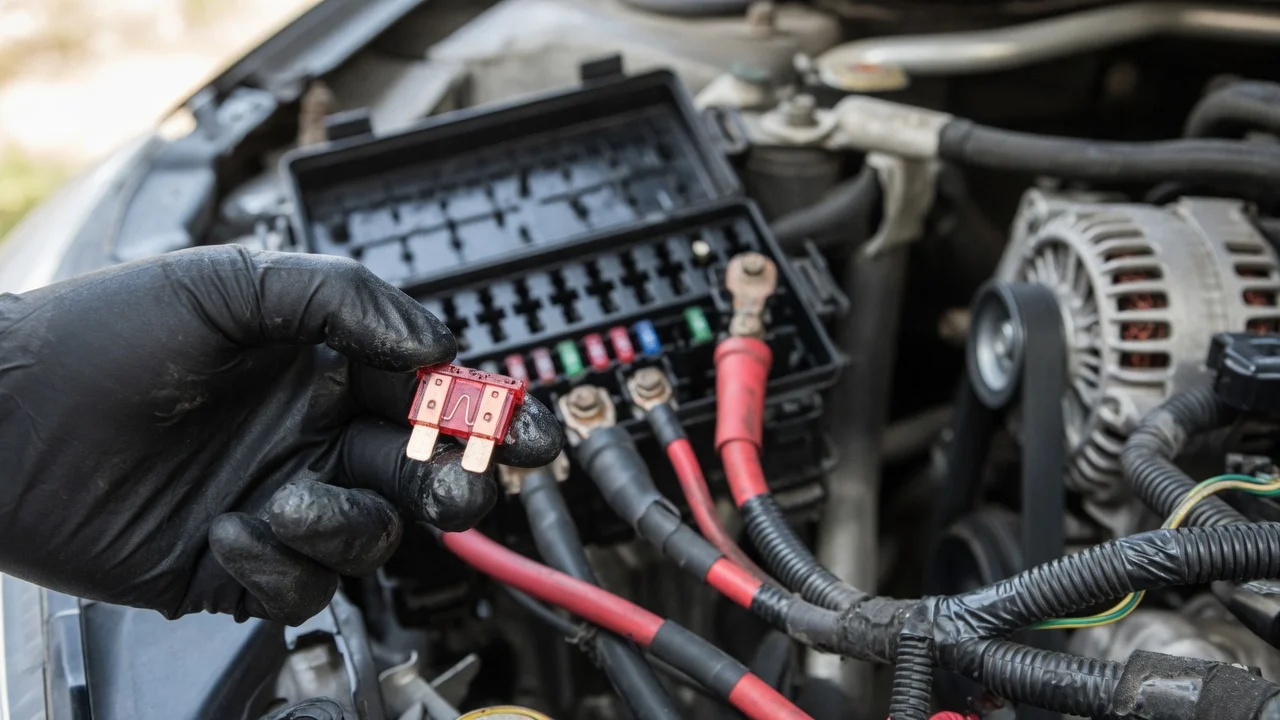
An alternator fuse is the protective device in the charging circuit between the alternator’s main output and the battery or under-hood power center. If that fuse is open, the alternator cannot replenish the battery even when the alternator itself is sound. Checking a suspected charging-circuit fuse means identifying the correct fuse or fusible link for your vehicle, inspecting it, and confirming that it still conducts. Location, type, and ampere rating are model-specific; use the fuse chart and service information for that vehicle.
What you are checking
On most conventional 12-volt vehicles the high-current path leaves the alternator B+ stud through a mega-fuse, cartridge fuse, or fusible link and joins the battery-positive circuit. A smaller fuse may also protect the alternator’s field, sense, or ignition-feed circuit; an open fuse there can stop charging while the main output fuse remains intact. This procedure applies to vehicles with a belt-driven alternator. Hybrid, plug-in, and some late-model systems use a DC-DC converter or a high-voltage architecture that follows different service rules.
What you need
The owner’s manual or factory fuse diagram for the exact model year, market, powertrain, and equipment; A digital multimeter that can measure DC volts and continuity or resistance; A flashlight; A fuse puller or the removal tool specified for that fuse type; A replacement fuse only after the original is confirmed open, matching the same type and ampere rating
Safety before you start
Park on level ground, set the parking brake, switch the ignition off, and remove the key. Wear eye protection. The charging output is a high-current circuit; a slipped tool on the B+ terminal or battery positive can spark and burn. Disconnect the battery negative cable before removing or installing a high-current fuse. If insulation is melted, a connector is burned, or wiring smells overheated, stop and have a qualified technician diagnose the vehicle. The fuse may have opened to protect a short.
How to check the fuse
Match the complaint to the charging circuit. A battery warning lamp, a battery that discharges in use, lights that sag at idle, or battery voltage that stays at rest with the engine running all justify inspecting charging-circuit protection. The same signs also appear with a failed alternator, a loose belt, or poor connections, so the fuse check is an isolation step. Identify the correct protective device. Using the diagram for that vehicle, locate every fuse or link labeled for the alternator, generator, charging system, or battery feed from the alternator. Check the under-hood power-distribution center and any inline fuse or fusible link on the alternator output cable. If labeling is unclear, obtain identification from manufacturer service information for that model year, market, and powertrain. Inspect with the ignition off. A blade or cartridge fuse that has failed often shows a broken or darkened element. A mega-fuse may show a melted link or heat discoloration. A fusible link can resemble ordinary wire; blistered, swollen, or ash-colored insulation is a typical sign it has opened. A fuse can fail internally with little visible damage, so continue with a meter check. Test continuity with the circuit unpowered. Set the meter to continuity or a low-ohms range. For a removable fuse, take it out and probe both terminals: a sound fuse conducts (a beep or very low resistance). An open fuse shows no continuity. For a bolted mega-fuse or a fusible link, disconnect the battery negative cable first, then measure across the device. Isolate it from parallel paths that could hide an open fuse. If the fuse stays in place and the terminals can be probed without damage, confirm voltage on both sides with the battery connected and the ignition in the state specified in the service information. A sound charging-output fuse shows battery voltage on both sides. Voltage on only one side indicates an open fuse. Avoid piercing sealed connector cavities. Inspect and test related low-current fuses that feed the alternator field, ignition, or voltage-sense circuit. An open fuse on that path can leave the main output fuse intact while charging still fails. Replace only with the specified part, then retest charging. If the fuse is open, install a replacement of the same type and rating with the battery negative cable disconnected. Reconnect the battery, start the engine, and measure DC voltage at the battery. It should rise above rest voltage and fall within the charging range specified for that vehicle. If the new fuse opens immediately, switch the engine off and stop; a short or overload is still present.
How to read the results
Check Sound device Open device; Visual element or fusible link Intact, housing and insulation undamaged Broken or darkened element; melted housing; blistered or ashed link insulation; Continuity or resistance, circuit unpowered Meter beeps or shows very low resistance No continuity; Voltage on both fuse terminals, in circuit as specified Battery voltage on both sides Voltage on one side only; Battery voltage with engine running after a confirmed-good fuse Rises into the charging range specified for that vehicle Stays at rest voltage if the fuse is still open or another charging fault remains
Completion check
The check is complete when you have identified the charging-circuit protective devices for that vehicle, verified each one by inspection and continuity or a two-sided voltage test, and—if a fuse was replaced—confirmed that charging voltage at the battery is restored and the replacement remains intact. If every charging-related fuse is sound and the battery still does not charge, continue with manufacturer diagnosis of the alternator, drive belt, output cable, ground path, and charging-control circuit.
When to stop and seek qualified service
A correctly rated replacement fuse opens again; Wiring, a fusible link, or a connector shows heat damage; The correct fuse or rating cannot be identified from documentation for that vehicle; The vehicle uses a high-voltage hybrid or electric architecture you are not equipped to service; The circuit cannot be isolated without risk of a short at the battery or the alternator B+ stud
Limits of this check
Fuse numbering, physical location, and ampere rating vary by model year, market, engine, and optional equipment. This check establishes whether charging-circuit protection is open. It does not prove the alternator is good or bad on its own. Use only the specified fuse type and rating; do not substitute a higher rating or bypass a fusible link.