Do You Need an Alignment After Replacing Sway Bar Links?
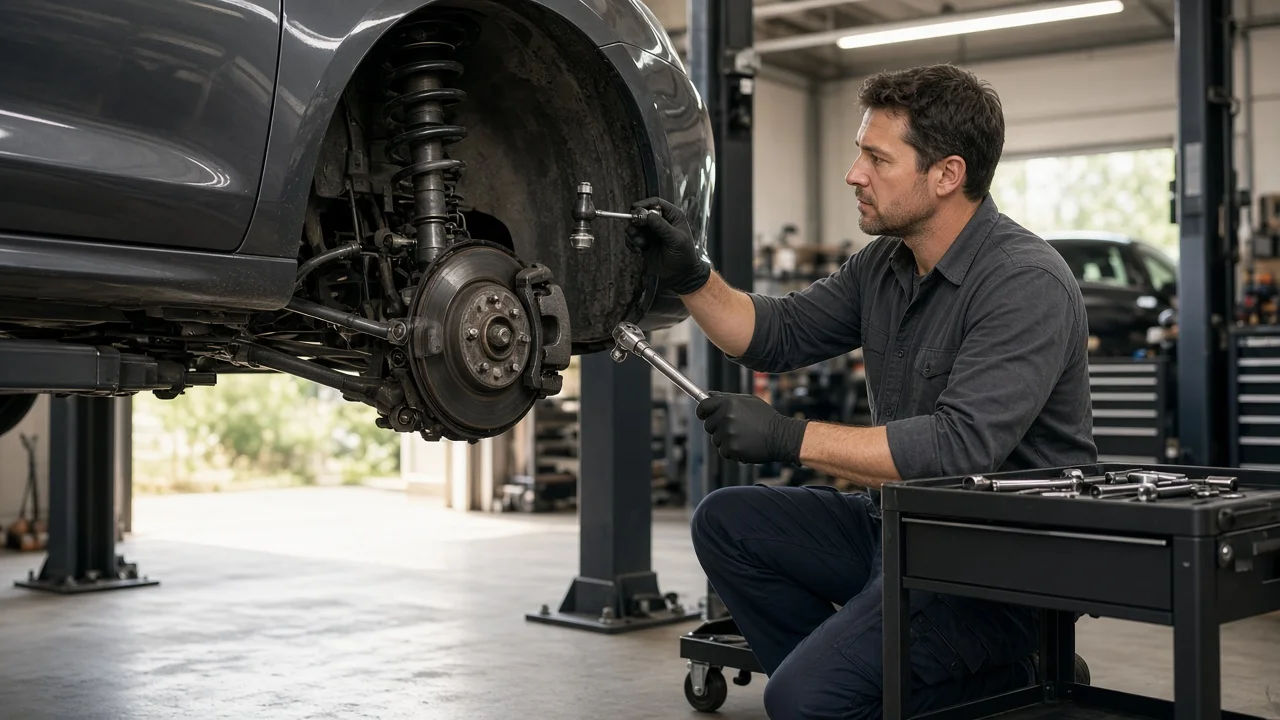
Sway bar links are among the simpler suspension parts to replace, and owners often ask whether the car needs a wheel alignment afterward. In most cases it does not, because the links don't set the angles an alignment adjusts. This guide explains why, when an alignment still makes sense, and how to replace the links safely and correctly.
The Short Answer on Wheel Alignment
An alignment sets camber, caster and toe. Those angles are determined by the steering knuckle, control arms, struts and tie rods. A sway bar link only connects the stabilizer bar to a control arm or strut so the bar can resist body roll in corners. Unbolting and replacing a link does not move any alignment adjustment point, so replacing sway bar links on their own does not normally require an alignment.
The answer changes when the repair grows. An alignment check is sensible if you did any of the following to make room for the link: loosened or replaced a tie rod end, removed a strut, separated a control arm, or loosened eccentric bolts or cam adjusters. Any of these can shift the wheel angles. The same applies if the car already pulled, the steering wheel sat off-center, or the tires showed uneven wear before the job. New links will not fix those conditions, which point to a separate problem worth diagnosing.
Confirm the Part and Repair Scope
Before buying parts, confirm the links are actually causing the problem. Worn links typically make a clunk or rattle over small bumps, uneven pavement or driveway transitions, often at low speed. Strut mounts, sway bar bushings, ball joints, tie rod ends and loose heat shields can make similar noises, so inspect before replacing anything. With the vehicle safely supported, look for torn or missing ball-joint boots, lost grease, and bent or corroded link bodies. To check for joint play, grip the link or pry gently between the link and its mounting points. A click or visible movement at the ball stud indicates wear. A link that is tight and quiet is usually not the culprit.
Match the replacement to your exact vehicle. Links differ between the front and rear axles, and some are side-specific. Confirm the part by year, model, drivetrain, trim and suspension package. Then compare the new link with the old one for length, stud size, stud style and mount orientation. Vehicles with sport suspension, a lifted or lowered ride height, adaptive or air suspension, or an active stabilizer system may use different links or need extra steps. Many owners replace both links on an axle when both are worn, but a single worn link can be replaced alone.
Prepare Tools and Safe Access
Get the vehicle-specific service information before you start. You need the fastener specification for the link nuts and any instructions about the suspension position for tightening. Typical tools include a floor jack, rated jack stands, wheel chocks, a torque wrench, correctly sized sockets and wrenches, an Allen or Torx bit to hold the ball stud, penetrating oil and a wire brush. A breaker bar helps. Avoid using an impact wrench on a ball-stud nut unless the stud is held, because it can spin the stud and damage the joint. Plan to use new nuts. Many link kits include them, and self-locking nuts are commonly intended for single use.
Safe vehicle support matters more than speed. Work on level, solid ground and chock the wheels that stay on the ground. Lift only at the jack points shown in the owner's manual or service information, and lower the vehicle onto stands before reaching underneath. Never work under a vehicle held only by a jack. Cars with air suspension often need a service or jack mode turned on first so the system does not try to level itself. Leave this job to a shop if the fasteners are badly rusted or must be cut or heated near brake lines, ABS sensor wiring or rubber boots. The same goes for vehicles with an electronic stabilizer system.
Remove the Old Links Without Avoidable Damage
The sway bar works like a spring, so it holds load when one wheel hangs lower than the other. That tension binds the link studs, which makes the nuts hard to remove and the link hard to pull free. To relieve it, raise both sides of the axle equally, or support the control arm with a jack to bring the suspension closer to its normal position. Remove the wheel if you need access, spray the threads with penetrating oil, and clean the exposed threads with a wire brush.
Loosen each nut while holding the stud with the hex or Torx bit in its end, or with a wrench on the flats if the link has them. If the stud spins and cannot be held, the link usually has to be cut off. Protect nearby brake lines, wiring and boots, and use cutting tools only if you are comfortable with them. Once both ends are free, note the link's orientation and which side of each bracket the studs pass through, then remove it. While the link is out, inspect the mounting holes and sway bar bushings. Worn bushings can keep the noise going after new links are installed.
Install the New Links and Restore the System
Fit the new link in the same orientation as the original. Any offset or bend should match, and the studs should pass through the brackets from the same side. Start the nuts by hand to avoid cross-threading. Some lifted or performance setups use adjustable links. Set those according to the part or vehicle instructions so the bar is not preloaded. Snug the nuts while holding the studs, but do not do the final tightening with the wheel hanging.
The suspension position for final tightening matters. Many service procedures call for torquing the link nuts with the suspension loaded at ride height. That means either the vehicle sits on its wheels or both sides of the axle are supported equally, so the bar is not twisted when the nuts are tightened. Use a torque wrench to tighten the nuts to the fastener specification in your service information, holding the stud as you go. Reinstall the wheels and torque the lug nuts to the vehicle's specification. On air or adaptive suspension, exit service mode as instructed once the vehicle is back on the ground.
Check the Completed Work
Check the work before driving. Make sure every nut is torqued, the studs did not spin during tightening, and the boots are intact. Turn the steering lock to lock and confirm the links do not contact the tires, brake hoses or wiring. Then road-test at low speed over speed bumps and uneven pavement. The clunk caused by worn links should be gone. If your service information recommends it, recheck the fasteners after a short period of driving.
Some results call for further diagnosis rather than an automatic alignment. A noise that persists points to bushings, strut mounts, ball joints or other worn parts. A pull, an off-center steering wheel or a change in steering feel after a links-only job suggests something else was disturbed or was already out of spec. In that case, have the suspension inspected and the alignment measured. If none of those signs appear and only the links were replaced, the vehicle typically needs no alignment. If you are unsure, it is reasonable to have the alignment checked at your next tire service.