Air Suspension Compressor Replacement Guide
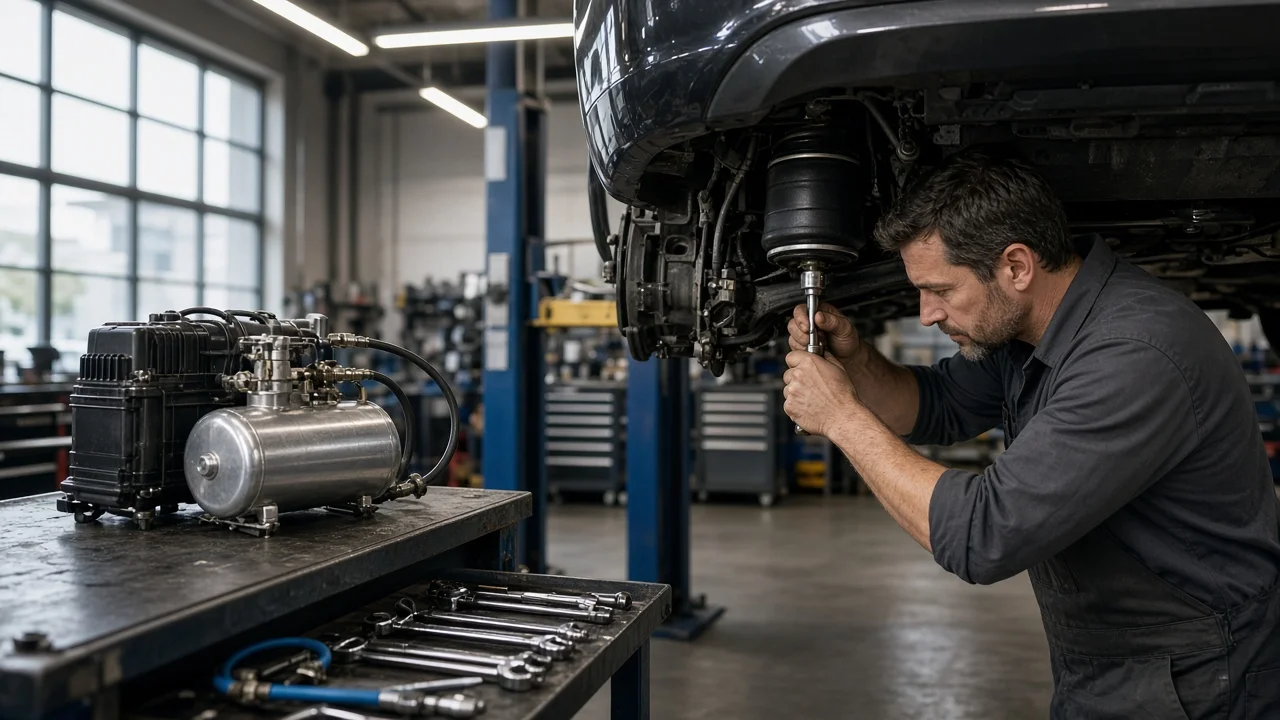
A failing air suspension compressor can leave a vehicle sagging, slow to lift or showing a suspension warning. Replacing the compressor is often a manageable job, but only after you confirm it is actually the faulty part. This guide covers checking fitment, preparing safe access, removing the old unit and installing the new one. It ends with how to verify that the system reaches and holds the correct ride height.
Confirm the part and repair scope
A compressor that runs for long periods, overheats or stops working is often a symptom rather than the root cause. Leaking air springs, cracked lines, a sticking valve block or a saturated air dryer force the compressor to run far longer than it was designed to. A new unit installed into a leaking system can fail the same way. Before ordering parts, read stored fault codes with a scan tool that supports the air suspension module. Check the compressor fuse and relay, and look for corners that drop after the vehicle sits overnight. With the system pressurized, spray soapy water on the air springs and line fittings to reveal most external leaks. A relay stuck closed can run a compressor until it burns out, so check the relay whether or not the compressor turns out to be faulty.
Match the replacement to the vehicle by part number or VIN rather than by model name alone. Compressors for the same model can differ by year, engine and suspension package. They also differ in whether the dryer, valve block or mounting bracket is built into the assembly. Before starting, compare the new unit's electrical connector, the number and size of its air line ports and its bracket layout with the original. New, remanufactured and aftermarket units are all available. Whichever you choose, confirm what is included, such as isolators, O-rings, a relay or a dryer, so the job does not stall while you wait for small parts.
What affects replacement cost
Air suspension compressor replacement cost depends mostly on the part and on how hard the compressor is to reach. A complete assembly with dryer and valve block costs more than a bare compressor, and dealer parts usually cost more than aftermarket or remanufactured options. Labor varies with location. Some compressors sit behind an easily removed cover, while others require removing a wheel liner, bumper section or underbody panels. Shops may also charge for diagnostic time and for scan tool commissioning after installation. The largest avoidable expense is replacing a compressor twice because a leak or failed relay was left in place. Include those items when you compare quotes or estimate a DIY budget.
Prepare tools and safe access
Get the model-specific service procedure before touching anything. It identifies where the compressor is and whether the system must be put in a jack or service mode. It also explains how pressure is released and whether calibration is needed afterward. Many air suspension systems level the vehicle automatically, even with the ignition off. If you lift or support the vehicle without disabling that function, the body can move unexpectedly. For vehicle support, use the manufacturer's lift points and set the vehicle on rated stands on firm, level ground. Never work under a vehicle held up only by a jack or by its air springs.
Typical tools include basic hand tools, a trim tool for line or cover clips, line caps or clean plugs, eye protection and a scan tool capable of air suspension functions. A battery maintainer helps keep voltage stable during scan tool procedures. The procedure may call for discharging a pressure reservoir, entering calibration values or using dealer-level software. If you don't have the equipment for any of these steps, leave the job to a shop experienced with air suspension. Stored air pressure can release suddenly and cause injury, so treat every line as pressurized until the procedure confirms it is not.
Remove without avoidable damage
Follow the service procedure to depressurize the system and disconnect the battery, and note any module relearn steps needed after reconnection. Remove only the covers, liners or panels the procedure calls for, and keep track of clips and fasteners. Photograph or label the air line and wiring routing before disconnecting anything, because lines reconnected to the wrong ports can cause incorrect operation.
Release the electrical connector by its lock tab rather than pulling on the wires. Most air line fittings are push-to-connect or threaded. Release them as the instructions describe and cap the open lines and ports immediately so dirt and moisture cannot enter. Avoid scoring or kinking the nylon lines, because a damaged line end may not seal in the new fitting. Remove the bracket fasteners and note the rubber isolators that reduce noise and vibration. Treat corroded fasteners at the mounting points with penetrating oil and patience. A broken bolt or stripped captive nut adds far more work than the extra minutes spent working it loose.
Install and restore the system
Compare the new compressor with the old one side by side. Transfer any parts the procedure allows you to reuse, such as the bracket or intake filter, and fit new isolators and O-rings if they are supplied. Mount the assembly in the same orientation as the original, so the intake, outlet and drain ports line up with their lines and the unit sits correctly in its isolators. Tighten fasteners to the fastener specification in the service information instead of guessing. Overtightening can crush isolators and transmit noise into the cabin. Push each air line in until it is fully seated and confirm it is retained. Route wiring and lines exactly as before, away from heat sources and moving parts.
Install a new relay if the kit or service information recommends one, then reconnect the electrical connector and the battery. Some vehicles need a scan tool to activate the compressor, refill the reservoir, clear fault codes or run a ride height calibration. Others simply rebuild pressure with the engine running. Do not adjust ride height sensors or enter calibration values unless the procedure requires it, because incorrect ride height affects handling, ground clearance and suspension geometry. Leave the vehicle on its stands until the system has been brought up to pressure as directed.
Check the completed work
With the engine running, listen to the compressor fill the system. It should run, then shut off once the target height is reached. If the compressor runs continuously, cycles rapidly, makes grinding noises or blows its fuse, it needs further diagnosis. Check every disturbed fitting for bubbles with soapy water. Confirm that no new fault codes are stored and that the suspension warning has cleared. Measure the ride height at each corner using the method in the service information and compare the two sides of the vehicle.
Let the vehicle sit overnight and recheck the ride height. A corner that drops points to a leak in an air spring, line or valve block rather than a problem with the new compressor. Road test the vehicle over varied surfaces, try each height mode the system offers and listen for vibration or rattles from the mounting area. Replacing a compressor does not change suspension geometry by itself. If the vehicle ran at an incorrect ride height for a long period, or other suspension parts were replaced at the same time, check the wheel alignment and inspect the steering and suspension for joint play.