Aftermarket Sway Bar Links: How to Choose Replacements
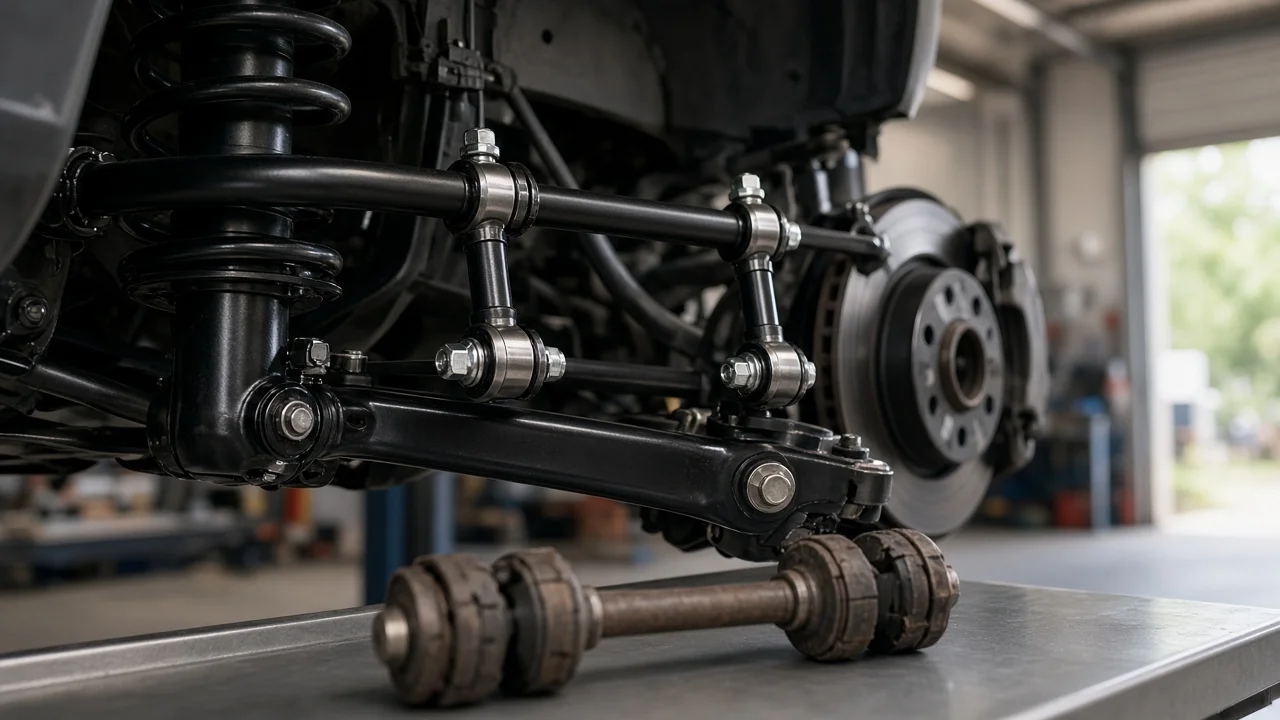
Sway bar links, also called stabilizer or end links, connect the anti-roll bar to the suspension so the bar can resist body roll in corners. A worn link can clunk over bumps or make handling feel loose. Aftermarket replacements range from direct OEM-style parts to adjustable and heavy-duty designs. This guide covers how to match a link to your vehicle configuration, judge the features that matter, and narrow your options before buying.
Define the job the product must do
First, confirm that a link is actually the problem. Typical signs are a knock or rattle from one corner over uneven pavement at low speed, a torn or missing boot on a ball joint, visible looseness at the studs, or a cracked or flattened bushing on bushing-style links. Other parts can make similar noises, including sway bar bushings, strut mounts, ball joints, and tie rod ends, so inspect the whole corner before ordering. Your service history also helps. If one link was replaced recently and the noise came back, look for another cause before buying the same part again.
Next, define how the vehicle is used. A daily driver on stock suspension usually just needs a link that matches the original design. A lifted truck, a lowered car, a vehicle that tows regularly, or one that sees off-road trails may need a different length or a sturdier design. Front and rear links are often different parts, and many shops replace both sides of an axle together so the wear stays even. Settle which positions you are replacing before you compare products.
Check compatibility
Fitment depends on the exact vehicle configuration: year, make, model, trim, drivetrain, and suspension package. The same model can use different links depending on a sport or heavy-duty suspension, all-wheel or two-wheel drive, or a mid-year production change. The most reliable approach is a parts lookup by VIN, or a cross-reference to the manufacturer part number from the old link or from dealer service information. A listing that only names the model line is not enough to confirm fit.
Then compare the physical interfaces. These include center-to-center length, stud or bolt diameter and thread pitch, and mounting style. Common styles are ball studs at both ends, a bolt-through design with bushings and washers, and mixed ball-and-eye ends. Also check stud orientation, whether both studs point the same way or opposite ways, and where the link attaches, such as the strut body, lower control arm, or knuckle. If the catalog is unclear, measure the old part. Modified ride height changes the link angle, and a stock-length link can bind or leave the bar preloaded. Extended or adjustable links exist for this situation, but the correct length depends on your specific setup, not a universal figure.
Features that affect the choice
Joint design is the main trade-off. Sealed ball joints need no routine service, but their life depends on the boot staying intact. Greaseable joints have fittings that let you add fresh lubricant and flush out contaminants, but only if you actually grease them. For bushing-style links, rubber bushings are generally quieter and more compliant. Polyurethane feels firmer but can transmit more noise and may need lubricant to avoid squeaking. If the vehicle goes off-road, joint articulation range matters, because a joint that runs out of travel at full suspension extension can be damaged.
Separate concrete construction details from marketing labels. Words like heavy-duty, performance, or premium tell you little on their own. More useful details are the stated stud size, joint type, boot material, corrosion coating, body material, included hardware, and written warranty terms. Some vehicles come with plastic- or composite-bodied links from the factory, and a steel replacement can be a sensible change where those failed early. Adjustable links use a threaded body with jam nuts, which lets you set length and remove preload. They make sense for altered ride height or adjustable sway bars but add little on a stock vehicle.
Limitations and ownership costs
Installation is usually simple, with a few common obstacles. Ball studs often spin when you turn the nut, so you may need a hex or Torx bit, or wrench flats, to hold the stud. Corroded nuts may need penetrating oil, heat where it is safe to use, or cutting. Follow the vehicle's service information for torque values and tightening position. Many procedures call for tightening with the suspension at ride height, because tightening at full droop can preload the bar or bushings. Some included nuts are self-locking and intended for one use, so do not reuse them.
A new link will not fix worn sway bar bushings, a bent or broken bar, tired struts, or worn control arm bushings, and those faults will keep making noise. Ongoing costs are modest but real. Greaseable joints need periodic lubrication on whatever maintenance schedule you follow, and every link benefits from a boot and play inspection when the wheels are off for rotations or brake work. Operating conditions such as road salt, gravel, standing water, and off-road use shorten service life, so plan to inspect more often in harsh use. Replacing links normally does not change alignment, but if you replace other steering or suspension parts at the same time, check whether an alignment is required.
Build a practical shortlist
Use this short checklist for each candidate. Does it fit by VIN or OEM part number for the correct position, front or rear, and left or right if the parts are sided? Do the length, stud size, thread, and mounting style match the old link, or correctly suit a modified ride height? Does the joint type, sealed or greaseable, ball or bushing, fit your use and your willingness to do upkeep? Are nuts and any required washers or bushings included? Are boot material and corrosion protection described in specific terms? Are the warranty conditions stated in writing? Do you have the tools needed to hold the stud and reach the specified torque?
Narrow the field to two or three links that clearly pass the fitment checks, then decide based on design and documentation rather than labels. For a stock vehicle in normal driving, a well-made OEM-equivalent link is usually the sensible choice. An upgraded or adjustable design is worth considering when you have a specific reason, such as repeated failures of the original style, changed ride height, or regular off-road or towing use. After installation, record the date, mileage, and part number in the service history so you can judge how long the replacement lasts.