Aftermarket Infotainment System Upgrades: What to Check Before You Buy
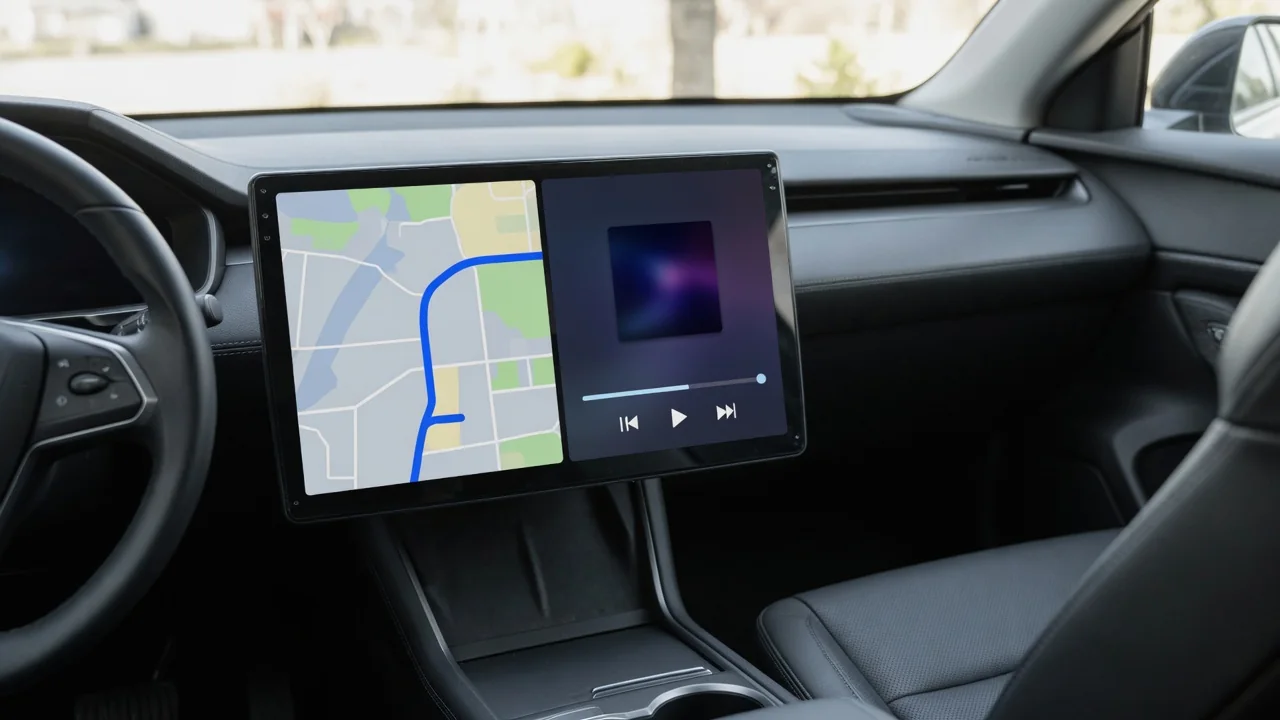
A car infotainment system upgrade can add smartphone mirroring, a sharper screen, or better sound to a vehicle that feels dated. But a modern dashboard is rarely just a stereo slot. Before you upgrade an infotainment system, find out which functions run through the radio and which hardware your exact trim uses. That also tells you whether the job is a simple update or a full hardware change.
What an Infotainment System Upgrade Can and Cannot Change
Most infotainment system upgrade paths fall into four groups. The simplest is a software or map update from the automaker, which can fix bugs or add features without touching hardware. The second is an aftermarket head unit that replaces the factory radio, often for an Apple CarPlay retrofit or an Android Auto upgrade. The third is an add-on interface module that brings smartphone mirroring to the factory screen. The fourth is a full touchscreen replacement that swaps the display itself.
The head unit is not always the brain of the dashboard. Depending on the vehicle, climate settings, lighting and lock preferences, or driver-assistance displays may live in separate modules that only use the screen as a window. If you mainly want smartphone mirroring, an interface module or a replacement unit may be enough. If you want better audio, factory amplifier integration matters more. In every case, identify your exact year, trim, and option package before shopping, because those details decide what is possible.
Retrofitting a Different Screen or Head Unit Into a Car
To retrofit a car infotainment system means installing hardware the vehicle did not come with from the factory. That might be a factory unit from a higher trim or an aftermarket head unit mounted with a custom dash kit. Swapping the unit is only part of the work. The dash opening, mounting brackets, wiring harness adapter, antenna adapters, and sometimes software configuration or coding all have to line up before the new unit works like original equipment.
A poorly matched retrofit can cost you features you took for granted. Steering wheel buttons may stop working, or the dash may show new warning messages. A module may stay awake after shutdown and slowly drain the battery, and in more integrated cars, modules can stop communicating with each other. Before buying parts, confirm with the kit maker or an installer that your exact configuration is supported, including the audio package and camera options. Don't rely on a broad model-year listing.
Chevy and GMC Infotainment Upgrade Considerations
Any Chevy or GMC infotainment system upgrade starts with one caution: radios and screens differ widely by model, year, and trim. A kit built for one pickup may not fit a similar SUV, and two trucks from the same year can use different hardware. Before choosing anything, check whether your vehicle has a factory amplifier or premium audio system, a backup camera, or OnStar features that run through the radio. Each of these affects which upgrade will work.
Before replacing hardware, ask a dealer whether an official software or map update exists for your current system. An update may fix the problem with less risk. If you do go aftermarket, judge kits by what they keep working. Look for steering wheel control interface support, retained door and seatbelt chimes and warning tones, and backup camera retention. The fitment list should spell out exact years and trims rather than a vague model range.
Mazda Connect Infotainment Upgrade Options
A Mazda Connect infotainment system upgrade depends heavily on which generation your car has, because the hardware and software changed across model years. Confirm your version first, either in the system information menu or by asking a dealer to look it up with your VIN. Keep in mind that a dealer-performed software update or official accessory upgrade is a different path from an aftermarket replacement. Availability varies by model, so confirm what applies to your car rather than assuming.
Mazda's setup often splits the display, the center console controller knob, and the connectivity hub with its USB ports into separate parts. A partial upgrade, such as changing only the screen or only the hub, may need matching parts and compatible software to work correctly. Mixing generations can leave the knob unresponsive or the phone connection unreliable. Ask a Mazda dealer or a qualified installer to confirm compatibility and explain everything the job involves before you buy anything.
Volvo Infotainment Upgrade Considerations
A Volvo infotainment system upgrade calls for extra care. The system differs by generation and platform and is often closely tied to other vehicle functions. In many Volvos, the center display handles far more than audio and navigation. Before considering hardware, check whether an official software update is available through a dealer or over the air. An update may add features or fix sluggish performance without any physical changes to the dash.
Aftermarket screen replacements carry real risk in heavily integrated systems. If a unit is not designed for that exact car, you may lose access to climate controls, vehicle settings, or driver-assistance and safety-feature menus. That can leave you with no practical way to adjust them. Ask the kit supplier or installer for written confirmation of every retained function for your exact model and year. Treat vague claims of universal fit as a warning sign.
Compatibility Checklist Before Choosing an Upgrade
Before committing, confirm that everyday features will keep working. These include steering wheel controls, backup and surround-view cameras, parking sensor displays, the factory amplifier, USB ports, hands-free microphones, and warning chimes. Many of them depend on the vehicle data network. A CAN bus interface module translates signals between the car and the new unit. It passes along information such as reverse gear, vehicle speed, and dash lighting so the aftermarket head unit responds correctly.
Physical fit matters as much as the electronics. Compare the screen's size and shape with your dash layout, and consider whether the display will wash out in direct sunlight or cause glare at night. Review the product's software support and update policy, since a unit that stops getting updates may lose phone compatibility over time. Check the return terms as well. Keep the original head unit, trim pieces, and connectors so the car can be returned to stock if needed.
DIY Installation vs Professional Installation
Dash and wiring work often means removing trim near airbags and handling electrical connections. Mistakes can trigger fault codes, damage modules, or create safety problems, so this article is not a step-by-step guide. A professional car audio installer is usually the safer choice when the climate controls run through the screen, the car has premium audio, there are multiple cameras, or the upgrade needs module coding. These setups leave little room for guesswork.
Ask any installer which features will stay working, whether they have worked on your exact vehicle before, and what workmanship warranty they offer. Aftermarket changes can affect warranty coverage for related parts, so read your vehicle warranty terms first. After the install, test every retained function, from camera views to chimes, and watch for new warning messages. Report battery drain, freezing, or intermittent glitches to the installer promptly, because problems are easier to trace while the work is recent.