Aftermarket Adaptive Suspension: Retrofit Compatibility and System Requirements
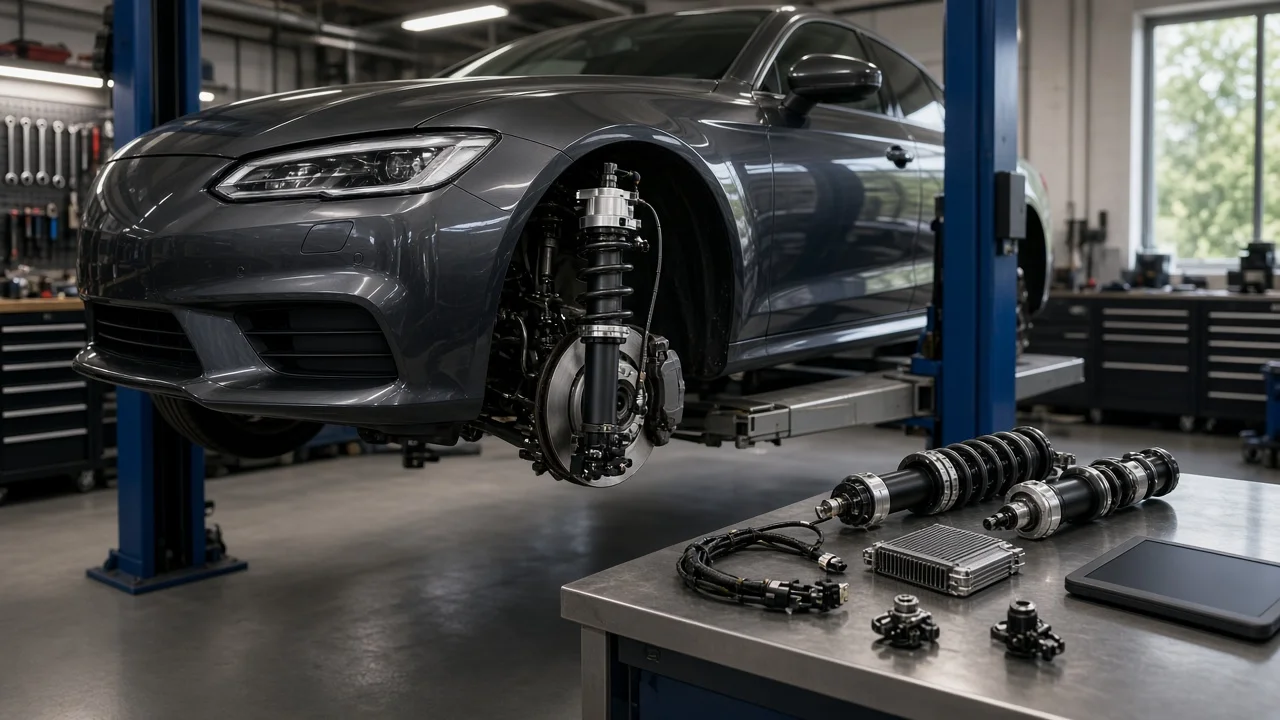
Adding adaptive suspension to a vehicle that left the factory with passive shocks is often possible, but it is rarely a simple bolt-on swap. Whether an aftermarket adaptive suspension kit will work depends on physical fit at the mounting points, the electrical and control hardware it needs, and how it coexists with the electronics already in the vehicle. This guide explains what to confirm before buying and installing one.
Can you retrofit adaptive suspension?
In many cases, yes, provided the kit is engineered for your exact vehicle. The most dependable route is a complete system listed for your make, model, year, drivetrain and trim, because suspension layouts and electrical architecture can differ even within one model line. Universal kits adapted to a vehicle they were not designed for carry far more risk of poor fit, wiring problems and unpredictable handling. The answer also depends on what the vehicle has now. If it already came with factory adaptive dampers, aftermarket options usually include replacement dampers designed to work with the original controller, or kits that bring their own controller. If it came with passive dampers, you need a full system: dampers, a control module, sensors, a wiring harness and usually a cabin selector.
One common assumption does not hold up: you generally cannot install factory adaptive dampers from a higher trim level on a base vehicle and expect them to work. Without the matching control module, sensors, wiring and, in many cases, software coding, those dampers either default to a fixed setting or trigger warnings. Some dealers or specialists can complete that kind of conversion on certain vehicles, but it is not universally possible and should be confirmed before any parts are bought.
How adaptive damping works
An adaptive damper changes how much it resists suspension movement. Depending on the design, this is done with an electrically controlled valve inside the damper or with a fluid whose resistance changes in a magnetic field. A controller reads inputs such as body and wheel motion, vehicle speed and sometimes steering or braking data, then adjusts damping continuously while you drive. The springs still carry the weight of the vehicle, so on a conventional spring setup the ride height is set by the springs and spring seats, not by the dampers. Air suspension is a separate system that adds height control on top of damping.
Not every product sold under this label is truly adaptive. Some electronically adjustable coilovers only let the driver pick a fixed damping level from a switch or app, without reacting to road conditions on their own. True semi-active kits use their own sensors, such as accelerometers, or read data from the vehicle network to adjust automatically. Knowing which type you are looking at matters, because it determines what sensors, wiring and integration work the installation will involve.
What changes the answer
Physical fit comes first. The damper must match the vehicle's mounting points, including the upper strut mount, the knuckle clamp or lower bushing type, spring seat dimensions, extended and compressed length, and available travel. The damper body and its electrical connector also need clearance from the wheel, tire, brake lines and wheel speed sensor wiring through the full range of suspension and steering movement. A front strut design, a double wishbone layout and a multilink rear axle each place different demands on the kit, and all-wheel-drive versions of a model can use different components than two-wheel-drive versions.
Electrical requirements come next. A standalone system needs a fused, correctly switched power supply, a solid ground and harness routing that stays clear of exhaust heat, sharp edges and moving parts, with connectors sealed against water and road salt. On vehicles that already have factory adaptive dampers, removing or replacing them with a different system can cause the original module to log faults, display warning lights or disable drive modes. Some kits address this with an emulator or an approved coding procedure; others do not. Also consider related systems, such as headlight leveling that relies on ride height sensors, stability control calibration and any air suspension leveling logic.
Ride height changes affect the result as well. Many adaptive coilover kits allow lowering, and lowering alters suspension geometry, wheel alignment, steering feel and driveshaft angles. Factory ride height sensors may need to be recalibrated or have their linkages adjusted. How the vehicle is used matters too: a daily driver in a region with harsh winters needs durable corrosion protection and sealed electronics, while track use places more emphasis on heat management and adjustment range.
What to check before and after installation
Before buying, confirm fitment with the kit maker using your VIN and trim, and ask exactly what is included: dampers, springs, top mounts, controller, sensors, harness, selector and installation instructions. Ask whether any factory module needs coding, whether the kit works with the existing drive mode selector, and what happens to warning lights if the factory system is replaced. Then inspect the current suspension and steering. Check for joint play in ball joints, tie rod ends and control arm bushings, and look at strut mounts and sway bar links. Worn parts should be repaired first, because new dampers will not compensate for them and the alignment will not hold.
During installation, safe vehicle support is essential: raise the vehicle at the manufacturer's lift points and rest it on rated stands, never on a jack alone. Coil springs store a large amount of energy under compression, so use a proper spring compressor or preassembled strut units as the instructions direct. Follow the fastener specification from the vehicle's service information and the kit instructions rather than guessing, replace any fasteners designated as one-time use, and tighten bushing bolts at ride height where the procedure calls for it. Disconnect and reconnect the battery according to the vehicle's service procedure when doing electrical work.
After installation, have a wheel alignment performed to the vehicle's specification or the kit maker's guidance for modified ride height. Recalibrate ride height sensors and headlight aim if the vehicle uses them, and scan for stored fault codes. Test drive at low speed first, listening for knocks and confirming that the selector and any warning indicators behave as described. Recheck connectors, harness routing and fasteners after the first drive or at the interval the kit instructions specify.
Limitations and next step
This is general guidance. Fitment, wiring and integration details vary by vehicle and by kit, and claims about ride quality or handling come from the manufacturers rather than from independent measurement here. A retrofit may also affect factory warranty coverage, insurance or local inspection requirements, so check those before committing. Professional help is the right choice when the job involves factory module coding, air suspension, persistent warning lights, or any disturbance of steering and brake components that you are not equipped to inspect and reassemble correctly.
A practical next step is to note your VIN, trim and current suspension type, whether passive, factory adaptive or air, and send that information to the kit maker or a suspension specialist. Obtain the complete installation instructions and the electrical requirements before purchase, so you can judge whether the vehicle, your tools and your budget fit the job.